Ambient Light refers to any form of light that the photographer didn’t add to their image. It can be “natural” ambient sunlight or “artificial” ambient light such as a nearby lamp, street light, or similar. Unfortunately, some photographers confuse these different categories of light and may only consider “natural” sunlight to be true ambient light.
How Does Ambient Lighting Work?
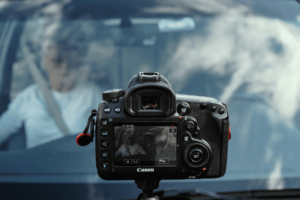
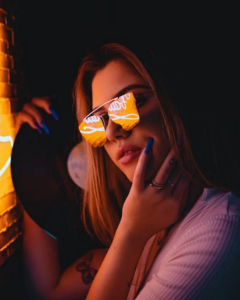
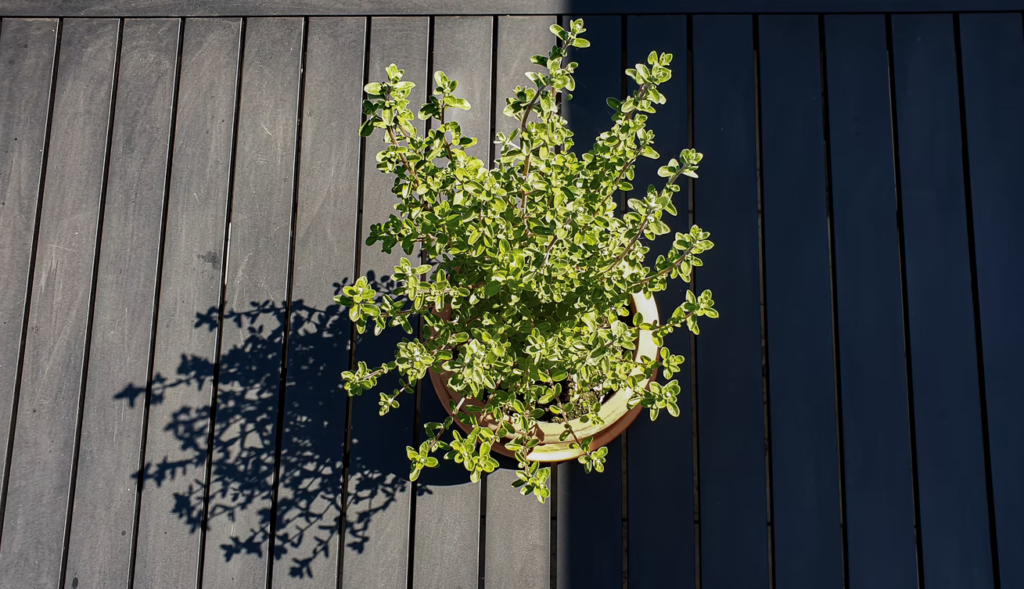
Ambient lighting works by providing a sufficient amount of exposure without much glare on the camera. It is a soft light that envelops your scene/room perfectly. Not too high that makes eyes uncomfortable and not too little that it doesn’t produce any effects. Proper ambient light helps your subject or atmosphere to look more relaxed. It is also called mood lighting because of its ability to create a specific atmosphere. You can also mix and match light fixtures to offer a dimension of warmth to your scene.
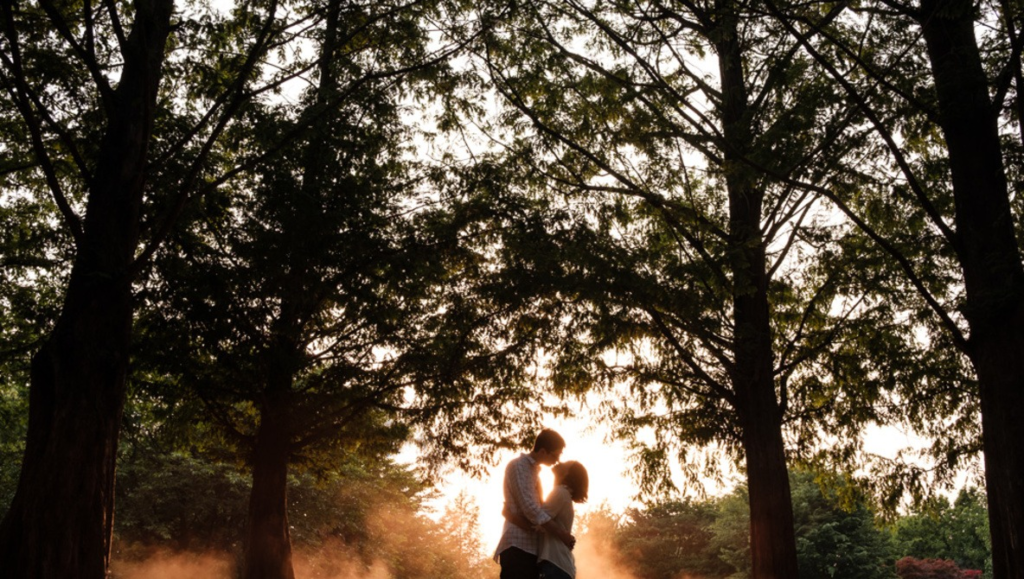
Image Source: fstoppers.com
Where is Ambient Lighting Used?
- Photographers use ambient lighting pretty much anywhere. You will have ambient lighting when shooting outdoors since sunlight, moonlight, or city lights will be exposed.
- Landscape photographers use ambient lighting essentially. However, they can also use natural light when shooting nature scenes at noon or night. In addition, you can also optimize artificial light coming from the buildings’ lamps to get a stunning cityscape picture.
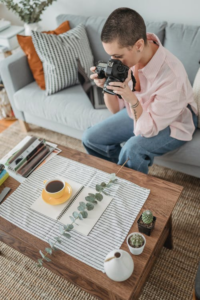
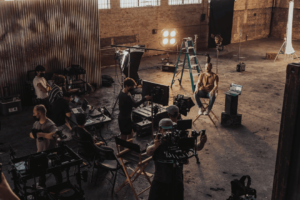
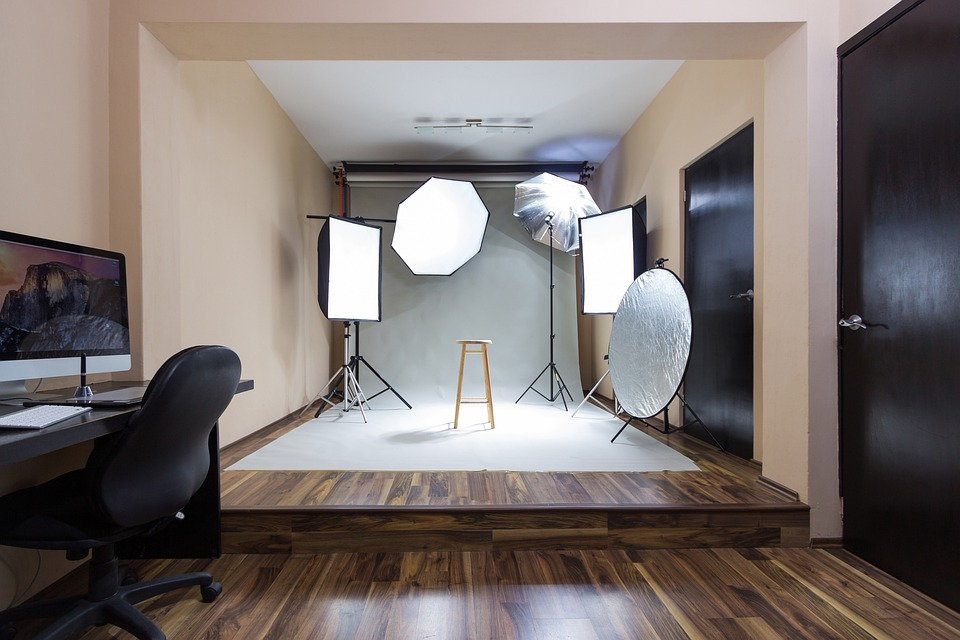
- Using ambient lighting indoors is also a great idea. Indoor photography, such as inside a studio, can use ambient lighting and a flash to get the best of both worlds.
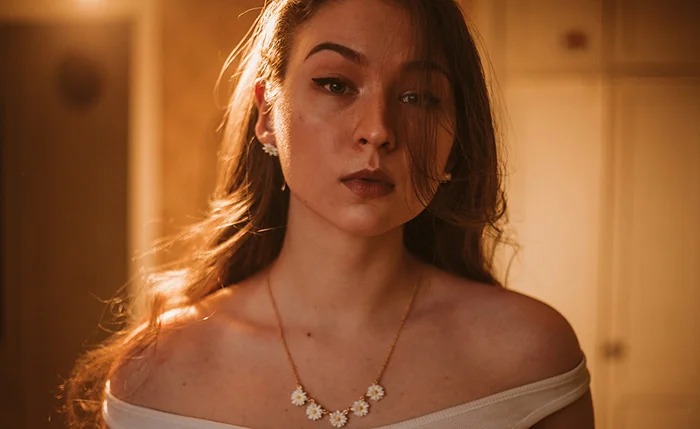
Image Source: expertphotography.com
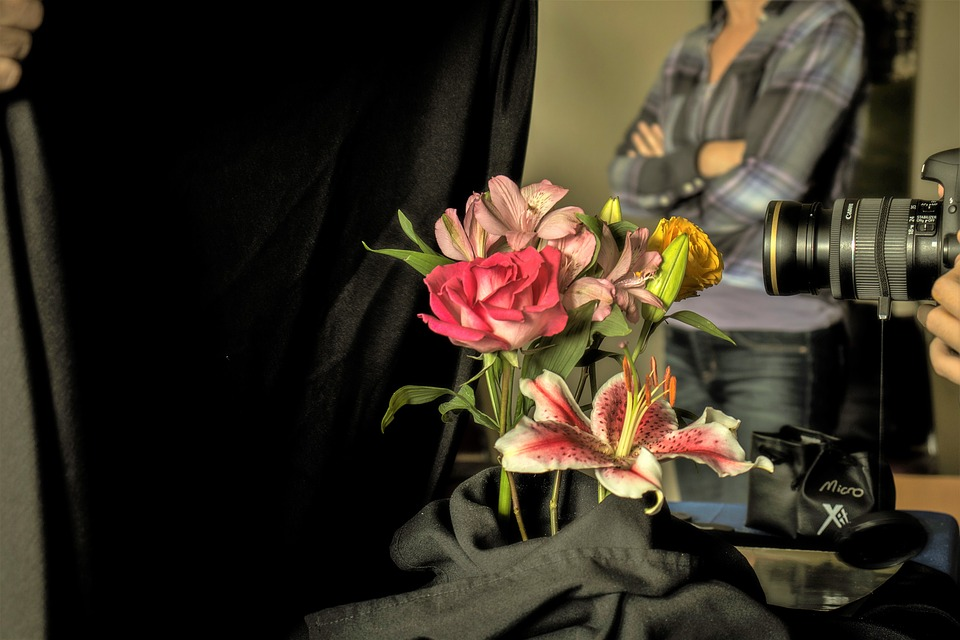
Although some people disagree with photographers that tamper/modify natural light, they still call it natural light. Every photographer has his/her style to achieve artistic goals. Experimenting and mixing multiple types of lighting is one way to use ambient light.
How do you Take Pictures in Ambient Light?
Natural light is simply a type of ambient light. So, taking pictures in ambient light is the same as any natural light photo.
To make the most of ambient light, you need to consider two steps:
- Camera settings
- Controlling the light
Camera settings for ambient light
- Decide which mode you want to use, such as manual mode, aperture priority mode, shutter priority mode, or program mode.
- Measure the light with the help of your camera’s reflective light meter or an incident light meter.
- Adjust your aperture, ISO, and shutter speed according to the scene, look you desire, subject, and activity. What you adjust will depend on which shooting mode you use.
- You’re all set to take pictures now.
Your camera settings will determine how much ambient light is allowed in the photo. You can overexpose, underexpose or accurately expose the ambient light with your camera settings using the exposure triangle.
Controlling ambient light in photography
There are three ways to control light, despite what type of light it is:
Reflect
You can bounce light back into your subject using a reflector or any reflective surface.
Diffuse
Blocks the light partially with a diffuser or any thin fabric that lets through little but not all light.
Block (flag)
use a solid object (black or white) to cast a shadow over your subject so that no direct light falls on them. The object can be handheld or look out for the shadow cast by a large object, like a tree or a building.
What are the Types of Ambient Light in Photography?
In photography, the biggest question is, what type of light is required to achieve the desired image the photographer wants to capture? The truth is that the success of an image depends on getting the correct lighting combination needed, regardless of the type of lighting.
So here are some lighting scenarios in various spaces you can choose.
Natural Light from Outdoors(Door Light)
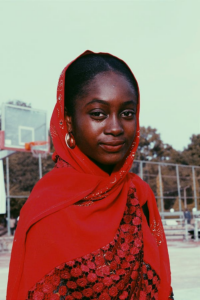
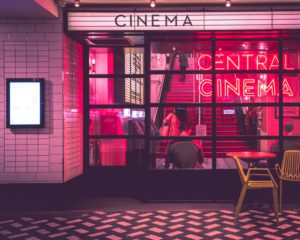
In photography, the first type of ambient light is natural light from the outdoors. This is the daylight that comes through ceiling windows, side windows, and open doorways. For example, compare the two images below. The first image used natural light from outdoors, while the second image below incorporated neons, lamps, and spotlights.
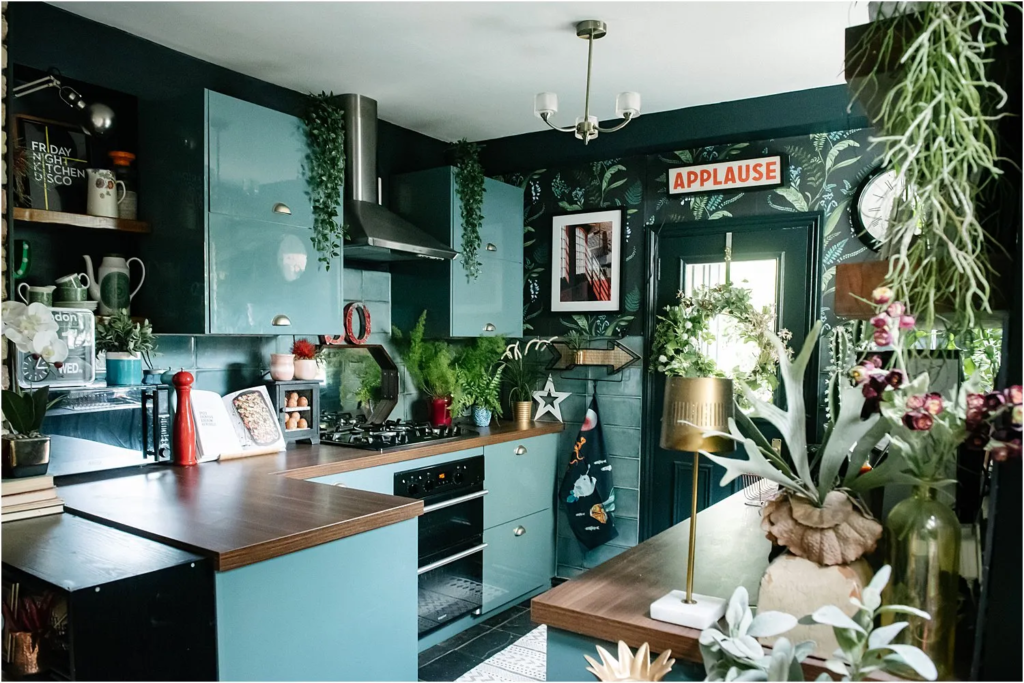
Image Source: digital-photography-school.com
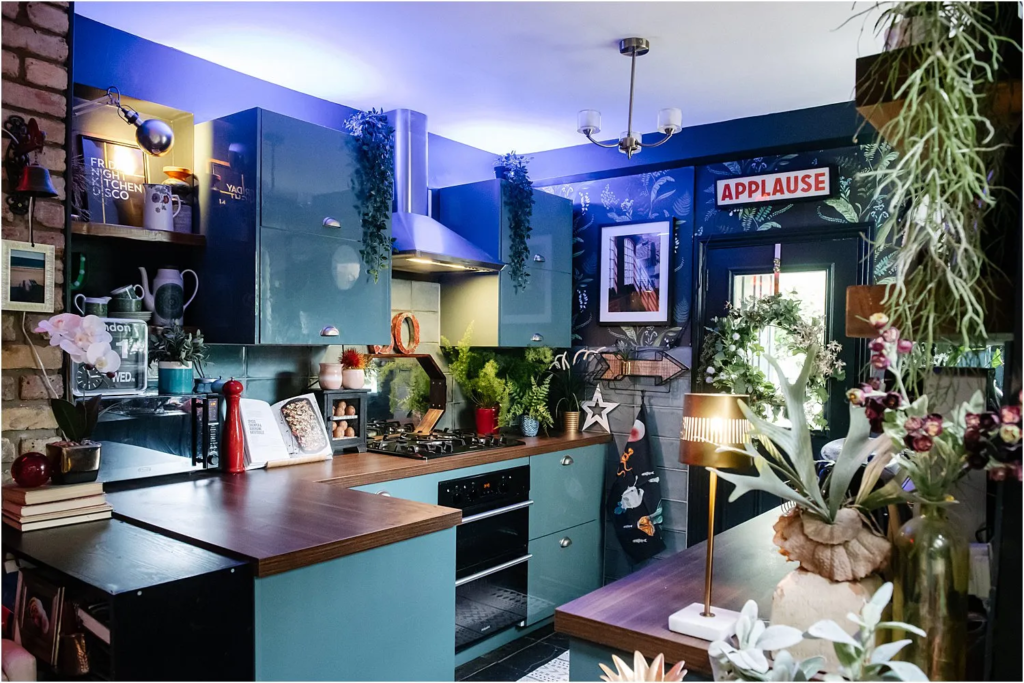
Image Source: digital-photography-school.com
Natural Light from Indoors
Candle lights and the radiance of light from a fire are natural lights that can be indoor sources rather than the actual sunlight coming from outdoors.
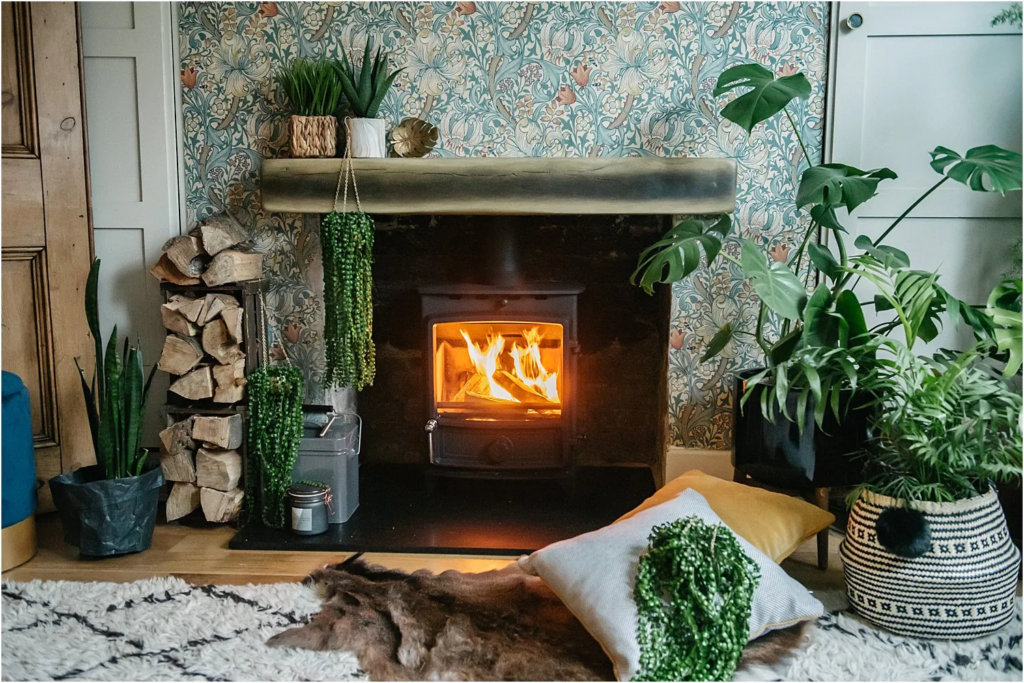
Image Source: digital-photography-school.com
Artificial Lights in the Home
A range of lights commonly observed in homes and spaces are artificial lights in the house. It includes ceiling down-lighters, ceiling pendants, spotlights, chandeliers, table lamps, neon lights, floor lamps, lights from mirrors, wall sconces, and fluorescent lights.
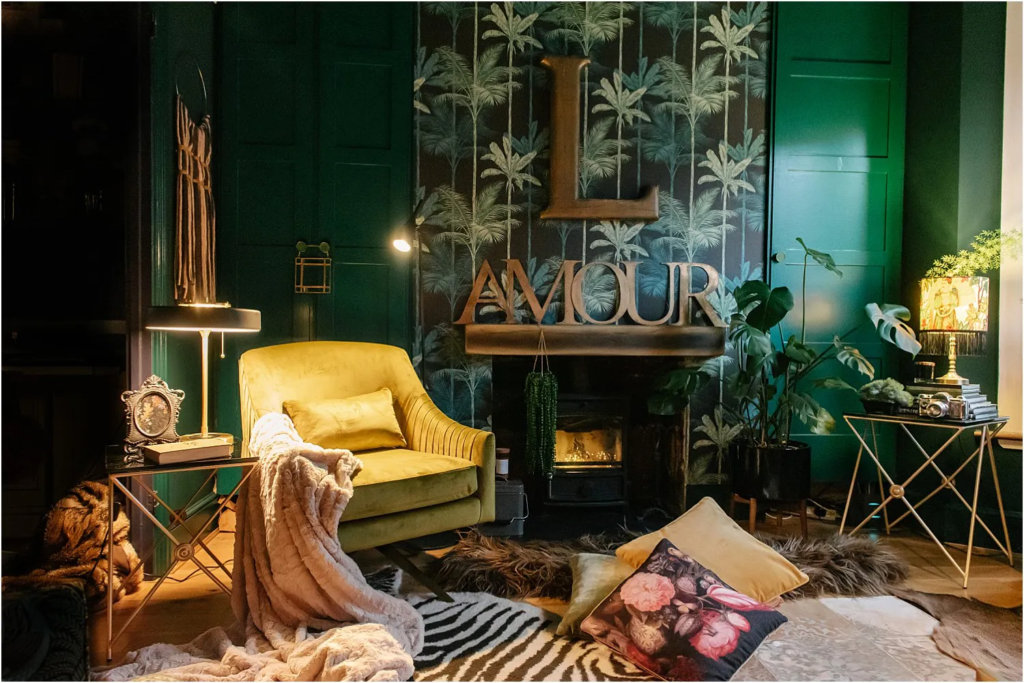
Image Source: digital-photography-school.com
Portraits
Like any lighting, whether natural or artificial, ambient light is just an option for photographers.
In portraits, ambient light could be pure sunlight coming through a side window. To shoot this, you need a camera. And, if it serves to achieve the desired image, a few accessories such as a diffuser, a reflector, and a backdrop, or you can also use an existing wall.
On the other hand, the photographer may decide not to use ambient light and only utilize electronic flashes in the same space above.
The sunlight from windows is not usually strong (depending on the sun’s position and size of windows). It will not be as strong as electronic flashes, so sometimes, it is unnecessary to block it out entirely. Electronic light cuts natural light from the window, adds a touch of light to any ambient light where needed. The outcome depends on the photographer’s settings.
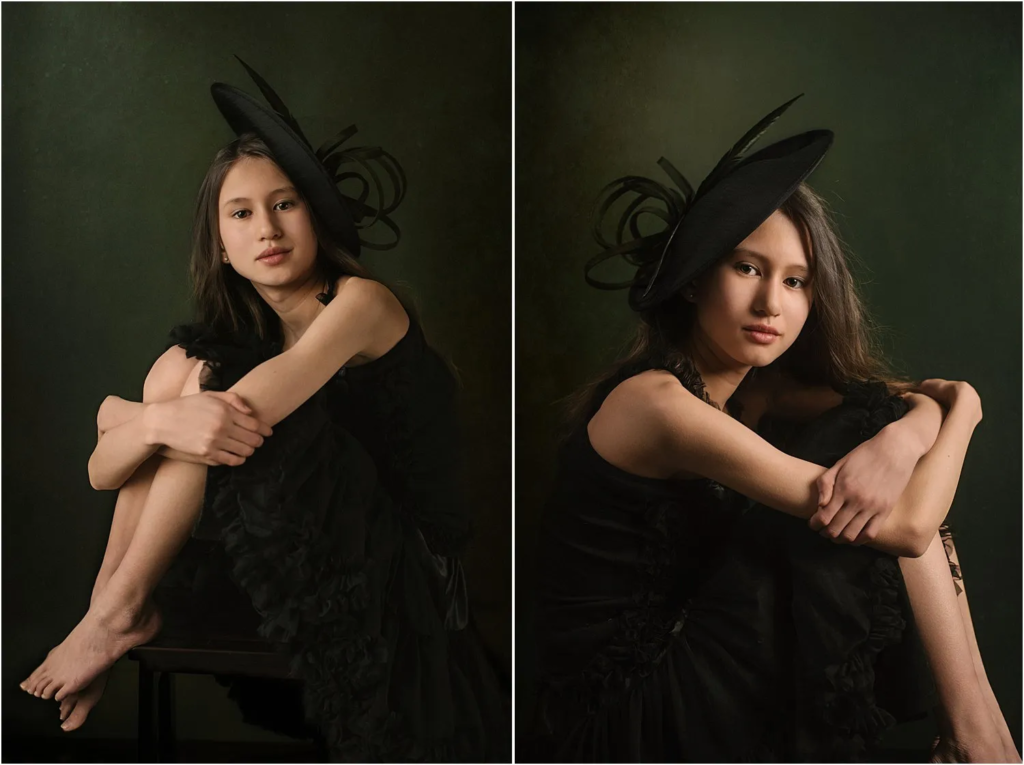
Image Source: digital-photography-school.com
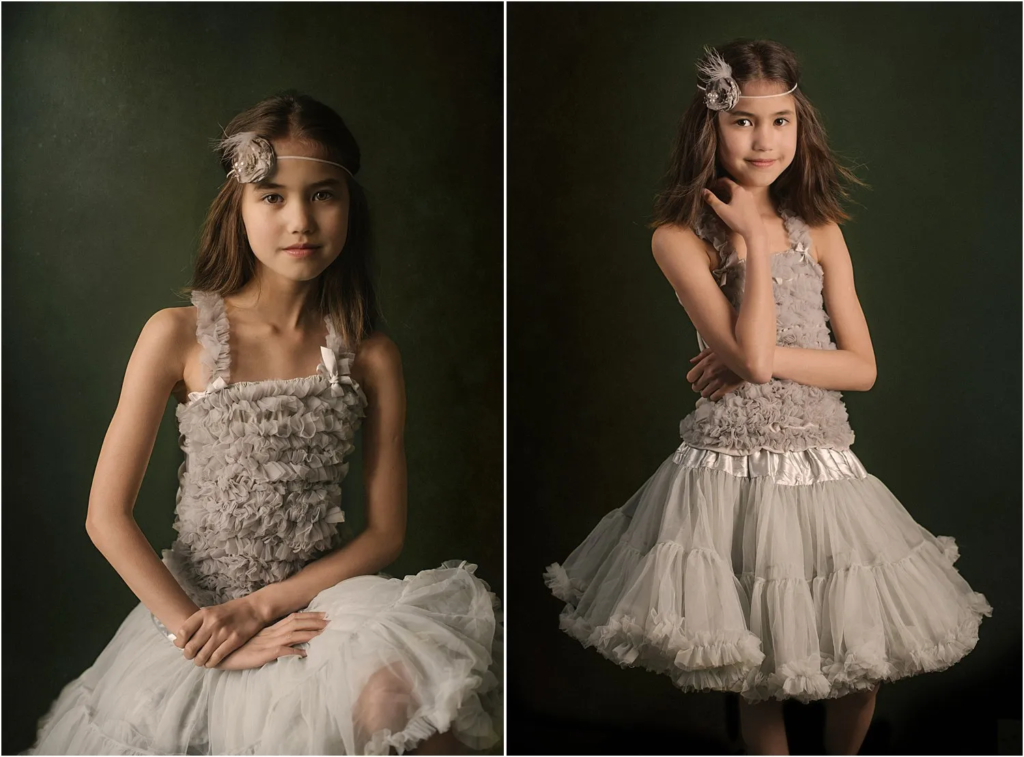
Image Source: digital-photography-school.com
The above 2 left-sided shots have been shot using natural light filtering through the diffused window and a reflector to increase the shadows. The above 2 right-sided shots have been shot using electronic flash in a softbox. Typical portrait shots are around f/2.8 – f/4, ISO 200 – ISO 400, SS 1/100 – SS160.
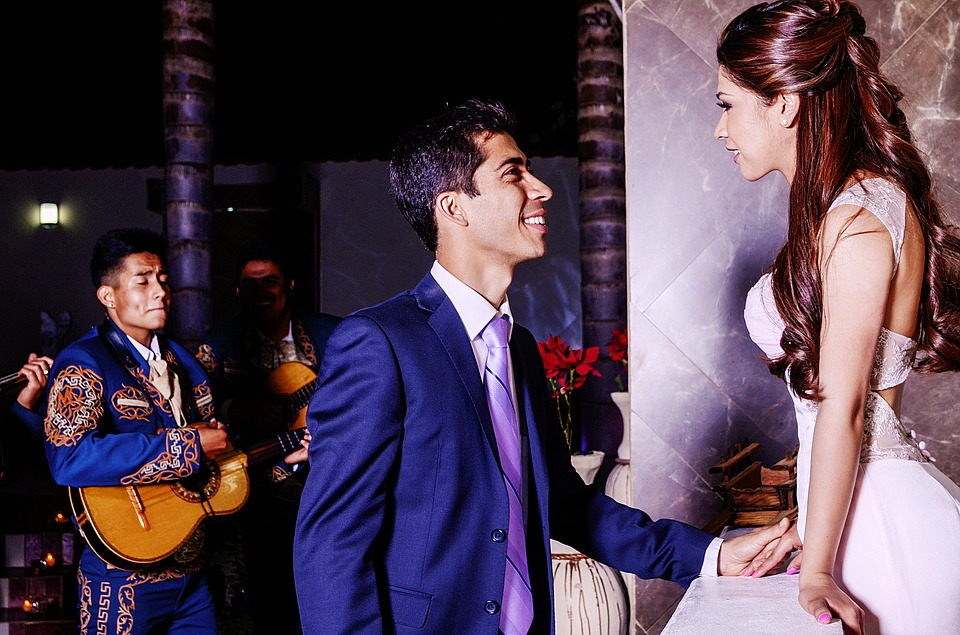
Events
Ambient light is the best choice, particularly during events. For example, parties and weddings are often busy and buzzing with people. Unfortunately, space for large equipment at such events is not always available, and usually, the photographer has to rely on just a speedlight other than a camera to capture.
Allowing the ambient light in is key to capturing the ambiance of the room and the atmosphere of the event. This means allowing background lights like fairy lights, festoon lights, wall sconces, etc., to seep into the photo.
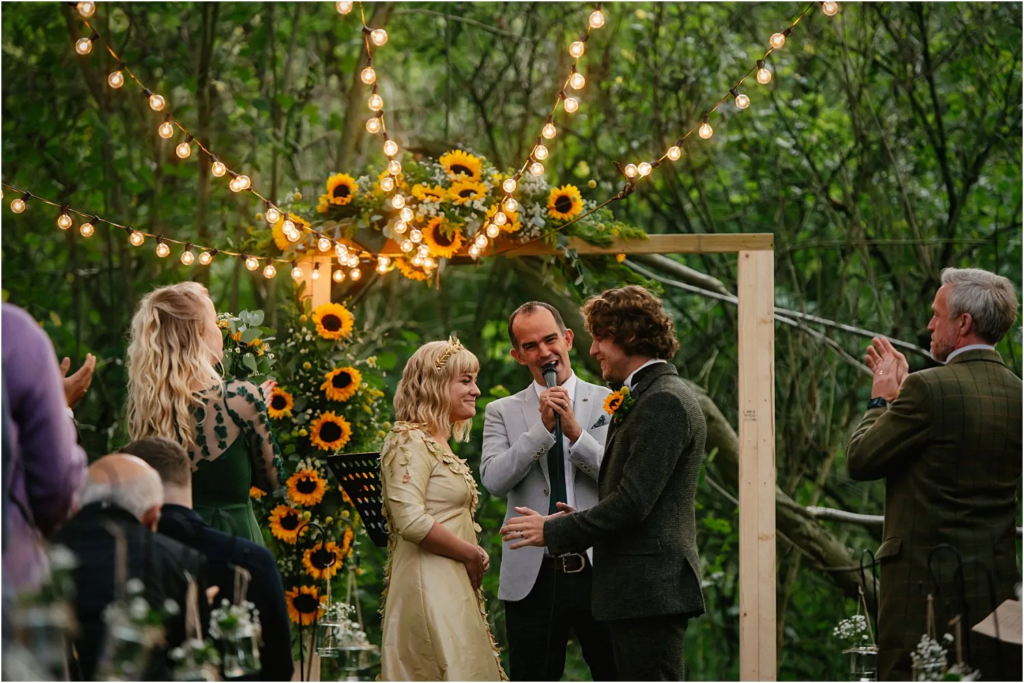
Image source: digital-photography-school.com
The resulting look has depth instead of a flat dark backdrop. The typical settings for events range between f/4 – 5.6. The ISO is relatively high, especially indoors in dark spaces around 3200 – 6400, SS relatively low around 1/60 – 100.
The last point a photographer should keep in mind is nailing any ambiance to perfection. This is done using a solid flash to mitigate low light, especially when ice creates smoke effects and different colored lighting for a party effect. You don’t want to obliterate these to light your subjects’ faces altogether.
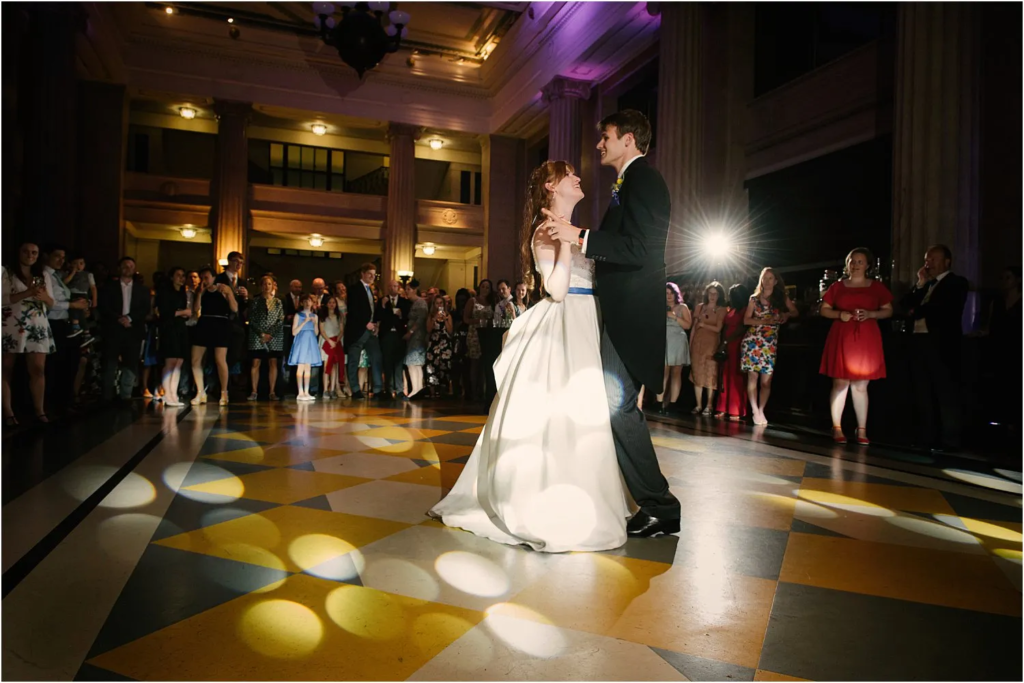
Image Source: digital-photography-school.com
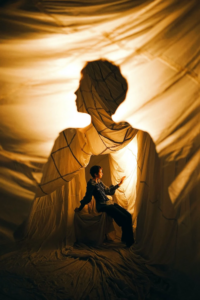
Balancing speedlight flash power and camera shutter speeds is key to achieving images like these and incorporating existing ambient light.
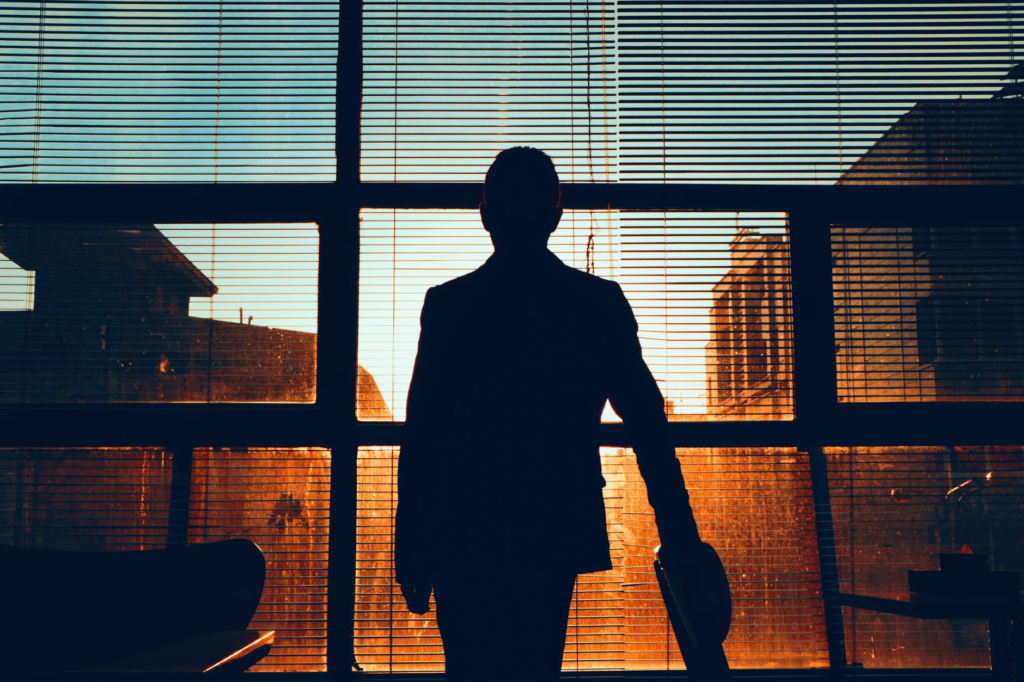
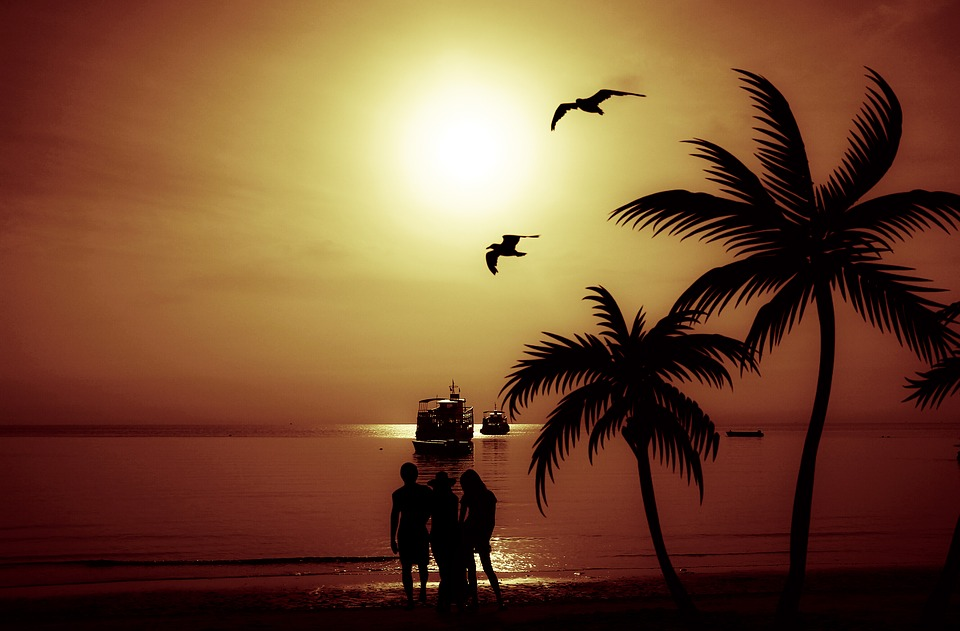
You can also use ambient light in the background to create stunning silhouettes. The photo above is one good example of a silhouette.
Interiors
Most photographers prefer natural light only in the interior images they use.
Most often, this requires a tripod and slow shutter speeds to mitigate dark areas in the place that need capturing. But suppose the area is characterized by light features such as neon and lamps that make the room’s atmosphere. In that case, photographers prefer to capture these with the lights on too.
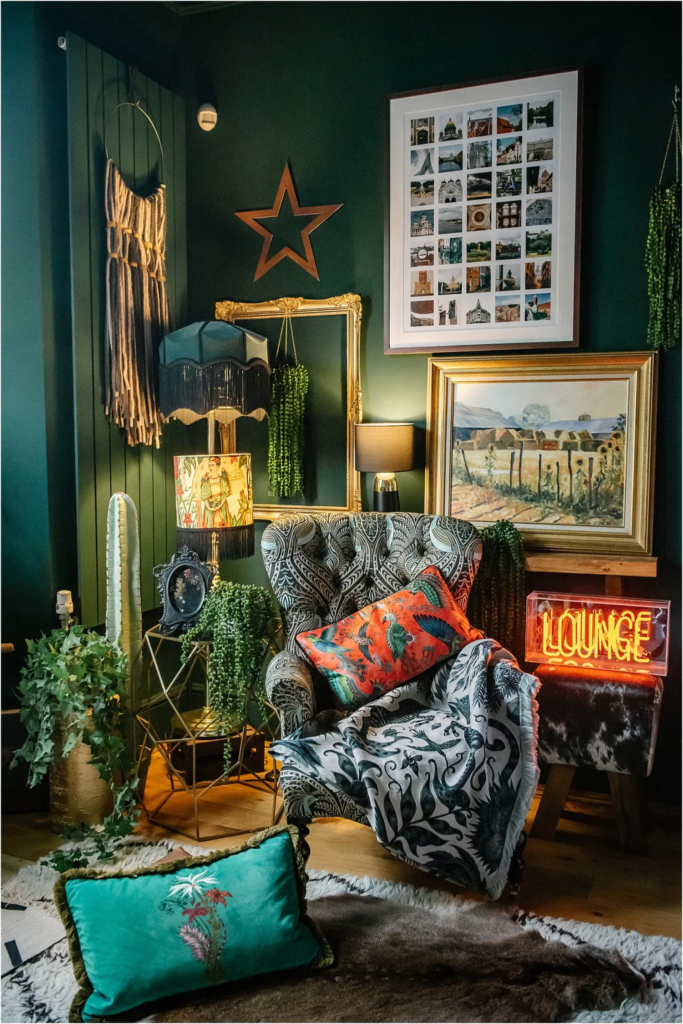
Image Source: digital-photography-school.com
Be mindful of the amount of artificial ambient light to allow a photographic composition to ensure a pleasant and natural-looking image.
More importantly, it is necessary to edit out the unnecessary lights in the space for the image you want to achieve. For example, below are three different lighting set-ups in one area. Each lighting dramatically changes the look and feel of the room.
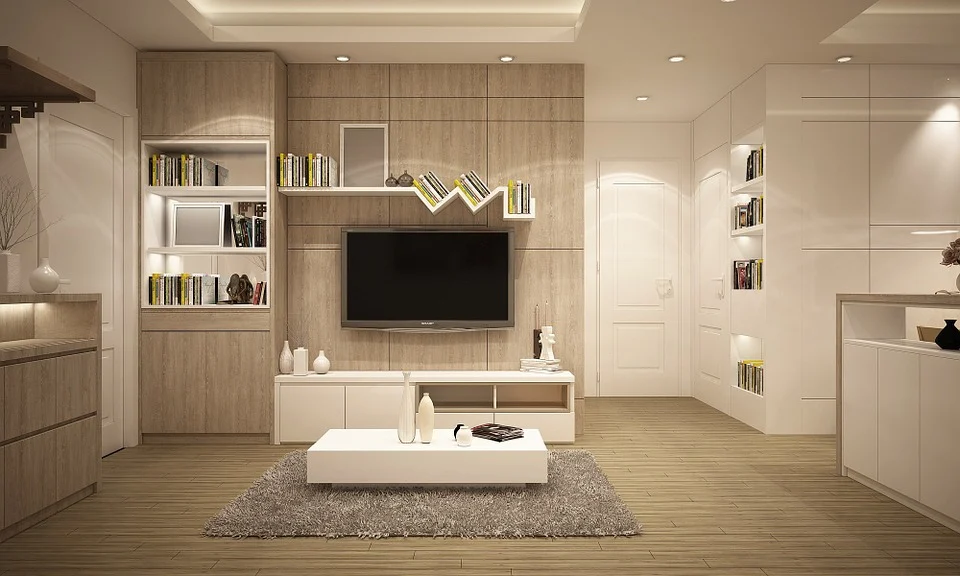
The typical settings for interior shots will depend on the day and how much natural light the room gets. However, it usually ranges between f/5.6 – f/8. ISO is relatively high around 2000 – 4000. SS is generally low, around 1/30 – 60 or 100, depending on light availability.
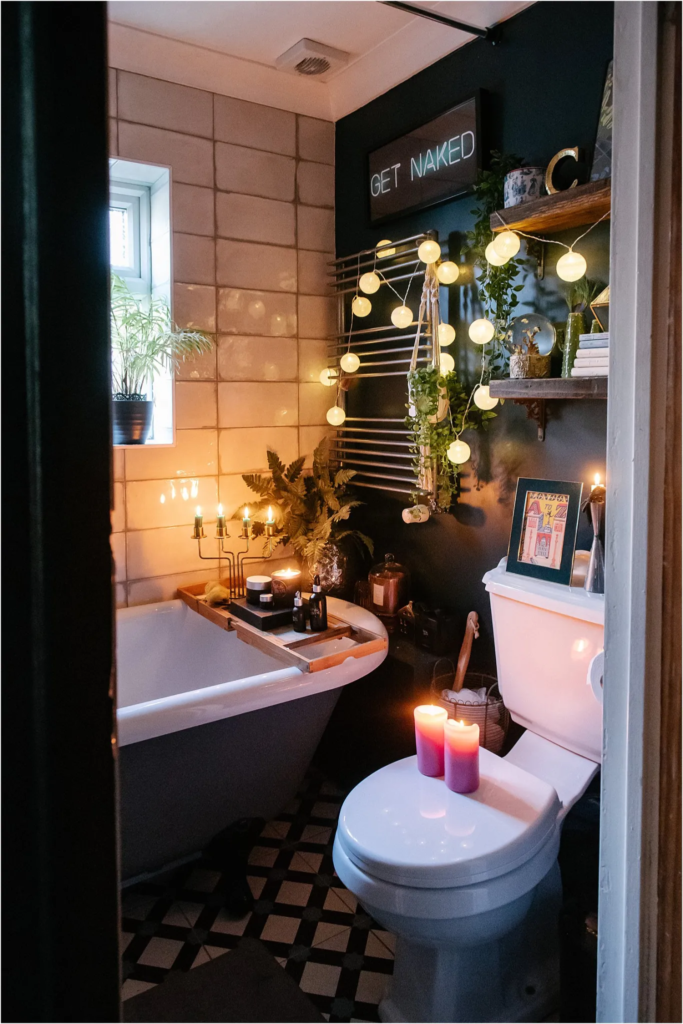
Image Source: digital-photography-school.com
It is better to try a selective mixture of lighting for interiors. This is because some areas are so hard to capture. For example, dark places with no ambient light and a long shutter speed will overexpose the places with light and expose the shady area correctly.
Of course, this can be corrected by bracketing and compositing in Photoshop. Besides, add ambient light to bring some charm in, same as the photo above.
Color Temperature
One of the most common uncertain issues when using mixed lighting, especially when adding electronic flash into the mix, is color temperature variation. Natural light from sunlight usually is around the 5600K range, while indoors, tungsten lights are around 3200K.
This indicates that when shooting outdoors, you need to fix your white balance to around 5000 – 5750K. That way, the resulting image resembles what you see with the naked eye. If you set the white balance to 3000K, everything will look very blue.
The same applies when shooting indoors with tungsten or incandescent lights. The temperature required to shoot this image is around 3200K, but if you shoot with the white balance set at 5650K, you will end up with a photo looking very orange.
Direct Light
There’s nothing like a direct splash of the sun to illuminate your subject. Luckily, finding natural ambient lighting isn’t difficult. All you need to do is ensure no hurdles between the source light and your subject.
If it’s the sun, the light rays will all go in the same direction and hit your subject head-on. You’ll know you have direct lighting when there’s a hard shadow projected from the subject. In addition, you’ll find the sharp contrast between highlighted areas and shaded ones.
Direct light can be a great way to emphasize your subject and is especially useful for creating hard lines and shadows.
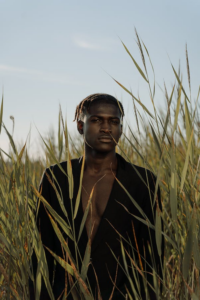
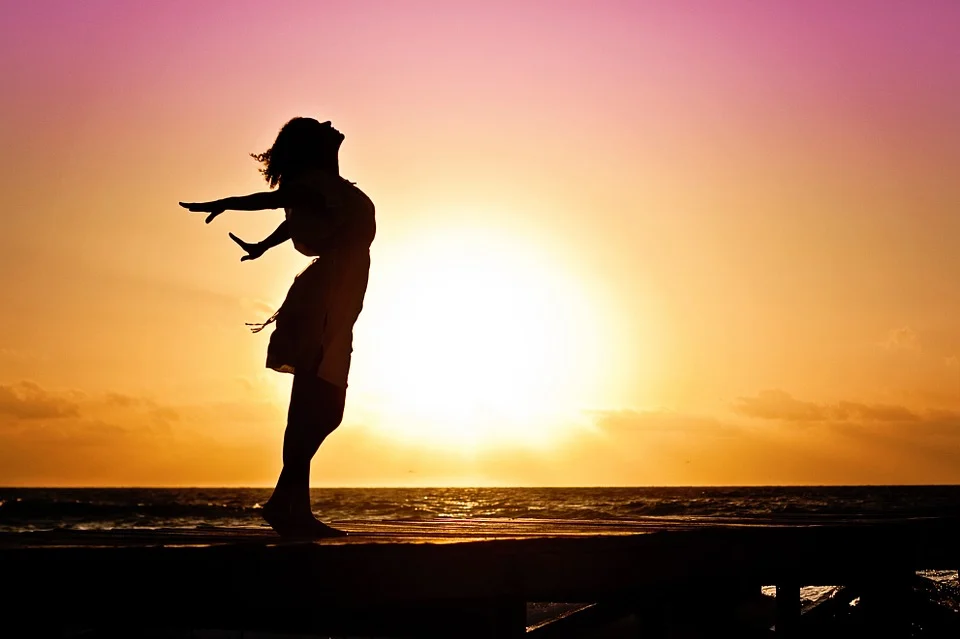
Golden Hour Light
Golden hour is that particular time of day right before sunset or sunrise. This type of ambient lighting is liked by most photographers, as it creates unimaginable effects.

Golden hour is well known for making photographs appear softer, and warmer and giving them a golden glow. Light during the golden hour is also highly directional, making it easy to apply various creative effects. Also, be careful with those long shadows.
It is essential to plan before shooting, as you’ll only have a short time.
You can also capture different apertures, and feel free to increase your ISO once the light drops.
Cloudy
Even cloudy days can provide unique and exciting lighting conditions. Cloudy daylight is beneficial for creating a relaxed or mysterious atmosphere.
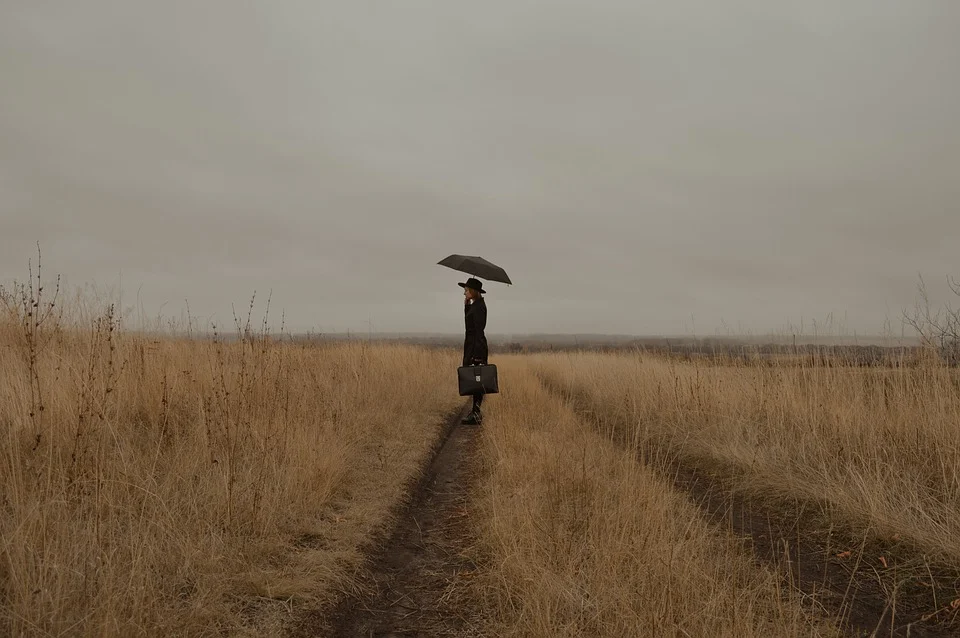
Whether shooting a landscape or a portrait, ensure that you increase your ISO (try between 400 and 800). Also, try to widen your aperture or reduce your shutter speed if you are unsatisfied with the lighting. Finally, if the lighting through the clouds is low, consider adding a splash of color to your subject. For example, a red barn or pink shirt will undoubtedly stand out amongst the cloudy sky.
Backlight
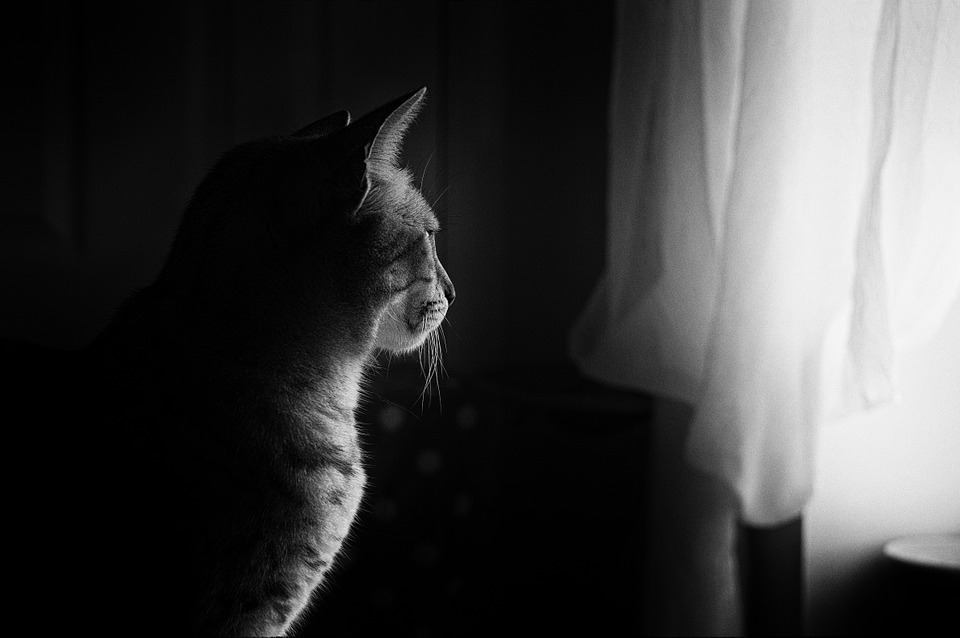
In the backlight, the source of the light is behind a subject. The backlight can vary, depending on the location, weather, time of the day, your choice of framing, and exposure. You will also need to know how your camera reacts with this kind of exposure, and which settings are the best. Place your subject between your camera and the source of the light. Suppose there’s intense light and you’re not doing anything to alter it. In that case, you will take a photo of a black silhouette, which may be an intriguing effect, but probably not the best idea for the whole photoshoot. Try experimenting with different lenses; you may also use something to bounce the light back or use a natural diffuser, like clouds, dust, etc.
Top Light
Toplight is the type of lighting placed above your subject. It may help you create a dramatic, mysterious atmosphere. On the other hand, if you’re fond of darker, moody, gloomy shoots, this is the way to go. You can find it naturally at noon when the sun is directly above you or in a room with ceiling lights.
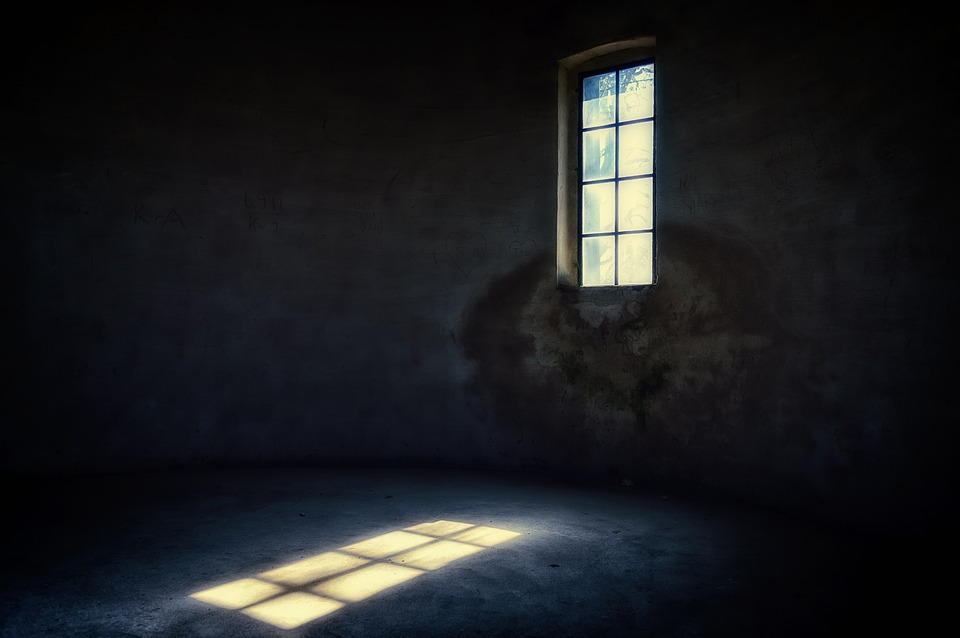
Window Light
If you want to shoot indoors with natural light, you have to play with your windows; or rather with your subject around the windows. It’s great for various photography types like still life, portraits, newborn photoshoots, food, and more. It offers a soft, calm, and natural effect. Plus, it highlights the colors beautifully, but it’s not only that. If you want something more intriguing or dramatic, it may be enough to cover your windows with a curtain.
Ambient Light Videos
How to Balance Ambient Light with Flash (Speedlight). A Basic Photography Lighting Tutorial
My SECRET to balancing OFF-CAMERA Flash and AMBIENT light. Photography LIGHTING Tutorial and Demo
Mixing Indoor Ambient Light and Off-Camera Flash: Photography Lighting Tutorial with Demo
Ambient Light and Flash: Ep. 128: You Keep Shooting: Adorama Photography TV
Final thoughts
It’s probably obvious by now that ambient light is unavoidable except for the most controlled sets. So, it is most reasonable to make the most of it.
A common misunderstanding about ambient light photography is that a photographer doesn’t have control over it. However, even though you might not be able to control the light’s existence, you can still control how it strikes your subject and what purpose it serves in your photo.
Harsh midday sunlight might be best used as a key light, or perhaps you use a bounce to utilize it as a fill light. If you’re shooting a horror film or during night shoots, maybe you’ll use moonlight for some spooky rim light. The possibilities of ambient light are endless and not out of your control.