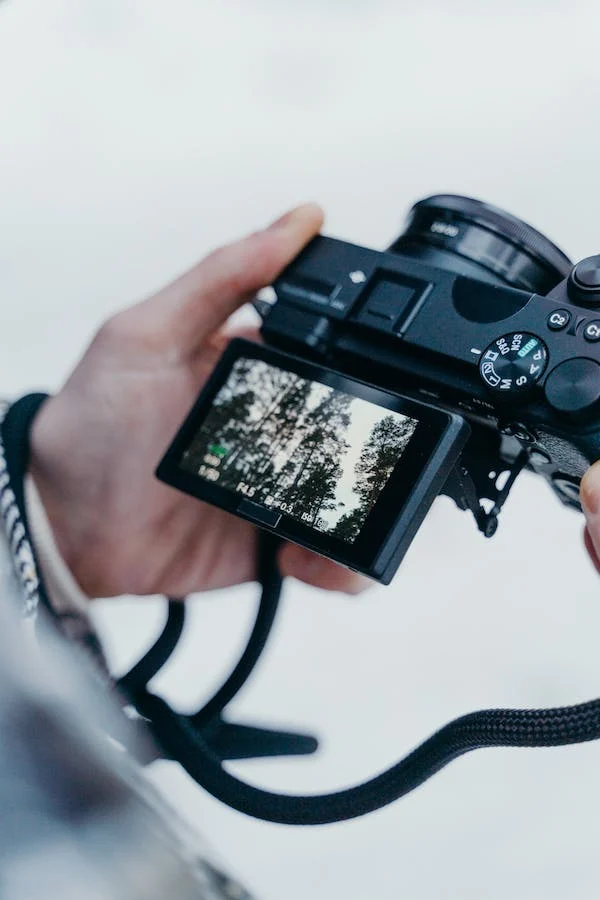
Aperture, Shutter Speed, and ISO are the three pillars of photography. The aperture in photography is the opening of a photographic lens diaphragm through which light passes to enter the camera. Aperture changes the quantity of light that passes through a camera lens when one expands or shrinks the aperture.
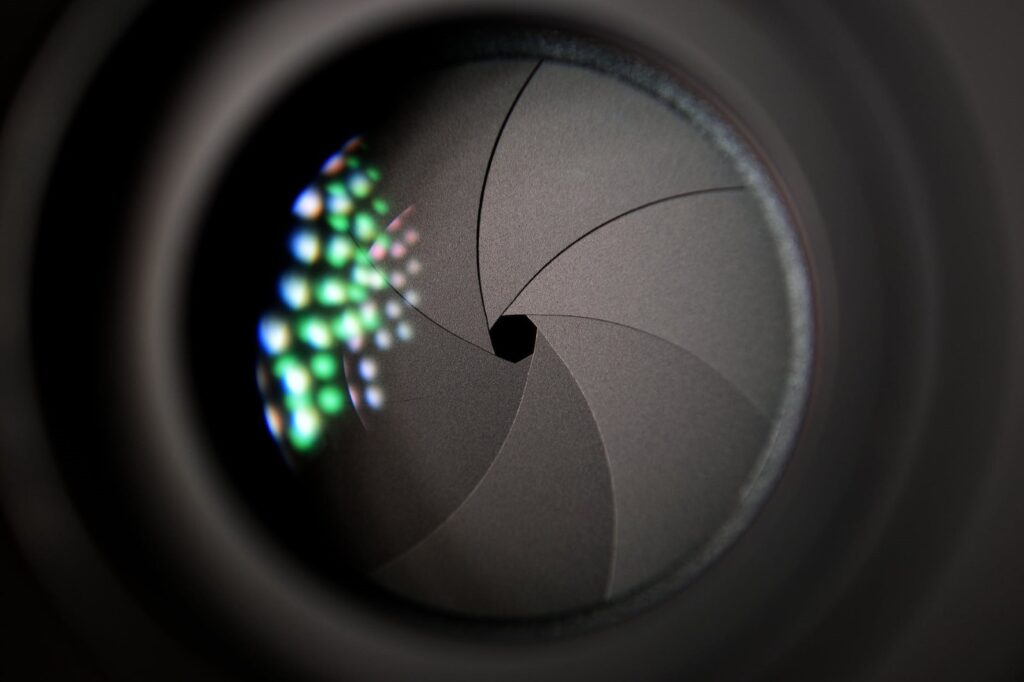
The operation of an aperture is similar to that of human eyes. As our eyes move between dark and bright environments, the iris either expands or shrinks by controlling the size of our pupils. Similarly, you can change the aperture size depending on the light needed to reach the camera sensor.
The calibration of the aperture is in f/stops and denoted with numbers such as 1.4, 2, 2.8, 4, 5.6, 8, 11, and 16. The lower f/stops represent larger apertures and give more exposure, whereas the higher f/stops mean smaller ones. Therefore, clicking pictures at varying f/stops will show the effects of different apertures on the end-result image.
F-Stop and F-Number in Aperture
F-Stop, also known as F-number, is the ratio of the focal length of a lens to the diameter of the entrance pupil. When the aperture size is changed, F-stop is denoted with or without slashes like f/3.5, f/8 or f3.5, f8, and so on. The F-numbers can also be represented using the capital ‘F’ like F4. F8, F11, where F stands for focal length.
Large Aperture Vs Small Aperture
| Large Aperture | Small Aperture |
| Small F-number | High F-number |
| Example: f/2, f/2.8 | Example: f/16, f/64 |
 |  |
To remember it effortlessly, you can consider the f-number as a fraction. f/3 and f/16 as a fraction would be 1/3 and 1/16, in which 1/3 is more prominent than 1/16. So small f-numbers represent large apertures, and large f-numbers represent small apertures.
Maximum Aperture and Minimum Aperture
Depending on your lens specifications, there is a limit to how large or small the aperture can change.
Maximum Aperture
Maximum aperture is more important as you will know the utmost light your lens can gather. This will give you an idea of how dark an environment can be to capture photographs. A lens with a maximum aperture of f1.4 or f1.8 is called a ‘fast’ lens. It allows more light and is more expensive. Due to its importance, the maximum aperture is added with a colon rather than a slash—for example, Nikon 50mm 1:1.4G.
The maximum aperture will change when you zoom in and out with some zoom lenses. Example:
- In Nikon 18-55mm f/3.5-5.6 AF-P, the largest aperture will shift gradually from f/3.5 at the wide end to f/5.6 at the longer focal lengths.
- Expensive zooms such as Nikon 24-70mm f/2.8 maintain a constant maximum aperture throughout their zoom range. One of the significant benefits of prime lenses is that they have larger maximum apertures than zoom lenses.
Minimum Aperture
Almost all modern lenses will provide a minimum of f/16. But, for day-to-day photography, a smaller f-number is rarely needed. So, the minimum aperture is unimportant. Also, it costs less than maximum apertures.
How to Select the Right Aperture?
Here are some of the guidelines for selecting aperture priority:
Aperture for Portraits
All portrait photographers love wide apertures as it isolates their subject from the foreground and background. Wide apertures keep the subject as the center of interest for the viewer and blur the distractive elements.

Larger apertures will capture an image of proper brightness in darker environments and result in large amounts of background blur. So, it is ideal for shallow-focus portraits.
Example for low f/stop – f/2
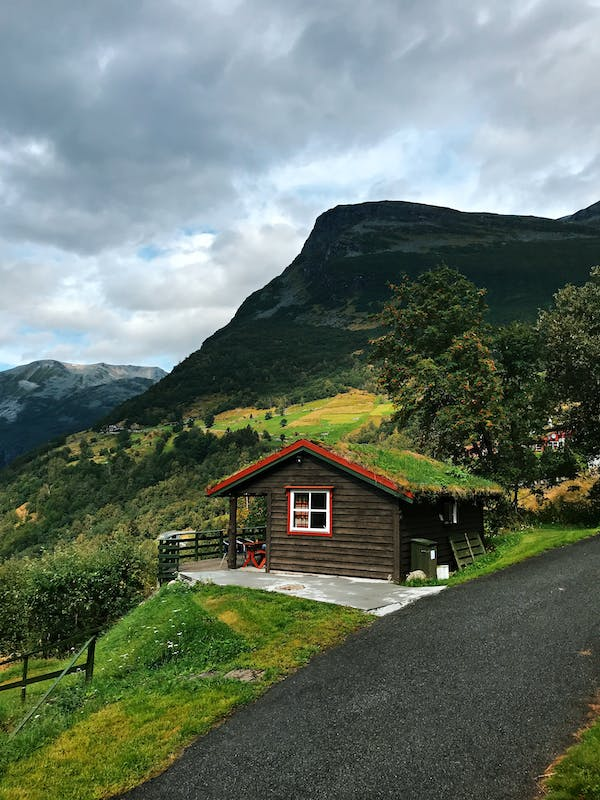
Aperture for Landscape & Architecture Photography
Landscape and architecture photographers prefer small apertures to simultaneously focus both foreground and background elements.

Small apertures will aid in capturing sharp details in both the foreground and background. Therefore, it is ideal for architecture, landscapes, and macro photography as the maximum depth of field can be achieved.
Example for low f/stop – f/11
Aperture for Intermediate Depth of Field
Intermediate depth of field limits the focus to a specific range of distances within the overall photograph. You can achieve a medium depth of field by choosing a mid-range f/stop.
Example of mid-range f/stop – f/5.6
Shoot a test using the magnifying option of the LCD to zoom in and check the depth of the field. Then, you can make necessary adjustments and reshoot.
If the photo is too dark or too bright at a chosen aperture setting, it can be compensated by adjusting the shutter speed or raising ISO.
Refer to the table given below for a clear idea:
| F-number | Aperture Size | Exposure | Depth of Field |
| f/1.4 | Very large | Allows a lot of light | Very thin |
| f/2.0 | Large | Half as much light as f/1.4 | Thin |
| f/2.8 | Large | Half as much light as f/2 | Thin |
| f/4.0 | Moderate | Half as much light as f/2.8 | Moderately thin |
| f/5.6 | Moderate | Half as much light as f/4 | Moderate |
| f/8.0 | Moderate | Half as much light as f/5.6 | Moderately large |
| f/11.0 | Small | Half as much light as f/8 | Large |
| f/16.0 | Small | Half as much light as f/11 | Large |
| f/22.0 | Very small | Half as much light as f/16 | Very large |
How to select the best aperture?
How to Set Aperture in Your Camera?
We recommend setting the aperture manually from the two modes. The aperture – priority mode, marked as A or Av, and manual mode, marked as M. These modes are usually available on the top dial of any camera. If you set the aperture in aperture-priority mode, the camera will select the shutter speed automatically. On the other hand, you have to set the aperture and shutter speed manually in manual mode.
Aperture – Priority Mode Vs Manual Mode
| Aperture – Priority Mode | Manual Mode |
| Denoted as A or Av | Denoted as M |
| The camera selects the aperture | You will choose the aperture |
| The camera selects the shutter speed | You will choose the shutter speed |
How Aperture Affects Photographs?
The following are the effects of the aperture on photographs:
- Ability to focus in low light
- Control the amount of light from the flash
- Depth of Field
- Exposure
- The focus shift on some lenses
- Sharpness loss due to diffraction
- Sharpness loss due to lens quality
- Shutter speed
- Starburst effects on bright lights
- The quality of background highlights or bokeh
- Visibility of camera sensor dust specks
Effect of Aperture in Photography
Effects of Aperture on Exposure
The size of the aperture influences the exposure or brightness of your images. When the aperture’s size changes, the quantity of light reaching the camera sensor also changes. So, your image will be brighter in large apertures and darker in small settings. Therefore, it is recommended to use a large aperture in dark environments, indoors, or at night to capture maximum light.
Effects of Aperture on Exposure
Effect of Aperture on Depth of Field
Depth of field is the zone of sharpness in front of and back of the subject on focus. The aperture’s size affects how blurry or sharp the area behind the subject on which the lens is focused.
If the f-stop is large, the opening of the lens will be small, and the background will be sharp due to the greater depth of field.

If the f-stop is small, the size of the aperture is large with less depth of field, resulting in a blurrier background.

To simplify,
High F-stop = Small Aperture = Large Depth of Field = Sharp Background
Low F-stop = Large Aperture = Low Depth of Field = Blurry Background
How the Aperture Actually Affects Depth of Field?
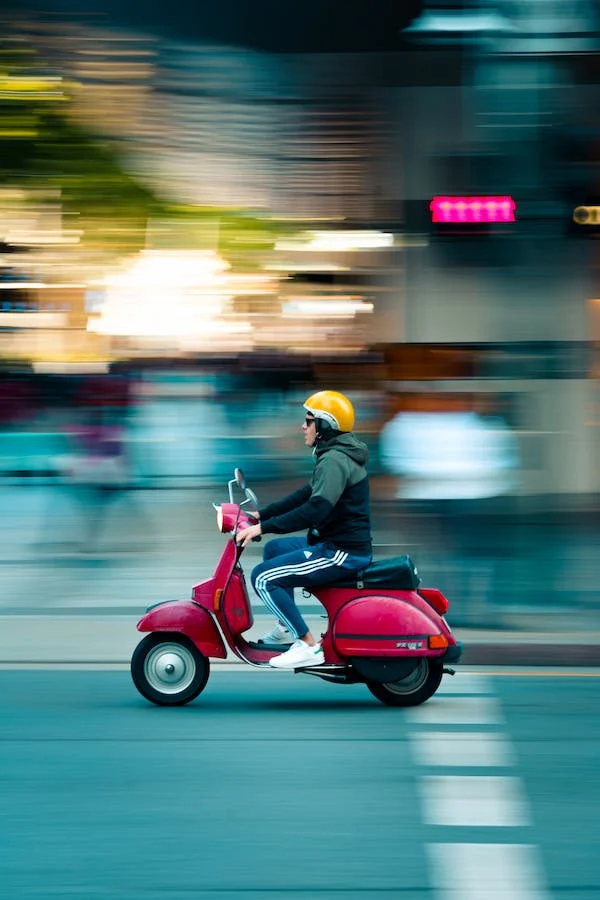
Effect of Aperture on Shutter Speed
As more light enters the lens using low f/stop, the shutter need not stay open for long to make a correct exposure. Therefore, with larger apertures, the shutter speed is fast.
A high f/stop allows less light into the lens. So, the shutter has to remain open for a little longer. Therefore, with smaller apertures, the shutter speed is slow.
To simplify,
Low f/stop = Large Aperture = More Light = Faster Shutter Speed
High f/stop = Small Aperture = Less Light = Slower Shutter Speed
Flash Exposure
The aperture plays an essential role in controlling flash exposure while using speed lights or strobes. In addition, the aperture regulates the amount of light the camera can record from a flash burst in flash photography.
Negative Effect of Diffraction
Tiny apertures like f/32 squeeze the light that passes through the camera lens. As a result, the photos will be less sharp as the light ends up interfering with itself and growing blurrier. This effect is called ‘diffraction.’ diffraction depends on numerous factors, including the camera’s size and final print. If the camera sensor is smaller, you can see the diffraction sooner. Though a bit of sharpness is lost, the added depth of field is worth it. So, diffraction is not a big issue.
Lens Aberrations and Sharpness
Lens aberrations are fundamental, optical, image quality problems caused by the lens in a photo.

One of the ways to take sharp photos is to minimize the visibility of lens aberrations.

Most problems in photography are due to user error, such as missed focus, poor exposure, or distracting composition. However, lens aberration appears in several different forms because of the equipment. Due to aberration, your lenses can be blurrier at certain apertures or in the corner of the images. Some of the possible aberrations are:
- Astigmatism
- Coma
- Distortion
- Field Curvature
- Spherical aberration
- Vignetting
It is vital to know why aberrations appear and how aperture can solve them. The aperture blocks the light transmitted by the edges of the lens. When the aperture closes, more light from the sides of the lens will get blocked from reaching the camera sensor. This does not lead to black corners in the photo, as the central regions of a lens can transmit light to the edges of your camera sensor. As the center region of a lens is easy to design, photos will have few aberrations at smaller apertures.
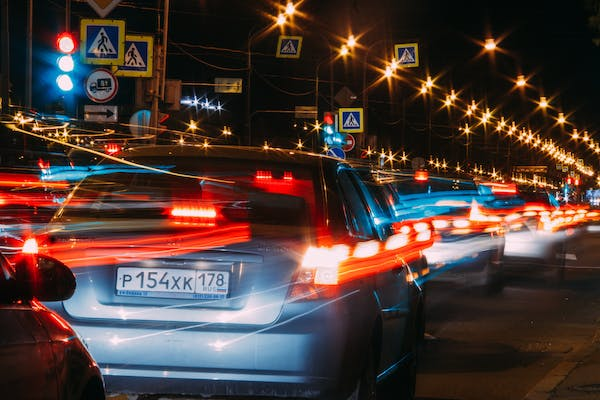
Starburst and Sunstar Effects
Starburst, also known as Sunstar, is a beautiful element in the shape of candy or starfish in specific photographs. It is ubiquitous in landscape photography. The starburst effect happens if you click a small, bright point of light when it is partly blocked. If you use a small aperture, you will get the strongest starburst possible.
The starburst effect is different for lenses and depends on the aperture blades. For every aperture blade in a lens, there will be a sunbeam. For example, using a lens with 8 aperture blades, you will get 8 sunbeams. However, if your lens has an odd number of aperture blades, the sunbeams will be doubled. For example, if a lens has 5 aperture blades, you will get 10 sunbeams. This is because in a fully symmetrical lens with an even number of aperture blades, one-half of the sunbeams will overlap the other half. So, those sunbeams are not visible in the photo.
The shape of the aperture blades also plays a vital role in the starburst effect.
- You will get a pleasant out-of-focus background blur starburst effect using round aperture blades.
- Straight aperture blades result in good starbursts with more defined rays of light.

Depending on the aperture size and shape of the lens, lens flare may also appear in specific photographs.
How to Capture Starburst in Your Photos?
Focus Shift Issues
The focus point may shift when you use smaller apertures, even if you are not moving the focus ring or in manual focus. Focus shift is a type of lens aberration where the lens may not focus light similarly at the center and the edges. For example, the focus point might change slightly when the light is blocked at the borders.
If your lens has focus shift issues, follow the given instructions to identify the severity.
- Place your camera on a tripod, and set the lens to manual focus.
- Focus on the center of an object with small details that extends backward. For instance, a table with a tablecloth.
- Zoom in on the taken photo and ensure that you see pixel-level details and portions of the photo that are out-of-focus.
- Click a photo at your lens’ widest and smallest aperture without moving the focus ring while you are still on manual focus.
- Zoom in on these photos at 100% on your computer to check if the sharpest point of focus continuously moves farther back as you stop down. Your focus shift issue is worse if the focus moves more.
If there is an extreme level of focus shift in your lens, you can compensate for it with,
- Focusing widest aperture just like usual.
- Entering live view with wide to medium apertures and focusing either manually or using autofocus.
- A wide depth of field will hide focus shift problems by concentrating on small apertures.
Ease of Focusing
If your camera’s autofocus system does not receive plenty of light, it may not work well. Most of the time, even if you are using a small aperture, your camera will use a large aperture to focus. However, if your lens’s maximum aperture is small, your camera will not use a large aperture for focusing. Therefore, to concentrate easily, a maximum aperture is essential. In addition, lenses with higher maximum apertures have extra low-light focusing capabilities.
How to Control the Focus Points on a NIKON & CANON DSLR?
To summarize the effects of the aperture on a photograph:
| Effects | Small Aperture | Medium Aperture | Large Aperture |
| Depth of Field | Large | Medium | Shallow |
| Diffraction | Most Visible | More yet difficult to notice | Negligible |
| Exposure | Darkest | Medium | Brightest |
| Lens Aberration | Least Visible | Less Visible | Most Visible |
| Sensor Dust | Most Visible | Medium | Least Visible |
| Sharpness | Good | Best | Good |
| Starbursts | Most Visible | Medium | Least Visible |