F-stop is a photographic term that is short for Focal stop. This article will walk you through different phases of photography to make you understand what an f-stop is, its significance, and how to use it in your images.
The art of photography is a perfect conglomeration of science and math. If you wish to generate stunning images that will arrest your viewers, you must understand the science of photography. Additionally, in your mission to reach your goal, you must understand the various levels of math instilled within it. To know what an f-stop is, you must first understand its foundation—the aperture.
What is an Aperture?
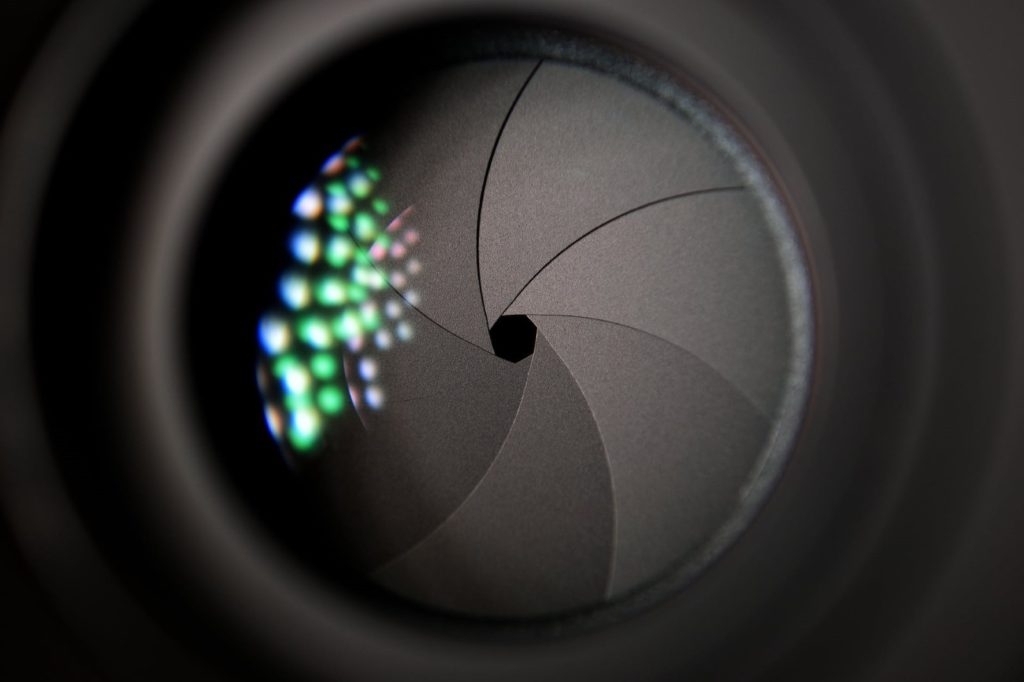
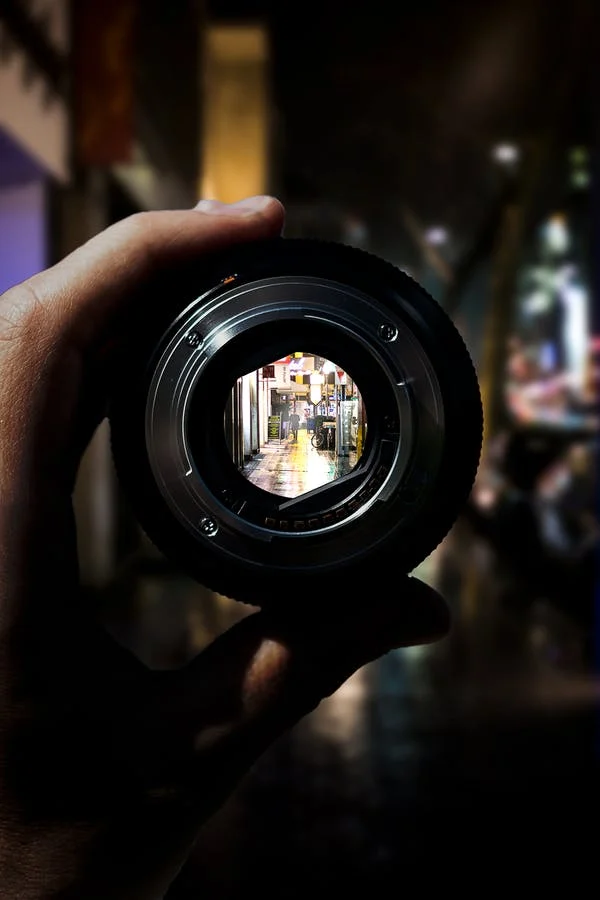
While you photograph, the light from a scene travels through a small, circular, and mechanical opening in the middle of your camera’s lens called the aperture. The aperture comprises rotating blades that open and close, thereby changing its hole size. Consequently, the aperture size determines how much light will reach your camera sensor. Modern lenses offer the flexibility to choose the aperture size through a button on your camera’s body. Hence, when you select a wide-open aperture, you let in more light. On the other hand, with a constricted aperture size, you allow only a feeble amount of light.
The Significance of Aperture Size
Adjusting your aperture size is the best way to create an impressive photograph. You can enter your camera’s aperture-priority mode or manual mode to pick the aperture size of your choice. However, before you venture into changing the aperture size, you must know its impact on your photographs. They include:
Brightness
Larger aperture sizes directly impact the brilliance of your images as they let in more light to pass through them. Additionally, it also allows you to shoot with a faster shutter speed.
Depth of Field
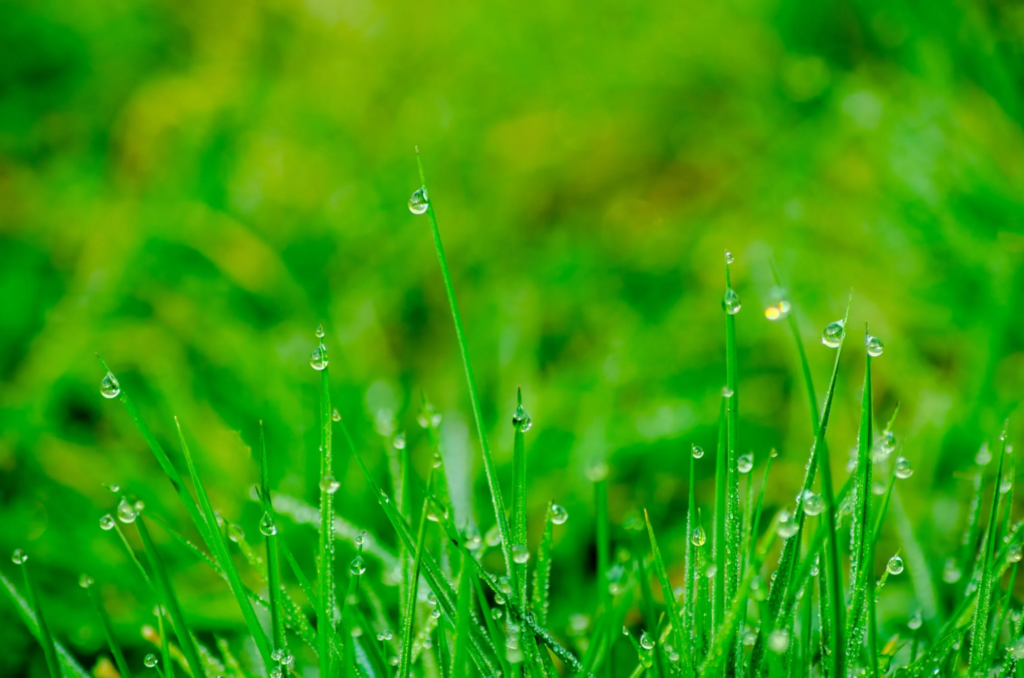
It measures your image’s sharpness from the front to the back. Shooting at larger apertures creates a shallow field depth, blurring your image’s background and foreground to make your subject stand out. However, before changing your aperture size, you must understand what an f-stop is.
What is an F-Stop?
While changing your aperture size, you will encounter specific fixed points that allow you to stop and shoot your image, called the f-stop points. Therefore, an f-stop is a number your camera shows when you select a specific aperture of your lens to capture a particular photograph. In your camera, the change is indicated either with or without slashes like f/3.5 or F8, F11.
Hence, it tells you how much light your camera perceives from the scene you intend to photograph. Generally, it is denoted using f-numbers, where f stands for the lens’s focal length. The focal length tells you how much of the scene you intend to photograph is in view.
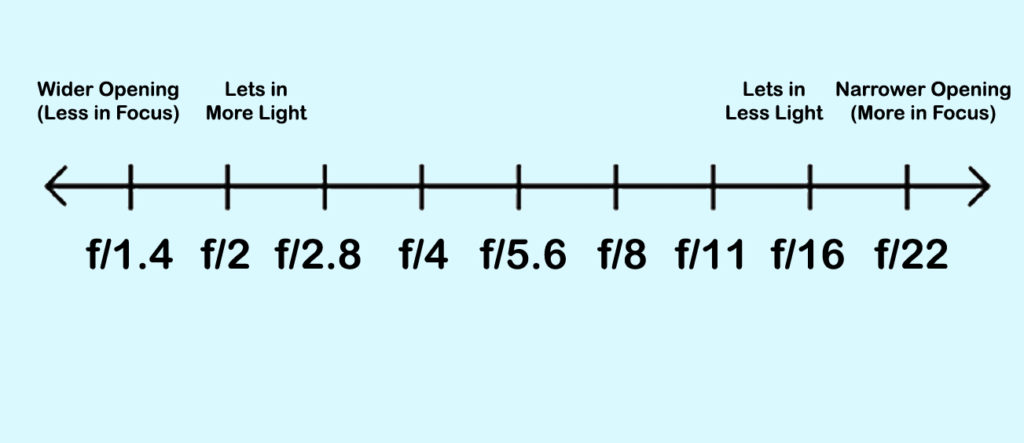
The f-numbers can be read as fractions with f in the numerator. Depending on the denominator, you could use a larger or smaller aperture setting.
| f-numbers | Aperture Settings |
| f/ Smaller numbers E.g., f/2 | Large |
| f/larger numbers E.g., f/16 | Small |
Since they work on the logic of fractions, an aperture of f/2 is larger than an aperture size of f/16.
What Does an F-Stop Control?
The F-stop points are used to control the size of the lens opening, which contains the exposure of your image. However, there is a limit to how wide you can open the lens.
Maximum Aperture of the Lens
Maximum aperture functions with the lowest f-stop. The maximum aperture of a lens you can set includes:
- f/1.4
- f/1.8
- f/2
- f/2.8
- f/3.5
- f/4
- f/5.6
While shooting in a low-light environment, you should prefer a lens with a maximum aperture of f/2.8 instead of f/4. This is because f/2.8 allows twice the amount of light through it compared to f/4. As a result, your image will be brighter and have a shallow depth of field.
Minimum Aperture of the Lens
The minimum aperture of a lens you can set includes:
- f/16
- f/22
- f/32
They allow only a reduced amount of light to pass through them. As a result, you get sharp images with a wide depth of field.

Which F-Stop Should You Use?
You require significant experience to select the appropriate f-stop for a particular image. Your choice primarily depends on how artistically you wish to project your image. Although there are no strict rules for choosing an appropriate f-stop, you can generally follow the below guidelines.
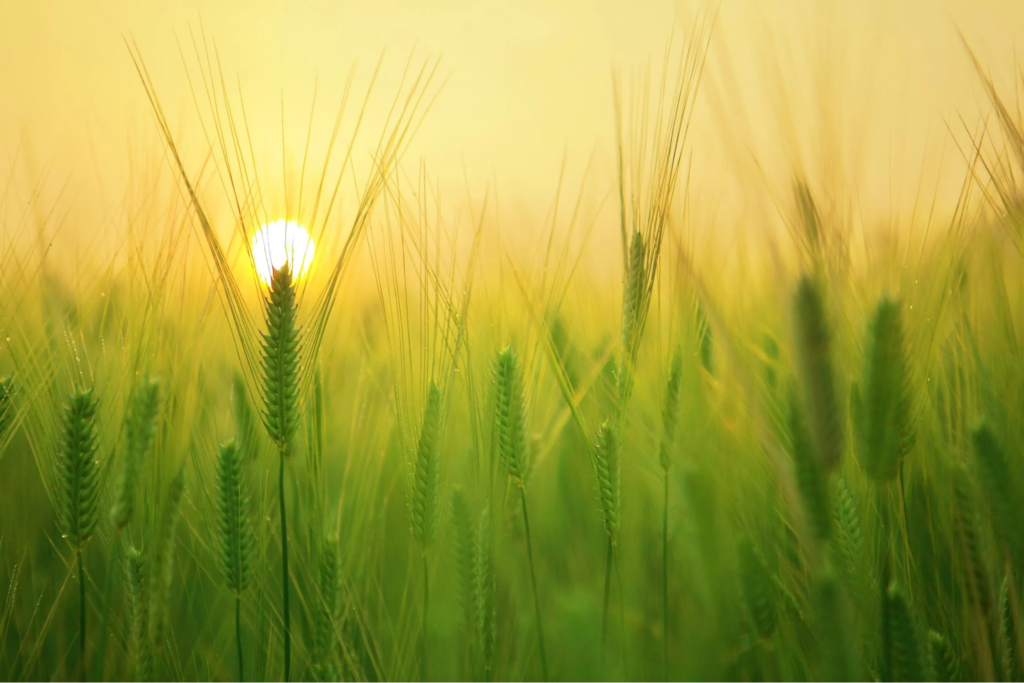
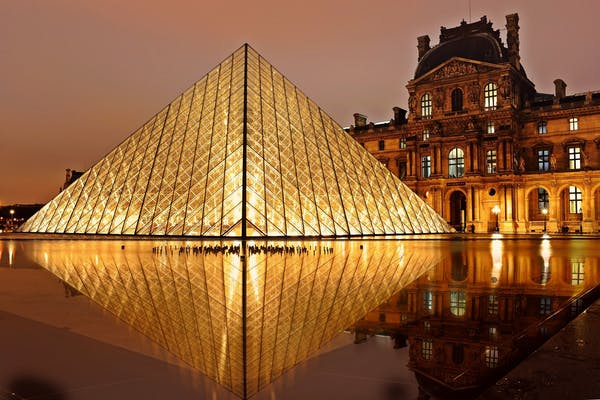
If you photograph a landscape on a bright sunny day, you can prefer f-stops like f/8, f/11, or f/16. This way, you can get a sharp image without a blurred background or foreground.

To shoot indoors or under a dark sky, you must choose f-stops like f/1.4, f/1.8, f/2, f/2.8, f/3.5, f/4, and f/5.6 to widen your aperture in the maximum amount of light.

When you add a flash, your aperture becomes smaller.
Large apertures are perfect for producing the bokeh effect. This is because they blur the background and make the foreground appear clearly. Hence it is the most suitable for portrait photography.
Alternatively, you must use a smaller aperture if you want the background equivalent in clarity to your foreground.
How to Use F-Stops in Your Images?
The more you practice using f-stops, the sooner you can master it. However, to effectively use f-stops in your images, you must first familiarize yourself with the f-stop scale. The F-stop scale helps you to measure and understand the aperture size. To understand f-stop better, click different images with the help of an aperture scale to understand the differences between other f-stop points.
What is an Aperture Scale?
The aperture scale consists of a range of f-stop points that individually denote an aperture size. As you step down the aperture scale, each f-stop point lets in half as much light.
In this table, you will discover the effect of individual f-stop points and their relationship with the aperture size. Additionally, you can understand how different aperture sizes influence your image’s exposure to light and depth of field.
| Focal Length | f/1.4 | f/2.0 | f/2.8 | f/4.0 | f/5.6 | f/8.0 | f/11.0 | f/16.0 | f/22.0 |
| Photo Genre | Astro | Astro | Astro | Astro, Portrait | Portrait | Portrait | Portrait | Landscape | Landscape |
| Aperture | Very large | Large | Large | Medium | Medium | Medium | Small | Small | Very small |
| Light | Lets in a huge amount | Half as much light | Half as much light | Half as much light | Half as much light | Half as much light | Half as much light | Half as much light | Half as much light- Dark image |
| Depth of field | Very thin | Thin | Thin | Mildly thin | Medium | Medium-large | Large | Large | Very large |
From the above table, you will understand that your choice of f-stop influences the aperture size. In turn, your aperture size determines the quality of your image.
Understanding the Limitations
On the contrary, even when you use the broadest possible aperture of your lens, you might still not have the amount of light you require, causing your image to underexpose. Due to these situations, you can use the aperture scale only as a reference. Hence, to pick your f-stop, you should shoot, creating a balance between your shutter speed, ISO, and aperture.
For this purpose, you need to understand the exposure triangle, which explains the relationship between shutter speed, ISO, and aperture. So first, if you’re familiarized with the f-stop scale, shoot with the Aperture priority shooting mode. It adjusts shutter speed and ISO but allows you to set your aperture. This way, it serves as a great tool to let you learn how the exposure triangle works. Then, dive in with manual mode to control the size of your aperture and all your other settings.
Understanding Exposure Triangle
The amount of light that reaches your camera sensor is called exposure. The three factors that control exposure include
- Shutter speed
- ISO
- Aperture Settings
All these three together make up the exposure triangle.
Once you begin shooting in manual mode, you will realize how your camera exposes a scene. Additionally, you need to know how shutter speed, ISO, and aperture impact exposure. This determines how you change each one.
Shutter Speed and ISO Stops
Like the aperture f-stop scale, we can also measure the ISO and shutter speed in stops. However, at ISO and shutter speed:
- A complete stop is always doubling or halving each value.
- ISO and shutter speed do not have any effect on the depth of field.
ISO Stops
The ISO doubles between stops. For example, One-stop up from ISO 100 is 200. And one-stop up from ISO 200 is 400. However, you cannot set up a more prominent ISO as they invite more noise into your image. Your camera increases its electric charge in response to a high ISO. Therefore when there is a lack of light, even when your aperture is wide open, you can add some ISO to expose your shot correctly.
Shutter Speed Stops
Shutter speed doubles between stops. For example, one-stop up from 1/200 is 1/100, which doubles the exposure. However, if you are using a digital camera, you have to shoot at a fraction of a second, in which case you have to double the time from 1 second to 2, then from 2 seconds to 4.
Thus consider the exposure triangle before picking your aperture size.
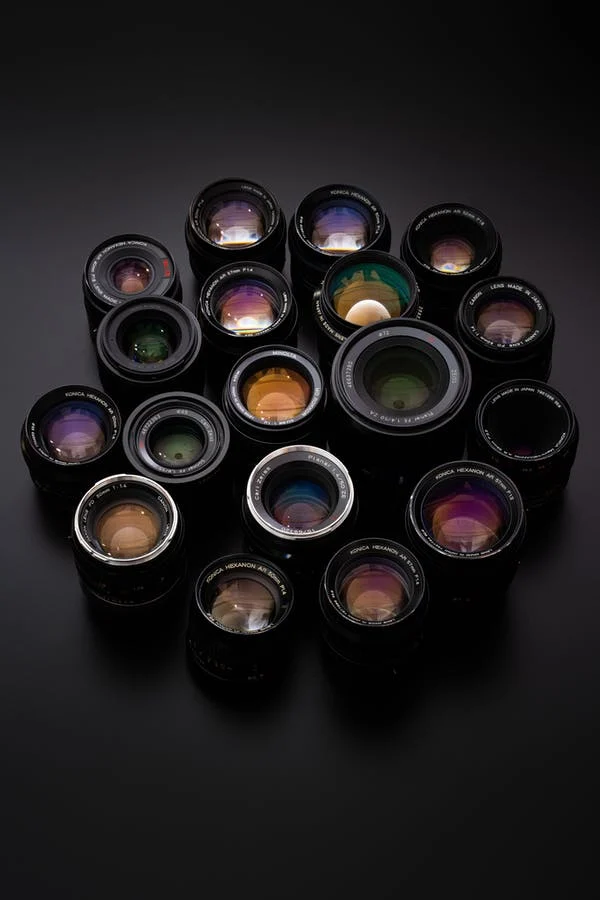
Choose your lens wisely
Every camera lens comes with a different range of f-stops. For example, zoom lenses come with a maximum aperture, while prime lenses have a fixed focal length with a wider aperture. Further, your choice of lens entirely depends on the kind of photography. Though faster lenses with wider apertures are not budget-friendly, you can still make out if you need them based on your needs with the photos you take.
Videos on F-Stops
Photography Tutorial – Aperture and F Stops Explained
F-Stops Explained — Camera Lens Tutorial
Mastering f-Stops for Cinematic Lighting
Final Thoughts
F-stop is a concept that will pay you for your efforts through your eye-catching imagery. However, it takes a significant amount of time to get a good understanding of it and put it into practice.