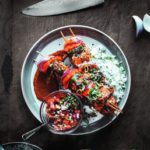
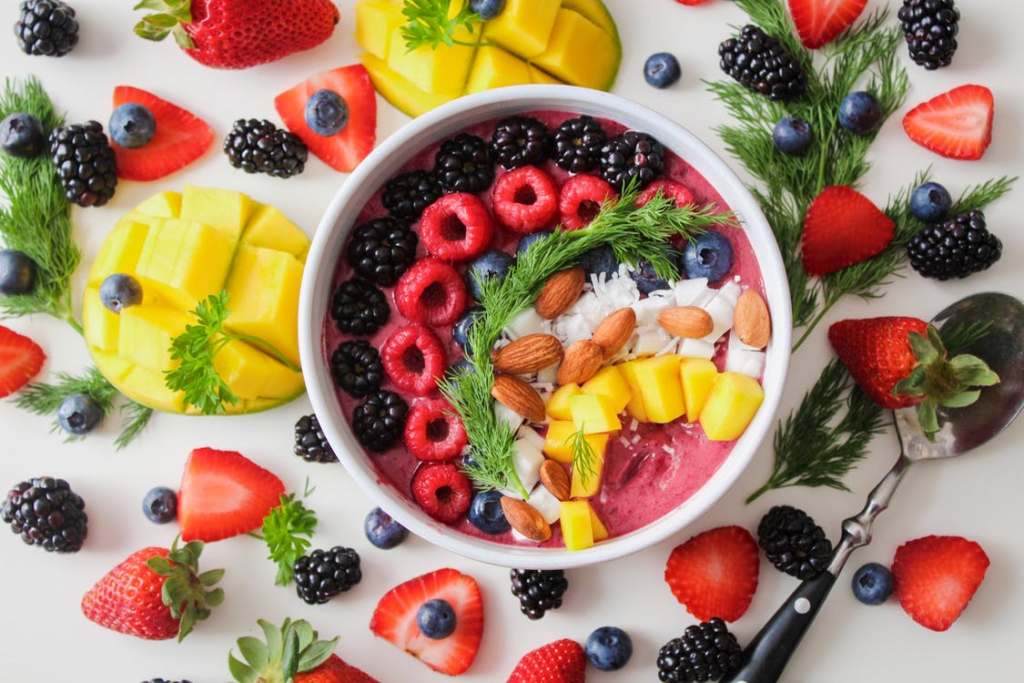
Food photography is one of the most complex types of photography. Whether it is an after-party from the perfect cocktail or the homemade roasted chicken recipe on the farm, you tell stories like all photography.

Equipment Needed for Food Photography
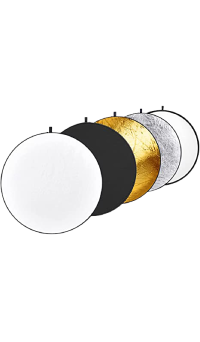
Reflectors & Diffusers: You can use white foam boards to bounce light back onto the plate and reduce shadows. You can use black foam boards to bring out more shadows. You can also hang fine white fabric over the window to soften the light source.
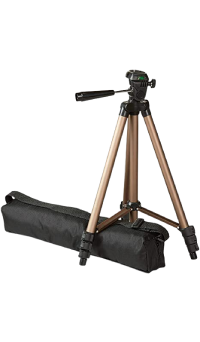
Tripod: Tripods help ensure high-quality photographs without any blurring or grainy texture.
Sifter: They are used to sift flour, make tea, and scoop things from boiling water.

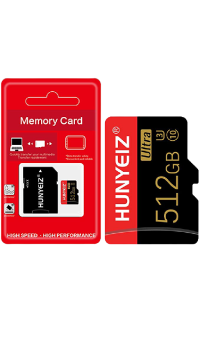
SD Cards & Compact Flash Cards: Invest in a sound card such as SanDisk cards. It is recommended to pack a backup of these cards in case of any glitch.
Basic Food Photography Tips
Here are a few tips to get started with food photography.
- Capture photographs under natural light. Avoid overhead lights, lamps, or built-in flash.
- Move about different rooms to get the perfect light source. Do not confine yourself to taking photos in one spot. Perhaps the light can be better in your bedroom in the morning and your living room in the afternoon.
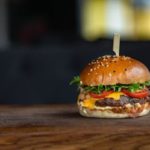
- Think of the food’s size, shape, height, and uniqueness of the food. Then place the camera where these qualities are best highlighted. Try different angles as some food plates will look better from above (pizza), some from the side (burgers), and some look better at a 45-degree angle (drinks). Move around the plates and take photos at different angles to pick your favorite angle.
- While you are shooting from the front of the food, keep a great foreground and background. Surround your main food with ingredients and props that relate to the food. For example, ingredients, sauces, oils, and cooking utensils could indicate the dish’s preparation. Tins, herbs, jars, glasses, and fabrics can speak about the origin of the food or the serving season. Arranging a few of those in the foreground and background will elevate your photo and give it depth.
- Antique shops and thrift stores offer amazing affordable food props.
- When putting items in your food images, try selecting neutral tones to make the food pop.
- Focus on the important stuff and avoid any background that does not add to the photo.
- Avoid zooming in so close that spectators can’t recognize the food.
- Use a low aperture to separate one item if you want to highlight a particular item.
- While shooting with a DSLR, shoot in RAW always, which will give you flexibility in editing.
- The lens you use will impact the bokeh.
- If you are using a hand model, ensure their hands are tidy and adequately moisturized. If you Photoshop nails, they are very noticeable and off-putting.
- Add specific actions such as pouring cream in the coffee or twirling the spaghetti. However, do not force it if the activities are out of context.
- If you work on a shoot with a stylist or PR person, or Chef, maintain the friendship and allow opportunities to collaborate.
- While shooting a tablescape, use a higher aperture to ensure everything is in focus. You may need one to tether and use Lightroom or Capture One to review your shots as you work for commercial and large-scale shoots.
Social Media Food Photography Tips
- Authenticity is never a strategy for social media.
- Consistency is essential while posting on social media.
- Never ignore any food trends.
- Do not use irrelevant hashtags or use too many hashtags.
- Sharing food posts on social media is about empathy, as you will be creating a connection with that specific dish. Seeing that the viewer has to get that food or share it.
- The food you post should look a single step away from eating it. So, it is good to post caps off bottles, and straws in drinks, remove them from any packaging, etc.
- To make the image feel natural, you can add someone to picture themselves at that moment. However, it should not feel too staged or inorganic.
- Never refer to bad food for the likes. If you do not like the food, avoid promoting it.
- It is better to have a stance or overarching perspective on your posts.
Some Examples
- Symmetrybreakfast posts perfectly symmetrical images.
- Higuccini contains a mish-mash of compositions.
- Broma Bakery posts images that are predominantly light and bright.
- stemsandforks prefers dark photos.
- Realandvibrant has every healthy meal.
- cheatdayeats prefers to post about cheese pulls and desserts.
Lighting Tips for Food Photography
- Practice getting comfortable with both natural and artificial light. For example, while going for editorial or commercial food photography, you should know how to shoot perfect shots in any lighting conditions.
- To practice with bad lighting, try pulling down your shades in the afternoon.
- While using external lights and bouncing the light in a restaurant where the walls are not neutral, the light will pull that in. This will result in a weird hue.
- Use a dark background and some sidelight for steam and spritz photos.
- Avoid shooting on a shiny surface, and ensure to wipe off tables.
- In commercial food photography, side and black light are used frequently.
- Direct flash is rare in food photography, but you can experiment with it.
Lighting Tips for Food Photography
Tips for Restaurant Food Photography
- Avoid being intrusive to the other guests in the restaurant.
- While setting up a restaurant shoot, you can get help from a media or PR contact.
- Once you schedule a shoot, ask for a contact person. You can ask for that person when you reach the spot.
- Confirm your shoot beforehand if there is no involvement in a PR film.
- Do not expect the PR person to work as your assistant.
- Avoid yelling at people. Be polite to the unsuspecting bystanders.
- Some restaurants might offer food after you shoot, while some may not. So, it is better to eat beforehand.
- If you need anything for your shoot, never hesitate to ask for it.
- Communicate the plan you have for the shoot. Tell the person in charge about how long you will take for interior and exterior restaurant photos and when you will be ready for food. You can also communicate where you will shoot the food
- It is better to always ask before stepping on the furniture at a restaurant.
- Ask for a milk crate or wine box when you cannot step on the furniture and need additional height. Some will give a 6-foot ladder.
- Ensure the safety of your camera bag and tripod. Avoid placing them along the pathway where someone might trip over them. Also, be cautious not to avoid this equipment in the photos.
- If you are trying to stack a couple of restaurant shoots in one day, always schedule some buffer time.
- Ask for every dish to look approximately realistic to avoid disappointing future diners with the food photos.
- Ensure that the plates and tables do not have smudges and creases. Those things are difficult to photoshop, so it is better to correct them beforehand.
- While exporting the photo files, it is better to name them with the restaurant’s name and your name. You can also try to include the name of the dish.
- Price your work according to the ownership. It can be the restaurant, the publication, or you.
- While photographing restaurants, assume that you are their guest. This would help to shoot better.
Tips for Commercial Food Photography
- The more significant the shoot, the more specialized your role will be.
- There is a lot of space for creativity in commercial photography too. You can produce interesting creative works.
- It is better to maintain a mood board or a set of inspirational images agreed upon by everyone
- Regular check-ins are essential whether you are working remotely or with a whole team on set.
- Never fear to pass on a project if you don’t find it a good fit.
- Talk about branding guidelines or rules as some brands will be strict about getting their brand in focus.
- Try to set up test shoots and ask for collaborations to experiment with new things and learn.
The Art of Commercial Photography
Composition in Food Photography
- Experiment with composition. Try to have 3 or 4 angles and setups, which you usually have, and start experimenting.
- Toothpicks hold up pancake stacks and can help to position fruits from falling away from the spot.
- While shooting hot food, ensure to clean your lens throughout the shoot. Steam on the lens can ruin an otherwise perfect shot.
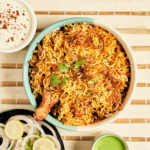
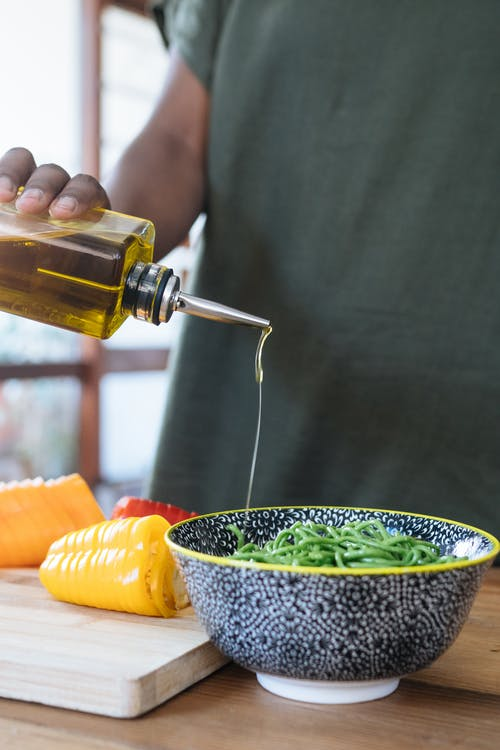
- While shooting something in a bowl, avoid shooting the bowl straight on. Instead, try shooting from above or from 75 degrees.
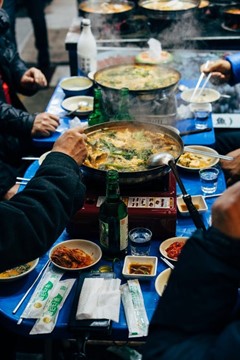
- When you are shooting in a restaurant, use every unique aspect to give a sense of space.
- It might take time to get a shot set up. Therefore, it is better to have additional options.
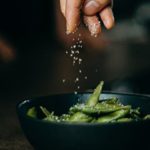
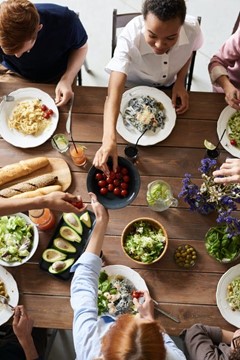
- To avoid food photos looking staged, you can include hands in photos. They can make food photos feel more natural.
- When shooting glass, keep in mind that lens distortion will make it look curved.
Composition in Food Photography
Inspiration for Food Photography
- Explore for inspiration beyond Instagram, such as cookbooks, photographer portfolios, and magazines.
- You can find some of the best food photographs on food blogs such as Half-Baked Harvest, Stems and Forks, and The Kitchen McCabe.
- You can select ten food photos you love and note down what you love about each photograph. This will help you to upgrade your work and progress in entirely new ways.
- Try to assist or shadow several photographers. As everyone has a different way of doing things, you can learn something new each time.
Tips for Collaboration on Food Photography
- While working with a food stylist, if something is not proper, immediately talk to them. Never adjust the food automatically.
- Some collaboration projects will be done just for fun. Ensure that you are coming up with a sharing plan.
- If you are collaborating with someone for the first time, it is advisable to start small. It can take some time to understand each other’s communication styles and workflow. It is always good to start with something easy and small.
- Take feedback, both positive and negative, sportively.
Food Photography Problems & Troubleshooting
Blurry Photos
The main reason for blurry photos can be because of camera shake. Some of the solutions include:
1) Holding the camera steadily.
2) Using a tripod with a remote.
3) Using a faster shutter speed will require you to open the aperture or shift to a spot with more light.
4) Raising ISO to reduce the amount of light required, which can affect image quality.
True To Life Colors
If the food plate looks very blue, yellow, pink, or green, fix it using the white balance tools of your software. Colors come true to life when the white balance is set correctly. To adjust color balance easily, shoot in RAW format.
Highlighting Photo Subject
Professional food photographers use specific lenses to narrow their depth of field and highlight the photo’s subject. You can also use photography software to change your images’ contrast, levels, and sharpness to make them pop.
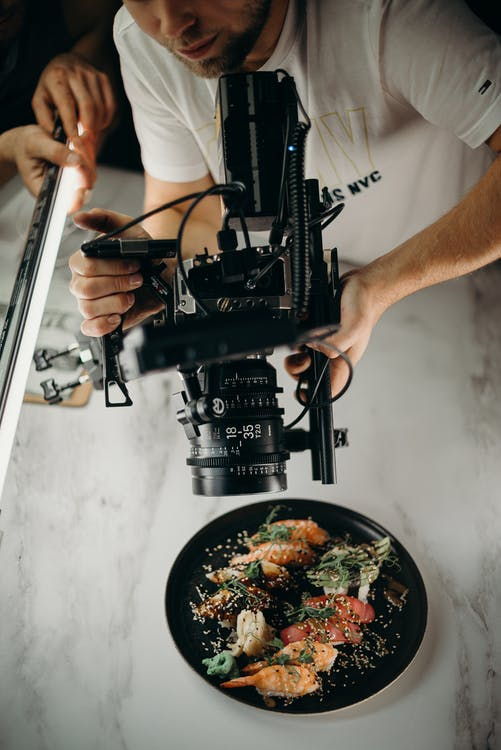
Cameras for food photography
A fancy camera is not a necessity for food photography. You can begin with a point-and-shoot camera. Make use of the user manual, and practice using the macro setting. When you have complete control over exposure and focal length, you can go for a DSLR camera. For Instagram, the iPhone has a perfect camera for small and quick stuff. However, for editorial and commercial food photography jobs, you can opt for a DSLR.
The difference between a Nikon DSLR and Canon DSLR is pretty minimal. Comparable models such as these two will deliver images of similar quality. Before buying a camera, check the reviews and use a local store to try out the camera in person. A user-friendly camera that feels more comfortable in your hand will be best suited for you. There is no such thing as the best lens for food photography. The lens will have more impact than the DSLR itself in food photography, so it is recommended to buy the camera body and lens separately.
Lenses for food photography
The fixed lens does not zoom in or out, to move closer or farther away from the subject physically. Fixed lenses are generally smaller, cheaper, and faster than zoom lenses. In addition, they allow wider apertures, which provide more control over the depth of field and more flexibility to shoot.
Recommended photography software
- Adobe Lightroom
- Photoshop
- VSCO