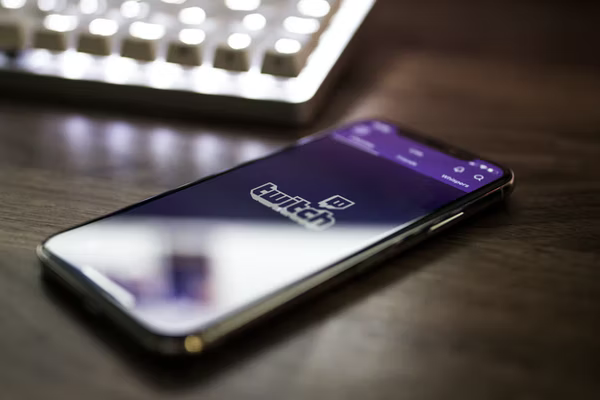
Twitch has become synonymous with live streaming. It has a 67 percent market share of hours watched in 2020. Other sites fall far behind, with YouTube accounting for 22% and Facebook for 11%. Even though every leading live streaming platform tasted success in 2020, Twitch benefited the most from the live broadcasting boom.
Only registered users have access to Twitch’s most outstanding features. Hence you need to establish an account primarily if you want to engage with the material. Joining the ranks of content creators is the same. So that will be our starting point. After that, we will go over the software, equipment, and streaming procedure.
Streaming on Twitch
Creating an account on Twitch is simple. Even if Twitch has added a third step for individuals who want to live stream on the platform, the total process is still only three. Accounts on Twitch are also entirely free.
1. Go Over the Community Rules
You would go through Twitch’s entire legal section in an ideal world. However, there are a lot of fancies, so at the absolute least, follow the community norms. Before creating an account, read the guidelines and bookmark the page to come back and check for updates.

2. Make an Account
It is as simple as clicking the “sign up” button and filling out the form on a desktop computer.
You can download the Twitch app on mobile devices. However, Twitch suggests you sign up with your phone number first and add your email address later.
3. Activate Two-Factor Authentication
You cannot broadcast on Twitch without using 2FA, and you cannot use 2FA on mobile devices either. So, go into your account on a desktop computer, access the security settings, and enable 2FA. But, of course, to complete the 2FA process, you will need a mobile phone.
Which Software Should be Used for Streaming on Twitch?
Unless they have hardware encoders accessible, beginners should start with software encoders when streaming on Twitch from a desktop computer.
Every software encoder has its own set of advantages and disadvantages. If you are looking for some of the more popular choices, here are a few:
OBS Studio
A free, open-source streaming software with cross-platform interoperability, OBS Studio is the top choice for many rookie content creators. However, the learning curve can be low if you have never utilized live-streaming software before.
Streamlabs OBS
This version of OBS contains several useful features that could help you monetize your Twitch. However, it is only available for Windows.
XSplit
A popular option for broadcasters who want to try out paid software before investing in the full version, it only shines if you are ready to pay for it.
vMix
Think about this possibility when you are ready to become a professional streamer.
Try Twitch Studio, Twitch’s proprietary streaming software, which is presently in open beta, if you want to get a quick start on Twitch merely to see if streaming is for you. Then, check out Twitch’s streaming software recommendations for even more possibilities.
Types of Hardware for Streaming on Twitch
You do not need the most recent generation of CPUs or the most recent model DSLR to broadcast on Twitch. This is because the site is not at the cutting edge of video quality, you might be able to get away with lower-quality equipment.
However, encoding and gaming can be too much for a computer’s CPU when broadcasting a video game. This is an issue that many Twitch content providers experience. As a result, you cannot immediately start streaming on Twitch with anything. Instead, you will need a processor that can handle it. Let us take a look at each piece of equipment one by one.
Computer, Console, and Smartphone
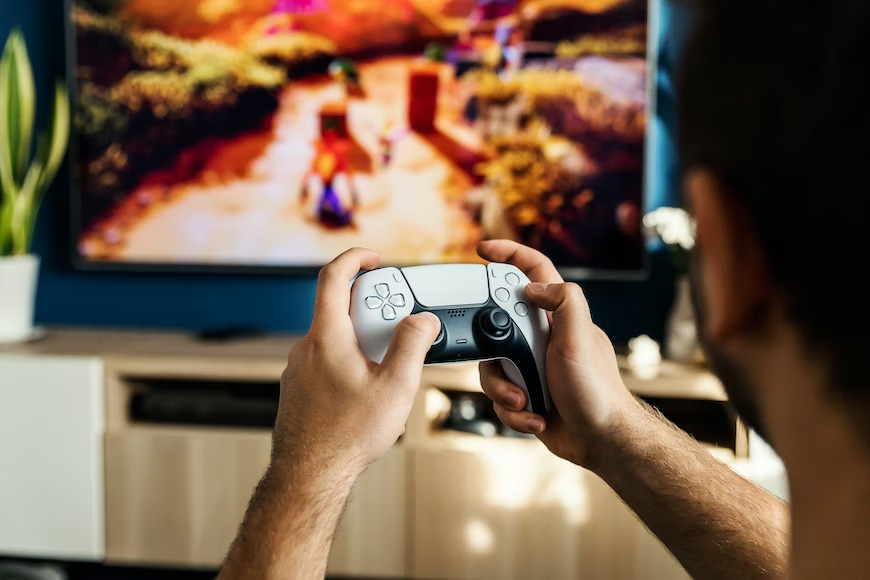
Depending on what you are using, the PC, console, or smartphone is the essential piece of gear in any streaming arrangement. Smartphones and gaming consoles like the PlayStation 4 and Xbox One are viable possibilities. As you do not have to worry about software or additional gear, these devices simplify getting started with streaming.
Desktop PCs are the most popular choice for streaming. This is because they work with a more extensive range of hardware, and broadcasting software includes unique capabilities like scene creation and overlays. Indeed, desktop computers are so helpful that even those who telecast from consoles adequately utilize them for gaming and a PC to broadcast the action.
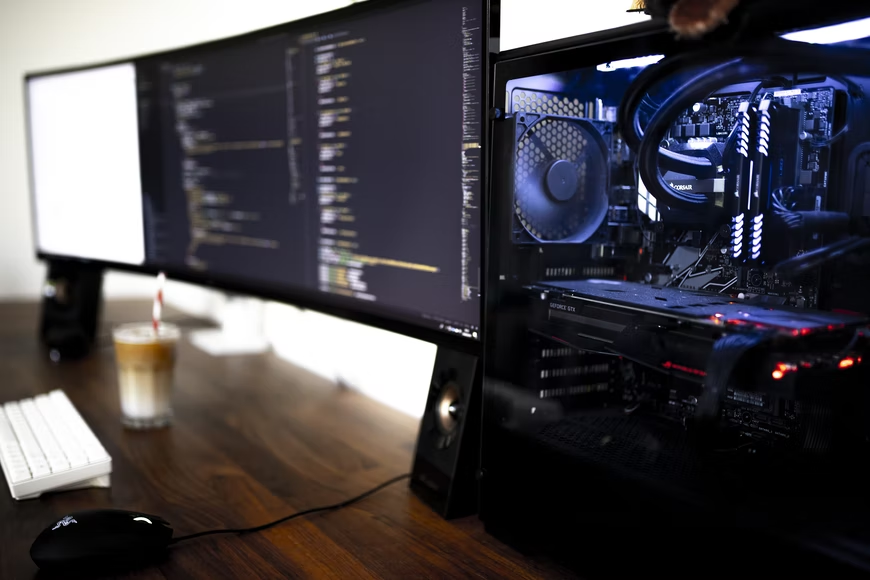
PCs are unavoidable for high-end streaming, but they will also provide you with the most alternatives when you are just getting started. Here are some things to think about when creating streaming in a desktop computer:
CPU
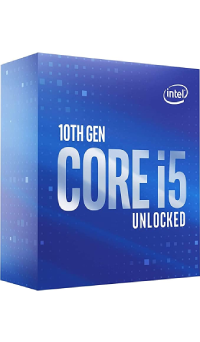
It must be able to handle both gaming and encoding simultaneously. You will need a reasonably powerful processor. The Intel Core i5-10600K and AMD Ryzen 7 5800X are good mid-range processors, while the AMD Ryzen 5 3600 is a good budget option.
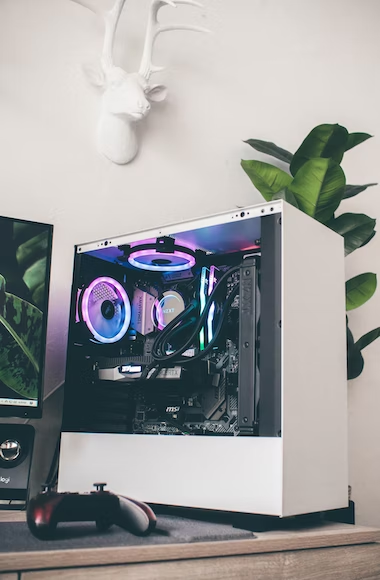
GPU
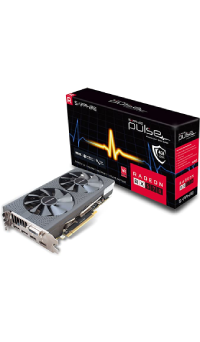
Nvidia RTX graphics cards have hardware encoders built-in, which you may leverage with OBS Studio to help the CPU. The Radeon RX 570 and the GeForce GTX 1660 Ti are two other solid GPU alternatives.
Operating System
Windows, iOS, or even Linux can be used. If you want to use it for broadcasting and gaming, you will need a nice one.
Dual-Computer Setup
One computer can be used for gaming while the other is used for encoding and streaming. Encoding should be handled by the person with the more powerful CPU.
You will need an i5 processor, 8 GB of RAM, and a reliable internet connection to start streaming. However, the more you want from your material, the more you need to invest in the basics. The same concept applies to any other transmitting equipment you will use, as you will see later.
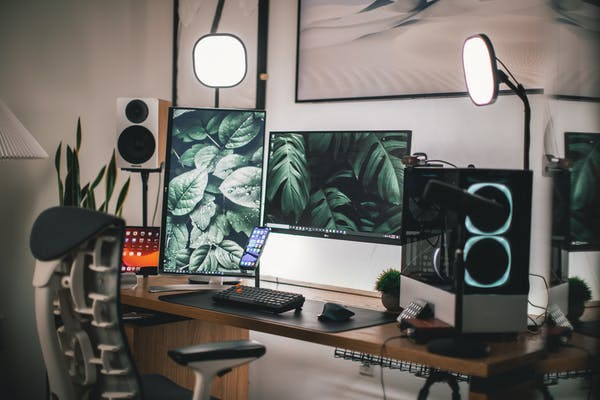
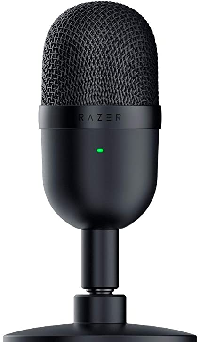
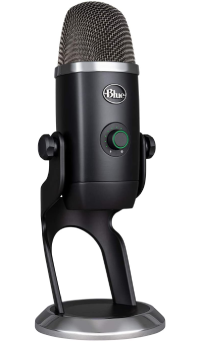
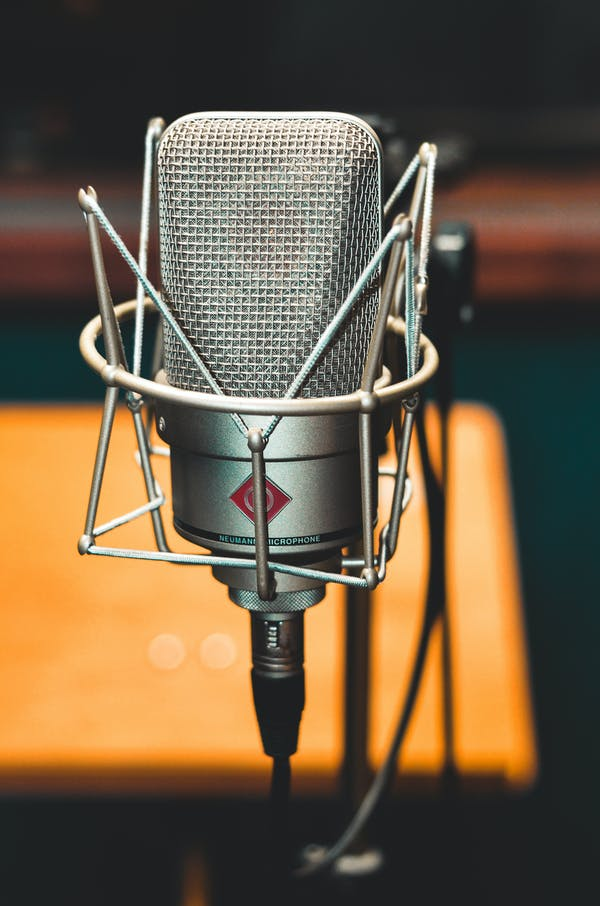
Microphone
You will need to give more to keep your viewers engaged unless you are an excellent player who can attract and hold an audience merely by playing games exceptionally well. The least you can do is offer audio commentary, enabling you to express yourself and engage with your audience.
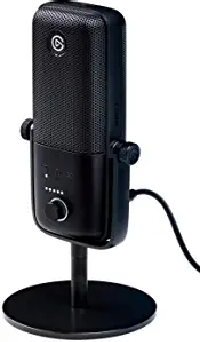
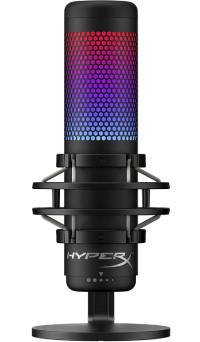
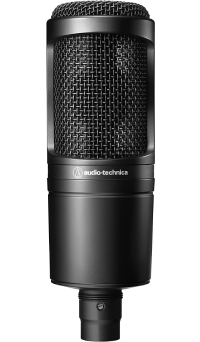
As the audio quality of your stream is so essential, microphones are always an excellent investment for streamers. Your viewers will leave your channel if they cannot hear you. It is possible to make do with using the built-in microphone on a gaming headset for a short while, but it is ideal to acquire a standalone mic right away. From the cheapest to the most expensive, some popular options include:
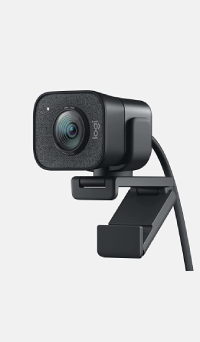
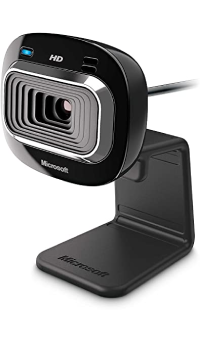
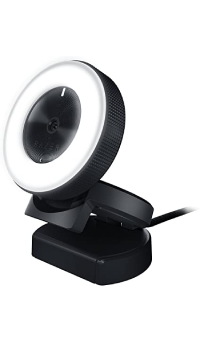
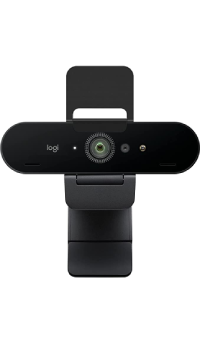
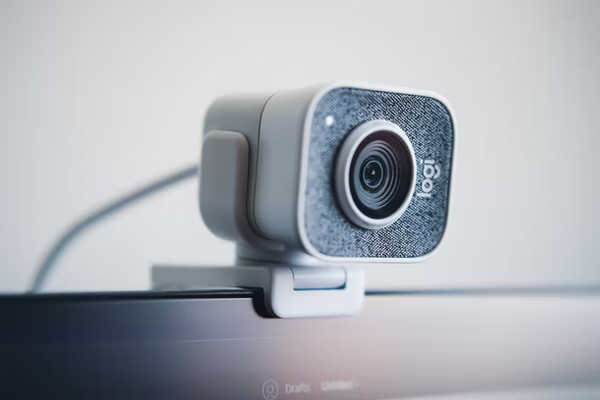
Webcam
If you think you should include nonverbal indications like facial expressions in your arsenal of communication tools, you will need to invest in a camera. Webcams, without a capture card, can produce good results. Here are some of the most popular options:
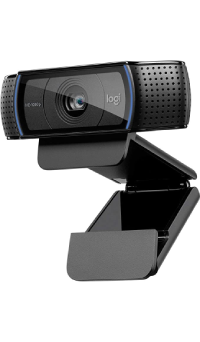
You can stream with a DSLR camera if you want to elevate the video quality of your stream. You will need a capture card to use it with live streaming software like OBS. A DSLR camera is costlier than a webcam, but it improves the quality of your footage.
Choosing the cheapest mic and webcam options will cost you roughly $100, but it will ensure that your Twitch viewers can hear and see you.
A PC, console, smartphone, microphone, and webcam are all you need for a simple setup.
Additional Gear for Streaming
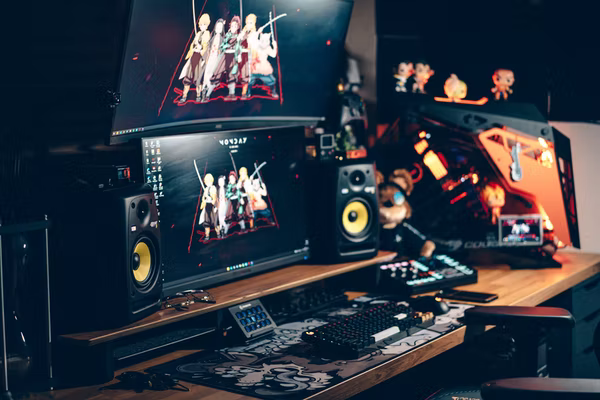
The basic setup is a fantastic place to begin. However, the lack of output value will eventually hold you back. You will need some more equipment to add another computer to your setup or simply want to look better on camera.
As the replacements start to pour in, here is some gear to think about:
Lighting
Why not employ some flattering light to make yourself more visible if you are streaming with a camera?
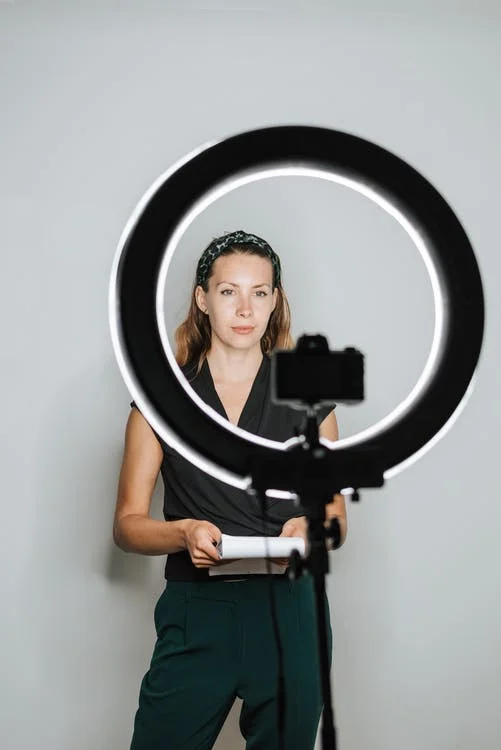
LED softboxes give gentle illumination, a ring light provides equal coverage with a single light, and cheap clamp lights technically placed can eliminate unsightly shadows. To learn more about lighting, click here.
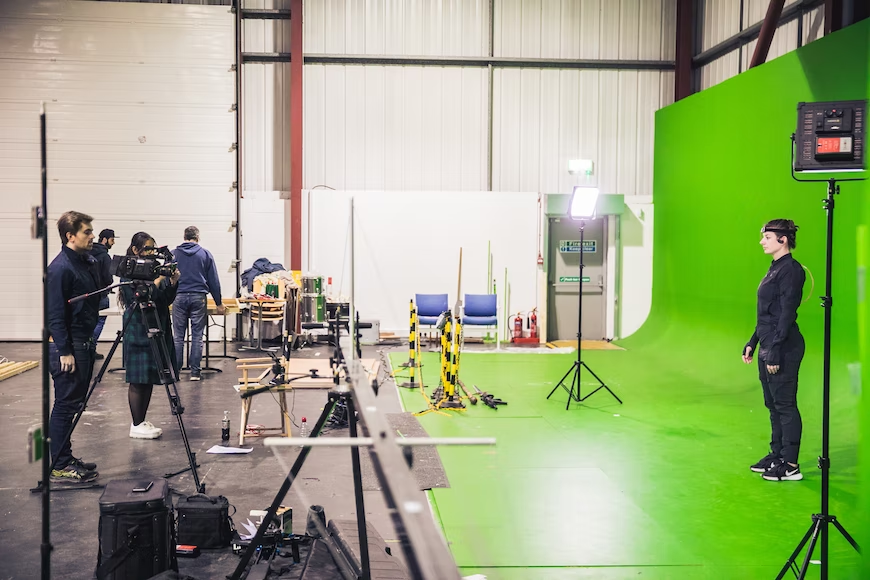
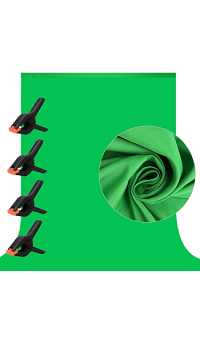
Green Screen
A green screen might be helpful whether you want to add or remove your background. Most encoders will detect it. Therefore it’s simple to learn how to use chroma keying in your broadcasts.
Game Capture Card
A game capture card is required if you wish to set up a two-computer configuration or stream console games to a computer. There are two alternatives available to you: external or internal. However, finding a game capture card for less than $150 may be difficult.
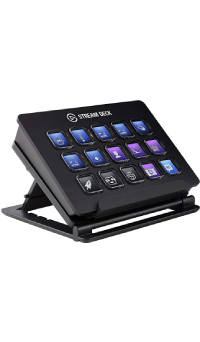
StreamDeck
A stream deck is a touchscreen that allows you to trigger commands with a swipe of your finger. It is helpful if you have a lot of scenes you want to flip between during the broadcast or if you want a faster way to modify audio levels and change lighting.’’
As you gain experience as a Twitch video creator, you will be able to tell which equipment you need more and which is just a waste of money. Consider the cost-effectiveness of your live-streaming equipment. Always strive to get the most bang for your buck.
How to Stream on Twitch from a Desktop?
The ease of access is one of the factors driving the growth of live streaming. To watch live broadcasts, all you need is an internet connection and a device with a screen. So many people having access to both is good news for your broadcasting profession.
However, the bar for being a content creator is higher, especially if you want to succeed. But it takes more than just a decent streaming rig and a willingness to jump in. To get started streaming on a desktop computer, follow these simple steps.
1. Planning
You can find various forms of the material on Twitch. We will delve into all of the fantastic things you can live stream later, but for now, you should know that different forms of material necessitate other equipment.

Creating effective ASMR content, for example, necessitates the use of high-quality microphones or even specialist equipment. Unfortunately, that type of equipment may not be readily available at your local store, and if it is, it may be prohibitively expensive. So plan your content first, then your equipment.
2. Setup Your Gear
Make sure the gear you need is connected before setting up your streaming software. This entails connecting your computer webcam and microphone. In addition, if you wish to employ a green screen or add another computer monitor to your setup, now is the time to prepare.
Also, make sure to test everything. Check the audio levels on your mic and adjust your webcam to a good angle. If you’re using lights, it is an excellent opportunity to soundproof the space you are streaming into or change your lighting.
3. Install the Required Software and Connect to Twitch
Twitch will work well with any of the software options we described earlier. However, you can do all examples and explanations in this guide with OBS Studio.
OBS Studio will prompt you whether or not to conduct the auto-configuration wizard after installation. Instead, consider going with a manual installation. This will familiarize you with some critical components of streaming.

Open OBS Studio and go to File > Settings > Stream. Choose “Twitch” as your service, then connect your Twitch account to OBS Studio or use the stream key to connect to Twitch.
You will only need your Twitch account login details for the former. For the latter, go to Twitch, Settings > Channel and Videos, and copy the primary stream key that appears. You are done once you have pasted it into OBS.
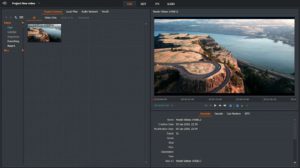
4. Add the Audio/Video Sources and Visuals
On OBS, you must add all of the sources you want to broadcast in your stream as sources. For example, your microphone, the game you wish to play, the stream from your webcam, and whatever else is on your desktop are all sources. You must add it as a source if you want it to appear in your stream.
The fantastic thing about OBS Studio is that it will recognize your audio sources in most cases. If it does not, go to File > Settings > Audio and locate the audio devices you want to utilize. This usually entails having a device each for desktop audio and microphone noises.

Image Source: Twitch
The “sources” box in OBS Studio’s central panel is where you will find video sources. You can add some sources by selecting the “+” button, which opens a selection that includes games, your desktop, online pages, photos, and text files. Remember that the sources displayed on the screen are layered one above the other, precisely as they are in the “sources” box. Therefore, moving a source to the top of the list makes it visible above other sources.
5. Seek the Perfect Streaming Settings
The Twitch streaming settings you need will be determined by your available upload bandwidth, encoder power, and the type of content you wish to broadcast. Increased-quality settings are provided by higher bandwidth, a powerful processor, and the ability to dedicate to encoding solely.
Twitch’s guide is an excellent place to start if you look for hard figures. Twitch recommends a bitrate of roughly 3000 kbps for a primary 720p@30fps stream. According to a list of appropriate upload speeds, this amounts to approximately 5 Mbps upload speed for streaming.
The most accessible approach to setting up your OBS Studio for the first stream is to follow the five steps above. It will get you by initially, but you should look into a more in-depth tutorial when you want to step things up a notch.
How to Live Stream on Desktop?
How to Live Stream on Twitch from Consoles or Smartphones?
It is possible that live broadcasting on Twitch from a PC is not the best solution for you. Perhaps, like many others, you prefer to play games on consoles. Maybe you enjoy viewing live broadcasts on consoles, and you do not see the need to have separate devices for streaming and watching. It is also possible that you do not want to go through the arduous process of setting up a gaming PC when you have a perfect console to utilize for gaming and streaming. You are probably already familiar with Twitch if you use a console.

How to Stream on Twitch from a PS4?
Here is how to set up your consoles after making a Twitch account and enabling 2FA if you want to join the less-crowded world of Twitch console streaming. To begin, we will look at the PlayStation 4.
1. Setup Your PS4 for Streaming
Before you switch on your game and connect the console to your Twitch account, there are a few settings to pay attention to:
Ensure that the HDCP is Disabled: There are a few options to pay attention to before you turn on your game and link the console to your Twitch account:
Setup the Devices: Options for audio devices and the PlayStation Camera can be found in Settings > Devices. You can modify the levels for your microphone or headset here. Aside from the PlayStation Camera, the PlayStation 4 does not accept other webcams.
Setup Audio Sharing: When the game starts, navigate to Sharing and Broadcast Settings > Broadcast Settings > Advanced Settings > Audio Sharing Settings by pressing the “share” button on the controller. This is where you turn on your microphone’s sound for your broadcast.
Enable the Chat: To enable the conversation, go to Sharing and Broadcast Settings > Broadcast Settings > Advanced Settings and tick the box next to “Display Messages to Spectators and Spectators’ Comments.”
2. Connect your PS4 to Your Twitch Account
The option to broadcast gameplay appears when you press the “share” button on your controller. The PS4 asks about your platform preference, and if you choose Twitch, you have to connect the console to your account by following these steps:
- Scan the QR code that appears on your screen or

- Use a computer or smartphone, go to twitch.tv/activate, and input the code that appears on your screen.
3. Check for One Last Time and Start Streaming
After you have connected the console to Twitch, you will be able to choose a stream title, turn on the camera if it is connected, and adjust the output quality. When you are done, you will be able to start streaming from your PS4 to Twitch.
It is a simple procedure that does not require you to download the Twitch app. However, if you want to watch people’s streams on a PS4, you need the Twitch app.
How to Stream on the PlayStation?
How to Stream on Twitch from the Xbox?
The Xbox does not boast native Twitch functionality. Therefore, if you intend to stream to Twitch from an Xbox, you will need to start your adventure on the Xbox shop.
1. Download and Install the Twitch App
On your Xbox, go to the store and look for the official Twitch app to install.
2. Connect Your Twitch Account to the App
After launching the app, you will receive a six-digit number that you must manually input at twitch.tv/activate. You will need a desktop computer or a smartphone to get to that address.
3. Connect and Set Up Your Devices
You can opt for any standard webcam and external microphones and headsets with an Xbox One. Connect everything to your Xbox and turn on the microphone and webcam in the settings. You will also want to modify a few other options, so go to Settings > Account > Privacy and Online Safety > Xbox Live Privacy > Customize. View and customize the details, then:
- Enable the “You can broadcast gameplay” and “You can share content created with Kinect or another camera” choices in Game Content.
- Select “Everyone” under “Others can see if you are online” in Online Status and History.
It is also worth mentioning that a Kinect is required to stream video from an Xbox One to Twitch. This is because the console or Twitch software does not support external cameras. Thus if you do not own a Kinect, your stream will contain audio and gameplay only.
4. Come Up with a Title and Start Broadcasting
After you’ve decided on a title for your stream, you will be able to start playing and broadcasting.
How to Streaming on Twitch from Xbox?
How to Stream on Twitch From a Smartphone?
On the other hand, smartphones are less focused on streaming gaming content than consoles. As Twitch’s smartphone app only allows you to broadcast from your phone’s camera, you will have to rely on third-party apps if you want to cast mobile gaming. Here is how to use your smartphone to live broadcast to Twitch.
1. Download and Install the Twitch Application
To start, you must have the app downloaded on your smartphone. Then, get the Twitch app from the Play Store or the App Store.
2. Log in to the App
To log in to the app, you will have to go through Twitch’s entire two-factor verification process.
3. Tap Your Profile Image Button in the Upper Left-Hand Corner
This will take you to a screen where the “go live” button will be visible.
4. Press the “Go Live” Button
You must grant your camera and/or microphone access before you can live stream to Twitch using the app.
5. Set up the Stream and Go Live
Before you are live, follow the simple steps given below:
- Make a name for your stream.
- From the dropdown menu, choose one of the content categories.
- Choose the camera you would want to use.
- Share a link to your stream using your phone’s apps.
All you have to do now is press the “start stream” button, and you will be online.
For a beginner, live broadcasting on Twitch is not too difficult. With simple equipment and computer knowledge, you can have your live broadcast on Twitch in minutes. It is easy to learn how to live stream on Twitch if that is all you want to do.
How to Master Streaming on Twitch?
The distribution of hours watched on Twitch is used to determine success. Three-quarters of all live hours are watched by a small group of four thousand top streamers. With nearly 9 million monthly streamers on Twitch, the math is simple. Many people are not getting enough people to look at their stuff.
If you wish to be held in the same regard as successful Twitch streamers, you will need to put in more effort than just learning how to stream. The most critical part of developing your success strategy is content.
What Type of Content Can be Streamed on Twitch?
Twitch was founded based on gaming content. For a long time, it was the platform’s main attraction. People still seem to tune in mainly to watch gaming material. Fortnite and League of Legends are two of the most popular categories of total hours viewed.
So, how does this affect you? If there is anything else you are much better at, you do not have to be stuck making awful game stuff. Here are a few ways to help you find a good content category – or a couple of them.
1. Are you a multi-category streamer, or do you stick to one?
Some people will switch between games, conversations, and streaming as part of a varied content approach. Others will concentrate on one-on-one conversing, creating art, or playing a single game or a genre of games. Your personality is the main selling point as a variety streamer. On the other side, if you are more of a focused streamer, your knowledge and talents will aid in the development of an audience.
2. Stream What You Are Passionate About
There is a good chance you will spend some time streaming to a small group of people. Beginnings can be difficult, and winning over one viewer at a time can seem like an uphill battle. The most accessible approach to staying on track is to broadcast something you enjoy doing, whether it is a hobby or a game you enjoy playing.
3. Pick Your Games Carefully
The most popular games attract many viewers and a large number of established channels. As evidenced by Apex Legends’ popularity in 2019, new releases can swiftly gain traction. Using tools like Quizzical Pixel’s What to Stream to locate games with high audiences but few channels streaming them is a clever strategy.
4. Consider a Cross-Game Niche that People Will Enjoy
To become a well-respected streamer with a large audience, you do not have to adhere to one genre. You could be a speedrunner who strives to complete games as rapidly as possible. You might be a competitive gamer who only plays to duel other people. You might find success as a community guru who deciphers game mechanics and coaches others to master them.
5. Choose Content You Can Create Regularly
Consistency is imperative when it comes to streaming. It is ideal to strive to keep a schedule as much as possible. However, suppose the content you wish to develop does not allow you to broadcast regularly. In that case, you should avoid doing so unless you plan to supplement your portfolio with other types of content to fill in the gaps.
What Can I Do to Make My Broadcast Look and Sound Amazing?
Your upload speed and gear are crucial factors that determine the quality of your stream, but they are not the only ones. Quality is influenced by your content but in a different manner. Other effects you might add to your stream and unique settings you should pay attention to can significantly impact.
If you want your stream to sound and look like some of the most famous streamers, keep the following in mind:
Set Up Scenes in OBS Studio Before the Stream
Scenes are diverse layouts of content that you desire to watch on the screen, and they are crucial for the stream to work well.
Prepare Three Screens: a Greeting Screen, a BRB Screen, and a Final Screen
These can be static visuals that inform viewers that you will be streaming shortly, that you will be taking a tiny break from the stream, or that the stream has ended.
Start Utilizing Overlays
Overlays are graphics that appear on top of live video. They can assist you in customizing the appearance of your stream. You can get free, premium, and custom-made overlays from the top overlay creators.
Enable Alerts to Your Streams
Alerts are audio-visual packages launched in response to specified events, such as someone subscribing to your channel. Third-party services such as Muxy, Streamlabs, and StreamElements provide them with notable features.
Check Out Some Twitch Extensions
Twitch extensions are programs that can interact with your feed and provide real-time data about your gaming performance. You may also use them to allow your audience to participate in minigames.
Add Music to Your Stream
You would be astonished at how devoid of music a stream may seem. However, if you stream copyrighted music without authorization, your channel may be muted or face additional consequences. Use royalty-free music services like Pretzel Rocks, Soundstripe, Epidemic Sound, or Restream Background Music to be safe.
Watch Out for the Audio Sync
Audio sync issues are typical if you are streaming on Twitch. In OBS Studio, use the Audio Sync Offset setting in the Audio Mixer settings to solve the problem.
Improve Your Live Streaming on Twitch
A dedicated streaming PC is a terrific method to boost the strength of your streaming setup so it can handle whatever game you throw at it. If you have two computers, the one with more extensive computing power should take the streaming. Of course, you will also require a capture card.
Internal and external capture cards are available. You must manually place the internal cards on the motherboard of the streaming computer before being linked to the gaming PC via HDMI. Then, the external cards get connected to the streaming computer Via USB on one end and the gaming computer via HDMI on the other end. After that, you have to add the capture card to OBS as a source.
The key difference with a PC-console arrangement is that the capture card lies between the console and the TV or computer monitor. Connect the card to the display or TV using the “in” HDMI port to connect the console to the card and the “out” HDMI port to connect the card to the display or TV. Then, feed the card as a source in OBS Studio, and you are done.
What Are the Twitch Etiquette Standards that Will Assist You in Engaging the Audience?
Like any other public gathering place, Twitch has its own set of dos and don’ts. Some of them are spelled out in Twitch’s community guidelines, which you should go through even if you glanced over them at the start of the piece.
However, some techniques can help you increase your engagement and ensure that everyone watching your stream — including you, the streamer — has an excellent time. This is Twitch etiquette, and the following are the essential guidelines to follow:
Greet the Viewers who Frequent Your Channel
This will show them how much you care, and it will also give other viewers something to strive for.
Stick to Your Streaming Schedule
Do not leave your viewers hanging, and do not surprise them too often with unplanned streams. People have lives of their own.
Make Use of Social Media
Make an effort to build a social media presence to better communicate with your audience and keep an eye out for commercial prospects.
Connect with Other Streamers
You are not doing this alone, so play games with other broadcasters or occasionally co-stream.
Acknowledge Your Supporters
Acknowledging your supporters is the first and foremost job to keep your streaming on track. One of the worst ways to treat the folks who help you financially is to ignore this.
Do Not Hype Yourself in Other Chat Rooms
This is unacceptable behavior, and mods will most likely block your efforts.
Recruit Mods
Moderators may significantly impact keeping the chat in your broadcast clean and friendly.
You want your channel to be a welcoming environment where viewers can relax and enjoy the show. You should welcome everyone as a streamer. You should value your viewers’ time and attention and repay them by producing the most awesome content possible. Never miss an opportunity to communicate with your audience, whether as simple as saying “hi” when they join or providing material tailored to them.
Twitch and Multistreaming
Sticking to a single platform when you’re just getting started with live streaming can feel like putting all your eggs in one basket. And it is in some ways – there are other platforms available, and you may wish to broadcast to them as well.
How to Stream on Twitch and YouTube Simultaneously?
You can try multistreaming to Twitch and other platforms, but only to some extent. Your video will be subject to a 24-hour exclusivity constraint after you become a Twitch Affiliate, which allows you to start earning money from your Twitch streams. This implies that your material will only be available on Twitch while streaming it and for the next 24 hours.
Conclusion
Streaming lives may be a very gratifying experience. However, you can gain from starting to stream if you can develop streamable content from something you enjoy doing. Streaming can only benefit you, whether it is for meeting new friends, finding new business chances, or simply practicing your performing talents.
Twitch is an obvious top choice for venues where you can broadcast engaging material. It is the dominant platform for all types of content, from gaming to ASMR and full-body cosmetics instructions, and it is doing so successfully. Learning how to stream on Twitch is essentially a path for prospective content creators because of the platform’s soaring popularity and market dominance.