What is Landscape Photography?
Landscape photography is the technique of capturing images of nature to bring your viewer into the scene. Through landscape photography, the photographers demonstrate their connection to nature and capture the essence of the environment around them.
When we see a landscape, our eyes travel over it and focus on the appealing elements. Our field of vision includes a great deal of the scenes, but eyes and brains can ignore everything except the fascinating details. Lenses and sensors or film cannot do this by themselves.

Time is the most important thing in taking good landscape pictures. Once you reach a place that you’ve never visited before, spend some time driving or hiking to various locations and find different vantage points. You can carry a compass to calculate the sunrise and sunset and imagine how the place looks in a different light. This needs practice as you have to understand where the light will not be falling too.
Subjects For Landscape Photography
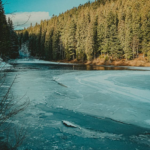
Flowing Water
Think about the character of a river or stream and how you will convey that character in the image. For example, a big, slow river is different from a fast-moving mountain stream in looks and feelings. The water is the center of interest in the photograph. It can be an element in your composition as diagonal or other leading lines, horizontal lines, or shapes complementing other frame features.
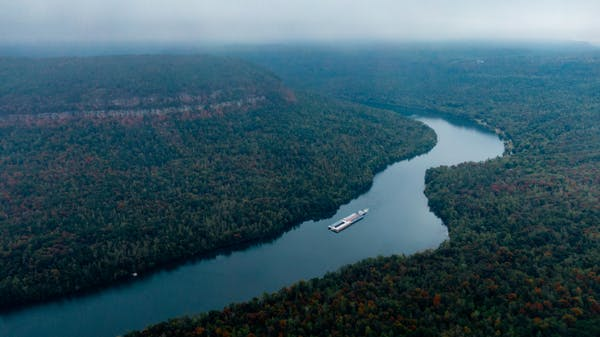
You can also use the reflections in the water. For instance, you can use some reflections to intensify the image, such as the colors of reflected autumn leaves. Other reflections can be distracting. You can move around to include or eliminate those reflections or try again when the sun is at a different angle. Try using a polarizing filter to reduce some of the reflection and increase contrast.
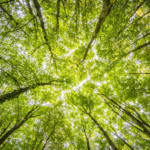
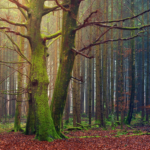
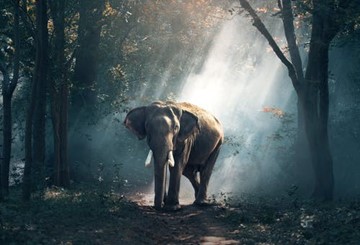
Forests
Like water, think about the character and the feeling of the forest you want to communicate in your photograph. Woods can either be dark and brooding or light and airy, including some unique features that will help express the feeling. Find the point of interest, such as a slightly different tree trunk, a path winding through, or a colorful flowering vine. Compose the point of interest to lead the viewer to it. For example, look for beams of light entering the canopy or a particular spot on the forest floor directly lit by the sun.
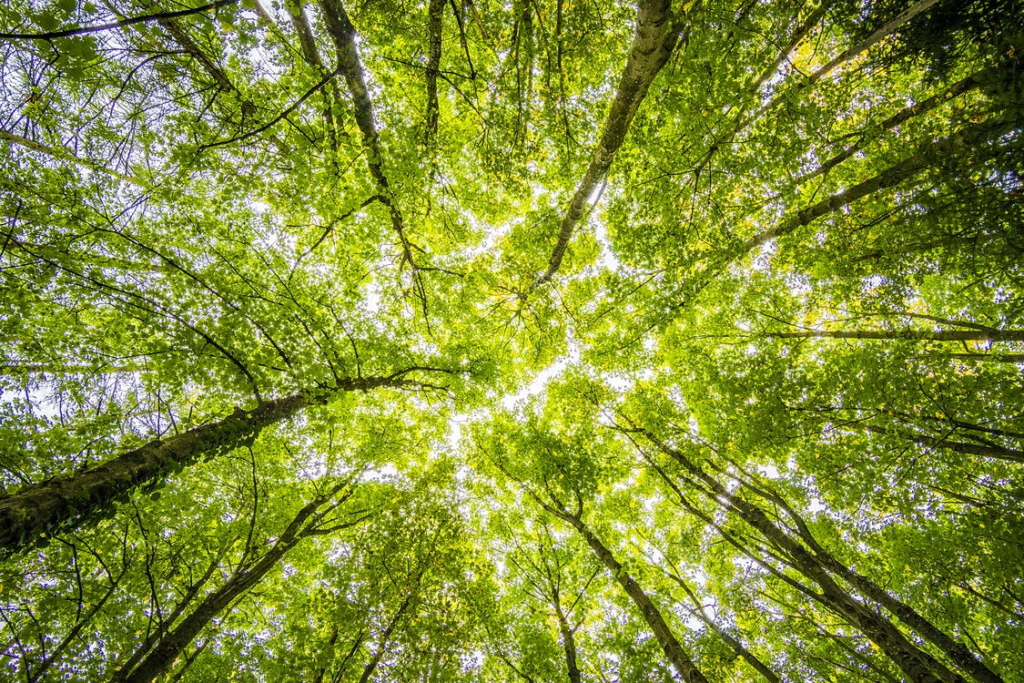
Whether shooting from inside a forest or towards it, watch for patterns, lines, and other elements. You can try both wide and telephoto lenses. A wide lens makes the trees soar while looking up at the trees, whereas a telephoto compresses a row of trunks. You can lie down and look straight up through the branches or climb a tree to look down the path.
Plains and Prairies
Plains and prairies are among the most challenging landscapes to photograph well because of the lack of point of interest in these wide-open spaces. In most cases, the huge scope is one of the things you are communicating. However, viewers need something to focus on. So, find a unique element and use it as a point of interest that conveys the scene and a sense of scale. Try to use every available element, such as a winding road, a stream, or a fence line, to lead viewers into the image.
Identify an angle and composition to reflect the personality of the plain. For instance, a clear blue sky might reflect the character of one plane while a brewing storm reflects another plain’s personality. However, follow the rule of thirds. If the sky is necessary, set the horizon along with the frame’s bottom third division. If not, place it along with the upper third.
Deserts
You can show the rugged nature and the beauty of deserts. You can capture heat waves in the afternoon using a long lens to compress them and get dramatic shots. Deserts are great for pictures of stars as there is no humidity and terrestrial lights to interfere. So, stars seem numerous and brilliant in the desert. Sand color changes throughout the day when the angle of the sun changes. A wide shot will best portray a desert, and a closeup of a plant struggling for survival on the side of a dune might best represent another.
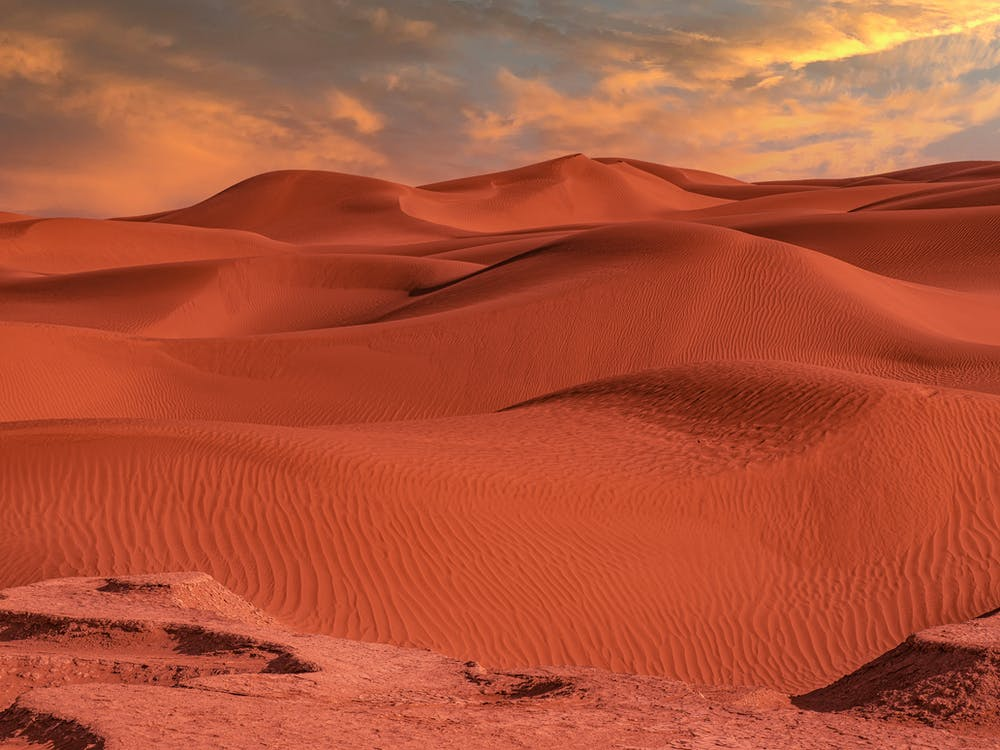
You can include the sun in the image to convey the hot and harsh atmosphere of the desert. However, the bright sun might underexpose of other elements in the frame. So instead, you can shoot in manual mode, take a reading without the sun in the frame, and reduce the shutter button halfway to hold the exposure and reframe before shooting.
Suppose you are shooting film, bracket a lot, and ensure to get the exposure you need. While using a digital camera, check the images when you are shooting. Wide-angle lenses are suitable as the blown-out sun takes up less space, but lens flare can appear. If it is windy in the desert, be cautious to protect your camera and lenses from the blowing sand. Avoid opening the camera back if you are not in a well-sheltered area.
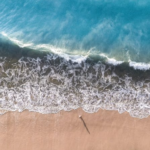
Seacoasts
Study these contrasting scenes:
- A tranquil tropical isle with blue-green water lapping at a white, sandy beach.
- Storm waves hitting a rocky New England shore.
- A densely crowded vacation beach.
You need to understand how to convey the kind of shore you are photographing. For that, you need to find the most appropriate time of day, weather, and season to get the right vantage point and composition before shooting. All shorelines are different, and you should try to show the difference in your images.
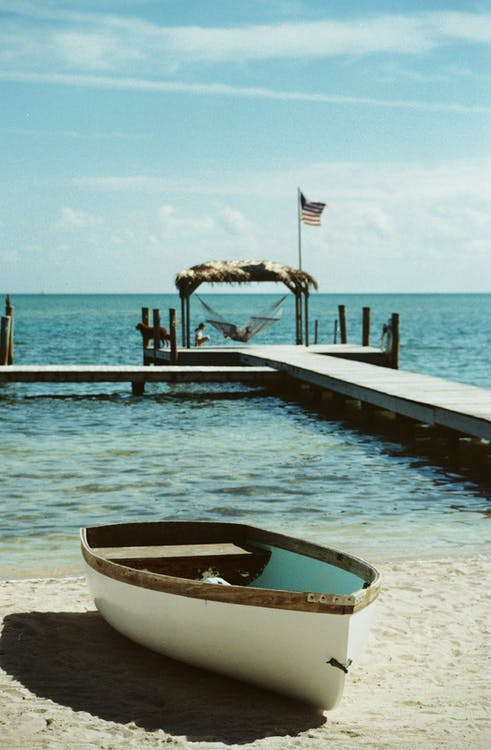
Identify elements that reinforce the feeling. For instance, Palm trees are great for a tropical beach, whereas a splash of water darting over the rocks adds drama to a rugged coastal scene.
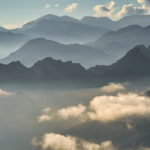
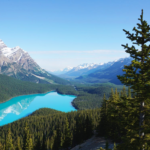
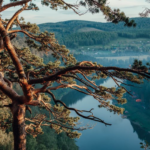
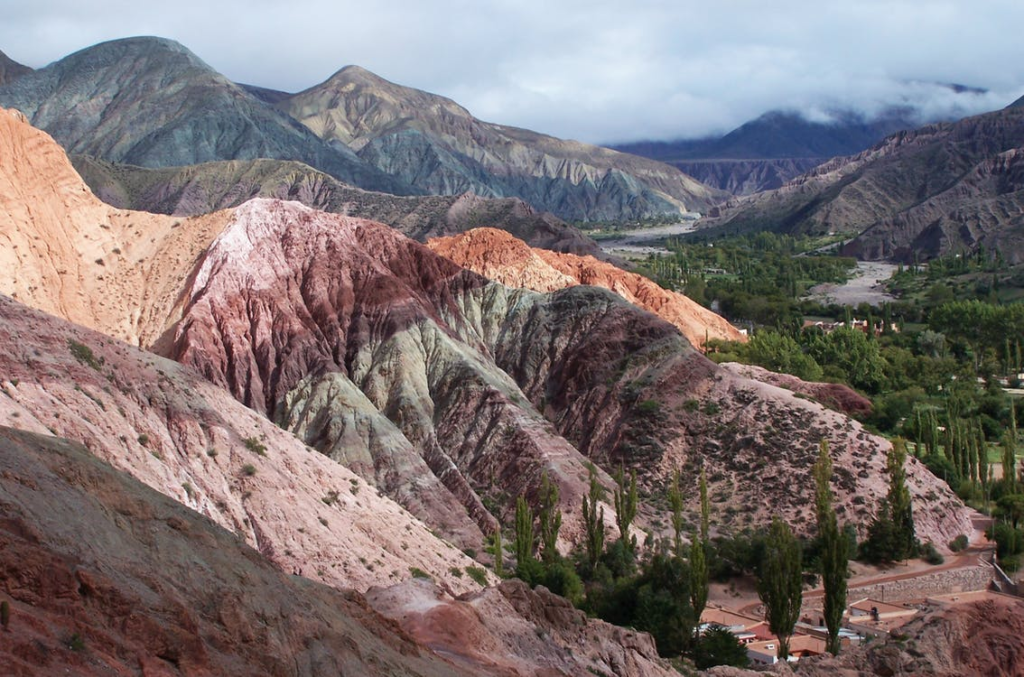
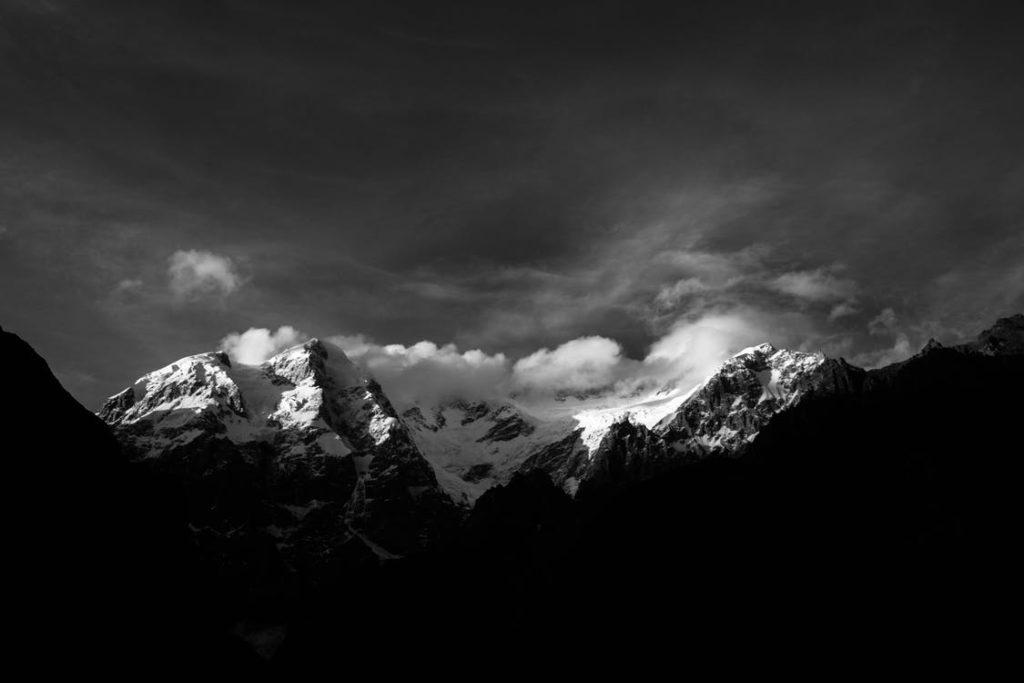
Mountains
The mountains can be rugged, worn, threatening, or enchanting. Find out elements that represent the feelings you wish to convey to the viewers. The composition, angle, light, and weather should be appropriate and reflect the mountains’ spirit.
Landscape Photography Tips
- Researching locations can help in taking the best shots. Use online maps to plan your route and spot various vantage points. You can also research popular attractions and sites to get the best results.
- Once you decide where and how to reach a spot, research the best time to plan for the best light. Take some sample shots to determine if you want to click at sunset or after dark.
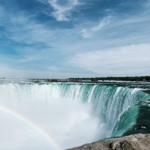
- Some places are perfect at certain times of the year. For example, the Smoky Mountains are beautiful any time of the year, whereas the colors turn magical in the fall. The rainbow at Yosemite Falls appears once a year. So, plan your expedition according to the seasons.
- If you like a location and got incredible shots, try that location again. Photography is a learning experience so you will learn more about the environment with each trip. In the same places, you will get new ideas, new angles, and new approaches. In addition, you can visit the location at different times of the day to get different results.
- The best camera for landscape photography should have a full-frame sensor and an excellent wide-angle lens. However, often the best lens for landscape photography is a zoom or telephoto lens.
- To get the sharpest landscapes, you can shoot at f/16 or f/22. Using a high f-stop, you can capture details in both the foreground and the background. It is crucial to include everything in focus in landscape photography.
- Point-and-shoot cameras can seldom exceed f/8. However, with their many lenses and manual settings, Digital SLR cameras will produce the best landscape images. In addition, DSLR cameras feature larger sensors that will yield more detail and sharper images, which make them the best camera for landscape photography.
- Newer mirrorless cameras are also suitable for landscapes, and they are smaller and lighter than SLR cameras.
- The circular polarizer allows you to handle the light in the sky and make blues pop and clouds more dramatic and defined. Near water, the polarizer enables you to control, limit, or eliminate reflections. As a result, you can show fish swimming over tropical reefs or rocks at the bottom of a mountain stream.
- Neutral density filters make a scene darker than it appears by reducing the light reaching the camera. When you are capturing a long-exposure photograph, and if the setting is too brightly lit, an ND filter will be helpful.
- ND filters can make water smooth with motion and make clouds streak across the sky. In addition, ND filters can create a surreal, painting-like quality, especially with seascapes and waterfalls.
- You can use a graduated density filter if you want an ND filter to darken an overexposed sky. They have various combinations, but you can choose a half ND filter of 1 or 2 stops.
- You can use a zoom or telephoto lens when you want to focus on small details, such as the moon rising over a distant mountain peak. These lenses will help with compositions.
- You can get closer to the subject with your wide-angle lens for smaller subjects rather than zooming in with a longer lens.
- Use a tripod while shooting at low shutter speeds. Choose a heavier yet portable tripod.
- Make use of golden hours to get beautiful shots. Pinks and oranges are reflected during sunset and can change the tone of a photo.
- New digital cameras have great abilities to capture light in low-light settings. Astrophotography is done using a wide-angle lens, a tripod, and a DSLR.
- For star photography, research dark sky areas and parks where you can avoid light pollution. With the continuous light show, cities and towns provide adequate opportunities to capture stunning photographs.
- The Landscape photograph should be balanced with depth by adding something in the foreground, such as a character tree, a sailboat, a piece of driftwood, or a mountain creek. Wherever you are, look for foreground objects that help tell your story. For example, though an island in the distance seems good, a sailboat passing it in the distance is significant.
- People and wildlife add depth and interest to landscape photos, but they are often neglected to capture natural, clear postcard-looking scenes. Instead, you can add hikers, climbers, and outdoor enthusiasts to tell a story in your photographs.
- Modern DSLR cameras can capture images quickly and enable us to work in really dim light. Pictures captured at higher ISO settings are often grainy, so tripods are crucial to landscape photographers. Using low ISO numbers might result in longer exposure times, but you will get high-quality and sharp images.
- Landscape photography requires high f-stops to ensure that the lens focuses on the foreground and background details with a profound depth of field.
- To obtain both high f-stop and low ISO, use slow shutter speeds and a tripod to avoid blurry images from camera shaking.
- The histogram display can show whether the bright whites are clipped, or the blacks are underexposed. This is helpful for setting up the shot and picking camera settings for the perfect exposure.
- RAW files can contain more information than JPEG. While it is simple to save in the camera as a JPEG, you might lose valuable information necessary during post-processing. RAW files can adjust color balance and exposure details accurately.
- One of the advantages of landscape pictures is that the photographer will have more time to reflect on the location and produce the photograph. Try to use the rule of thirds to create a flow in the photograph.
- Minimalism is the process of reducing unnecessary elements. Keep a minimalist’s eye while shooting landscapes. Maintain a simple composition with minimalism to convey the whole story without stuffing too many details.
- Try out many viewpoints and vantages. Try to move around, way up high or way down low.
- Leading lines are compositional elements that help direct the viewer’s eye, such as roads, rivers, rocks, and bridges.
- Water in a stream, cars on the road, or waves on a beach blur with prolonged exposure can be used for movement in landscape images.
- You can capture good landscape photographs in locations that are close to home.
- Be creative and try out different ideas.
- Identify small details in a scene as lack of focus on specific details makes some landscape photos cluttered and confusing.
- High dynamic range photography is suited for landscapes as it adds detail and depth to photos. Bad HDR can be unrealistic and oversaturated.
- HDR can produce great results, which you cannot duplicate from a single exposure when correctly done.
- HDR photography is achieved by multiple bracketed exposures of an image and merging them into one perfectly exposed image during post-processing.
- If you want a classic look, you can consider black-and-white landscape photography. While you can alter your pictures during post-processing, shooting black-and-white images requires more thought and planning.
- Without color data, that way of viewing landscape photographs changes. Deep contrasts, dark shadows, and dramatic lighting help the black-and-white photograph take shape. Some consider the black and white photograph as a part of the shooting.
Conclusion
There are no formal rules, and you can try new things and be creative. These tips are just the beginning of connecting with nature and capturing the beauty of the Earth. These professional landscape photography tips are a great place to get started no matter where your adventure takes you.
Videos
Much More Than a Landscape Photography Tutorial
Master landscape photography with Joe Cornish
Landscape Photography for Beginners