Lighting techniques are essential to filmmaking because they add depth to any story you tell. Many cinematic lighting techniques can filter or bounce light or even change its color temperature.
Choosing the right lighting for a scene accomplishes three major goals:
- Shows the audience where to focus: Lighting shows viewers where to look on the screen.
- Provides insight into the characters: The light on or around characters can reveal their emotions or thoughts.
- Defines the genre: Many movie genres use distinctive lighting, such as film noir, which contrasts light with dark.
On a movie set, three people are typically involved in deciding on or setting up lighting:
- Director: Develops overall ideas about lighting concepts
- Cinematographer: Designs a lighting plan based on the director’s ideas
- Gaffer: Uses technical abilities to carry out the cinematographer’s plan
13 Cinematic Lighting Techniques
With the right lighting techniques, you can add more meaning and emotion to each shot. From ambient to soft lighting, filmmakers typically use 13 standard techniques.
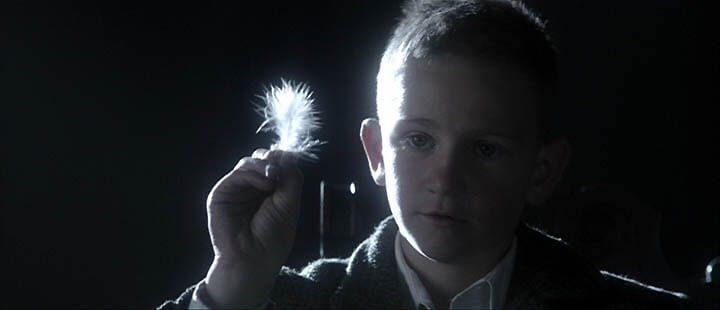
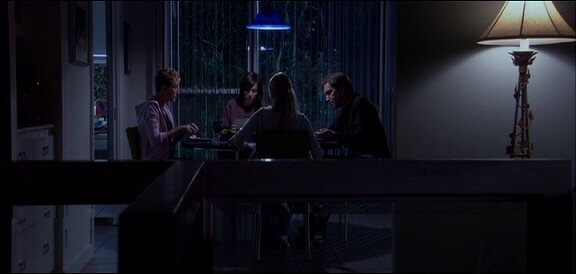
Ambient Lighting
Ambient lighting is the original amount of light in a room or space without the use of additional lights. If you shoot on location, be sure to consider the temperature and intensity of any ambient light when shooting a scene.

Scene from “Road to Perdition”
Get hacks for ambient lighting.
Back Lighting
Back lighting illuminates the subject from behind. This technique separates the character from the background.

Scene from “Shutter Island”
“Palo Alto” also showcases backlighting.

Scene from “Palo Alto”
Bounce Lighting
Bounce lighting reflects light from natural or artificial sources onto the subject. It’s an indirect source that can enhance other lights on the set.

Behind the scenes on “Harry Potter and the Half-Blood Prince”
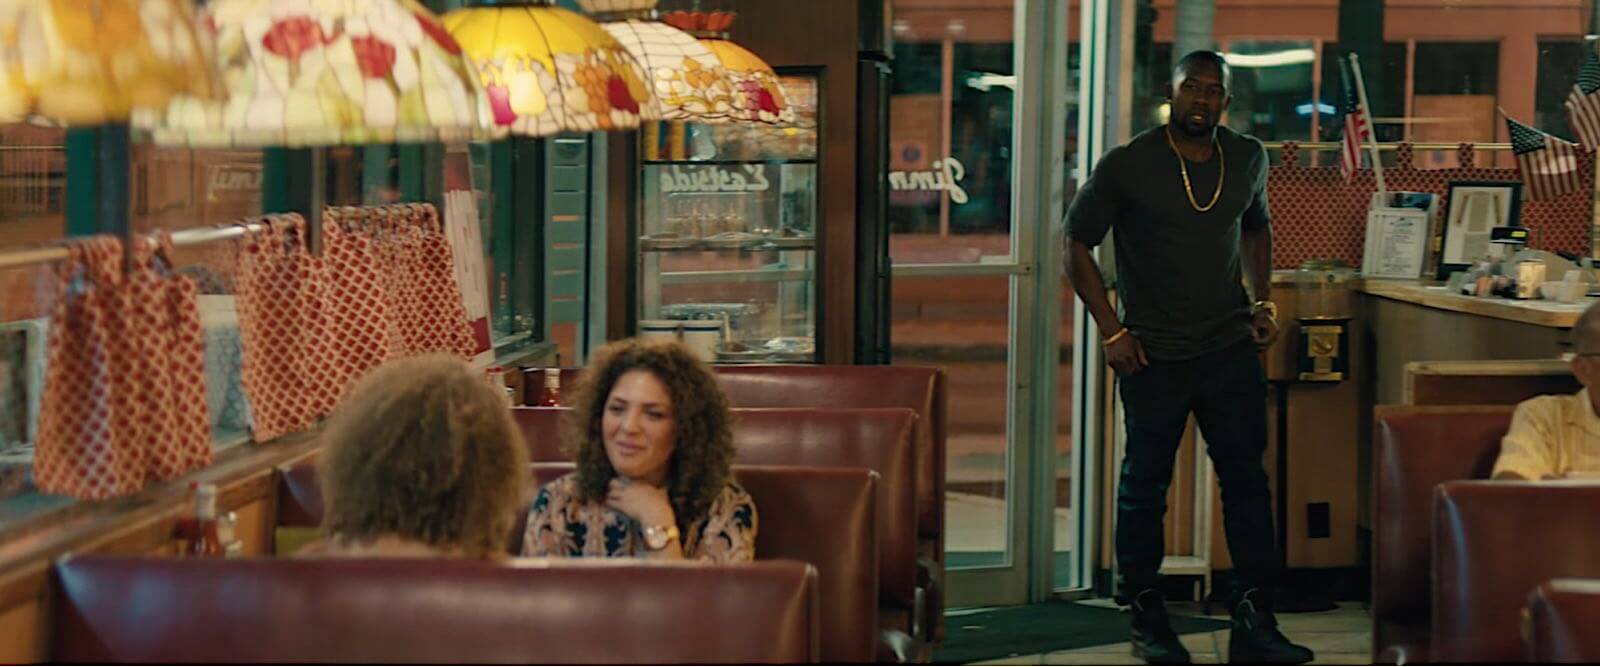
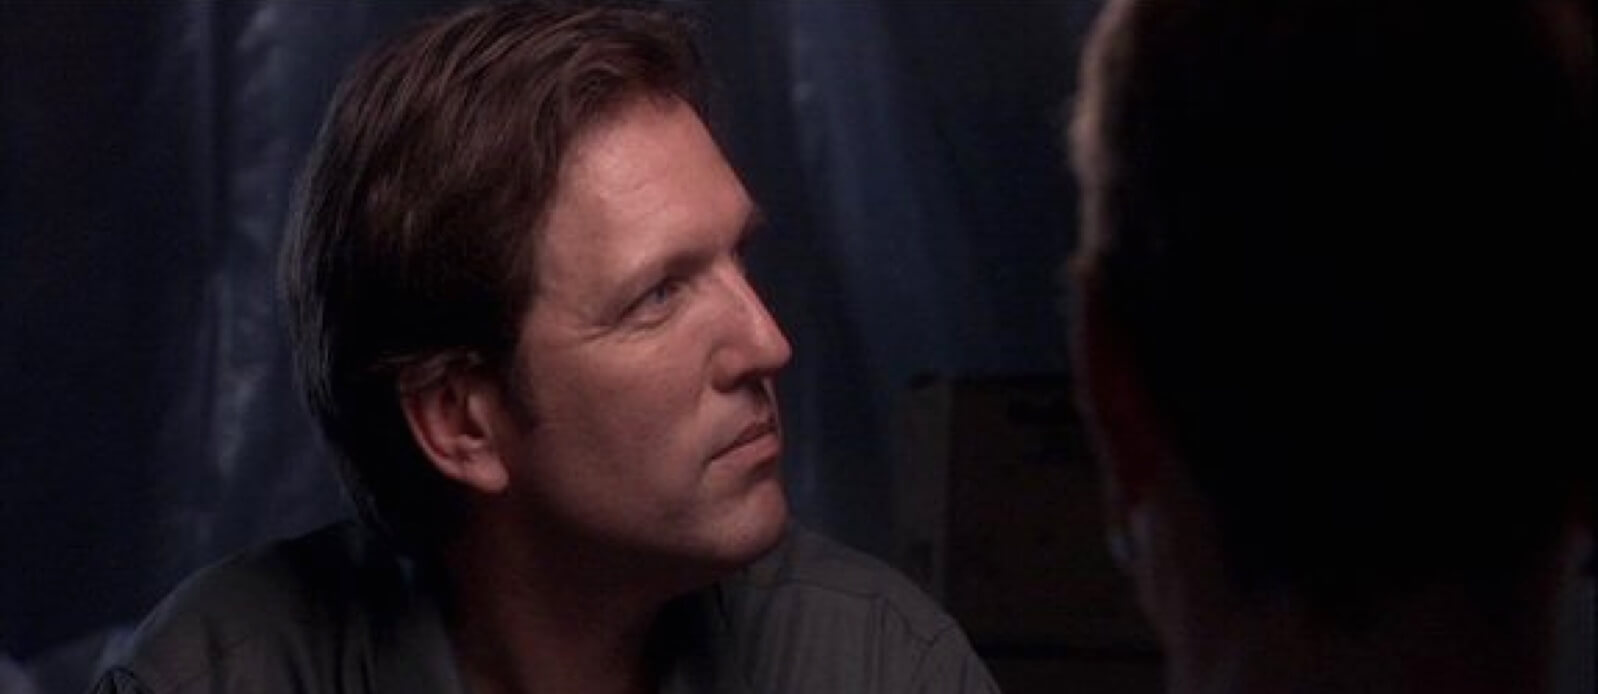
Chiaroscuro Lighting or Side Lighting
Chiaroscuro lighting illuminates the subject from the side. This technique can add high contrast, which you can adjust with bounce lighting.

Scene from “Forgetting Sarah Marshall”
Fill Lighting
Fill lighting removes any shadows that the key light, or primary light source, creates. To use this technique, position the fill light on the opposite side of the key light. The fill light is part of the filmmakers’ standard three-point lighting setup, alongside the key light and the backlight.
Hard Lighting
Hard lighting requires a direct light source that creates a harsh effect. If you want to become a cinematographer, you can use hard lighting to draw attention to a specific part of the scene.

Scene from “Captain America: The Winter Soldier”
“Blade Runner” showcases hard lighting and hard shadows.
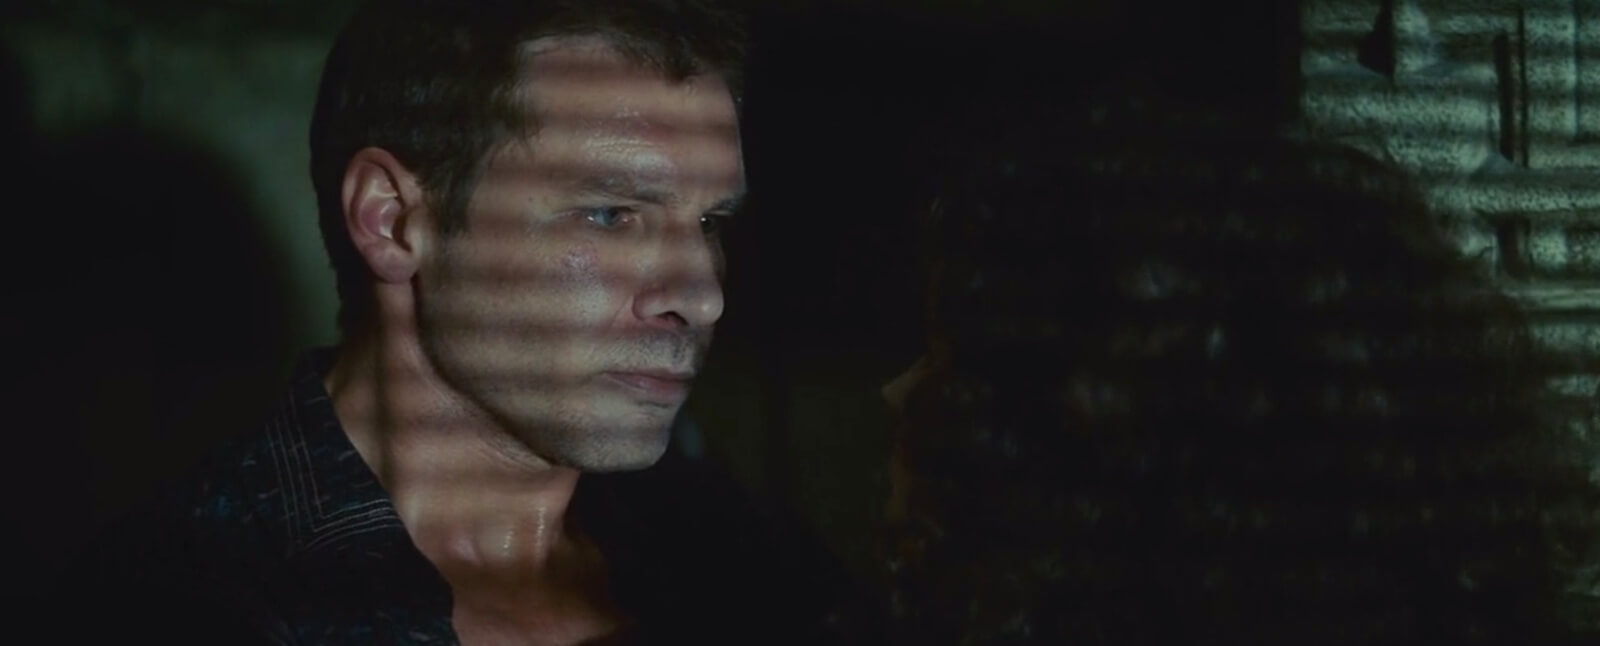
Scene from “Blade Runner”
“Northfork” uses hard lighting with a soft fill light.
Scene from “Northfork”
Get tips for hard lighting.
High Key Lighting
High-key lighting reduces the overall lighting ratio of a scene. It’s ideal for creating a sense of optimism or hopefulness.

Scene from “Maleficent”
“The Hobbit” also offers an excellent example of high-key lighting.
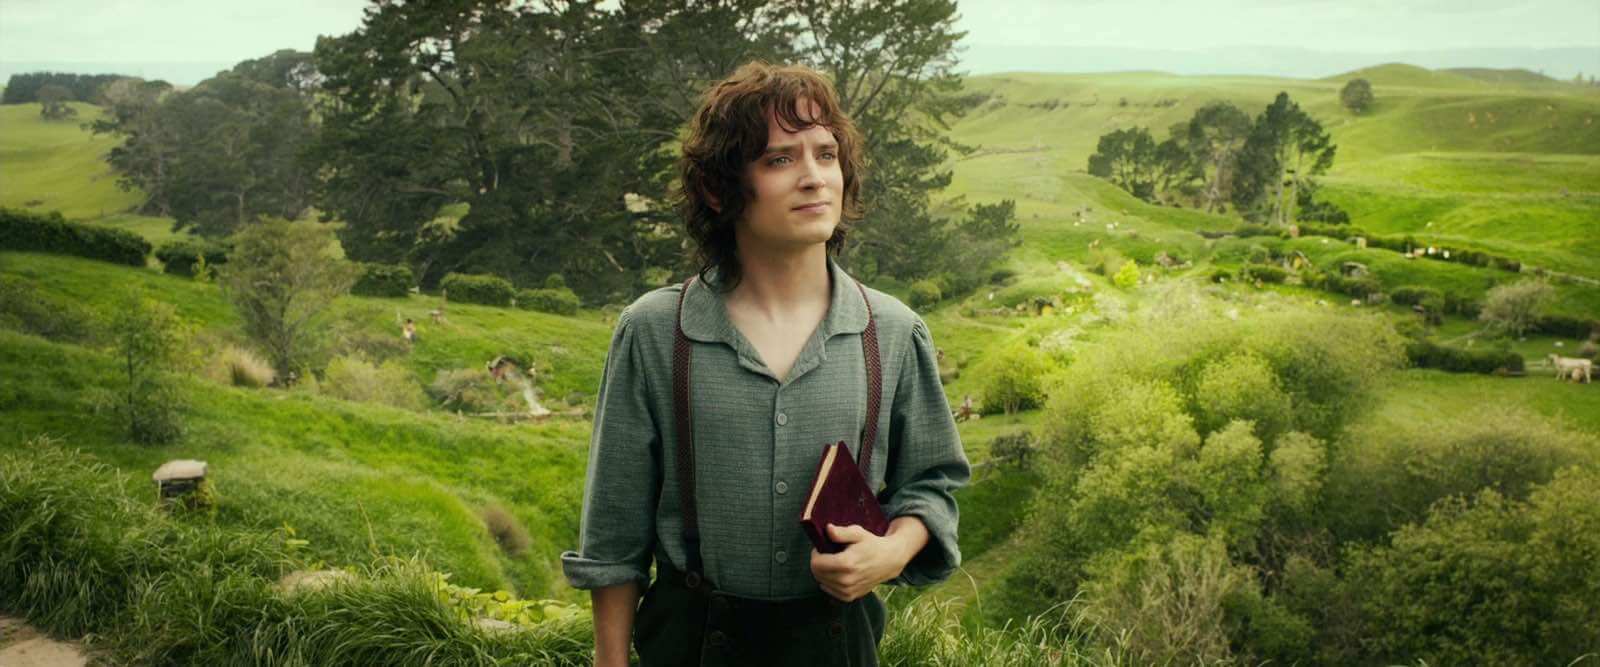
Scene from “The Hobbit: An Unexpected Journey”
See high-key lighting in action.
Review some key rules for lighting setups.
Key Lighting
Key lighting is the brightest light in any shot and focuses on the main subject. You can set up key lighting in front of, behind, or to the side of the subject to achieve different effects. In a three-point setup, the key light is the primary light.

Scene from “Prisoners”
Watch how to set up key lighting.
Low Key Lighting
In contrast to high-key lighting, low-key lighting adds more contrast and heavier blacks to a scene. Low-key lighting can make shots look dark and shadowy.

Scene from “There Will Be Blood”
“Fight Club” uses low-key light for a shadowy effect.
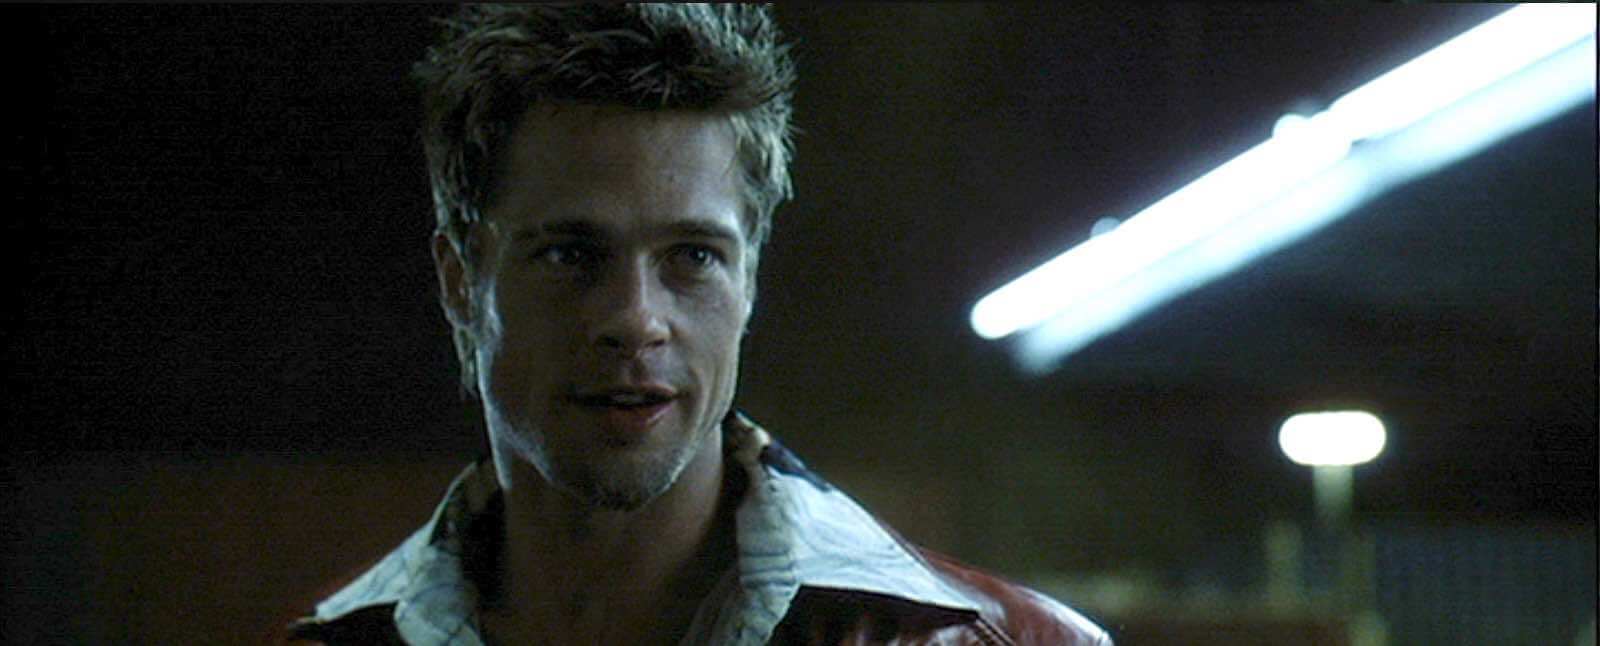
Scene from “Fight Club”
See how low-key lighting works.
Motivated Lighting
Motivated lighting emulates natural light sources and can represent the sun, moonlight, and streetlights. You can use bounces to create this effect.

Scene from “The Exorcist”
“The Assassination of Jesse James” showcases motivated lighting through a mysterious light source in front of the character.
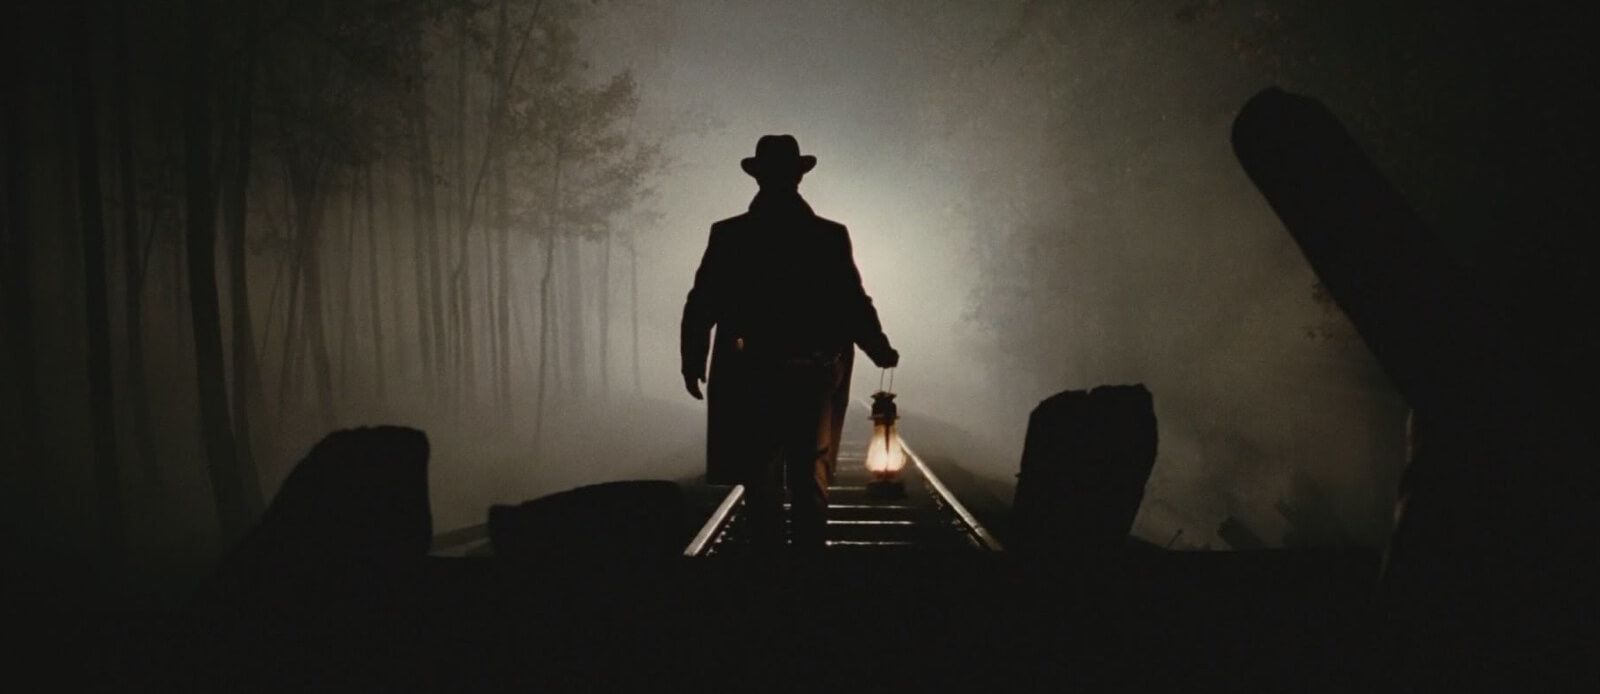
Scene from “The Assassination of Jesse James”
Lanterns offer motivated lighting in this scene from “The Assassination of Jesse James.”
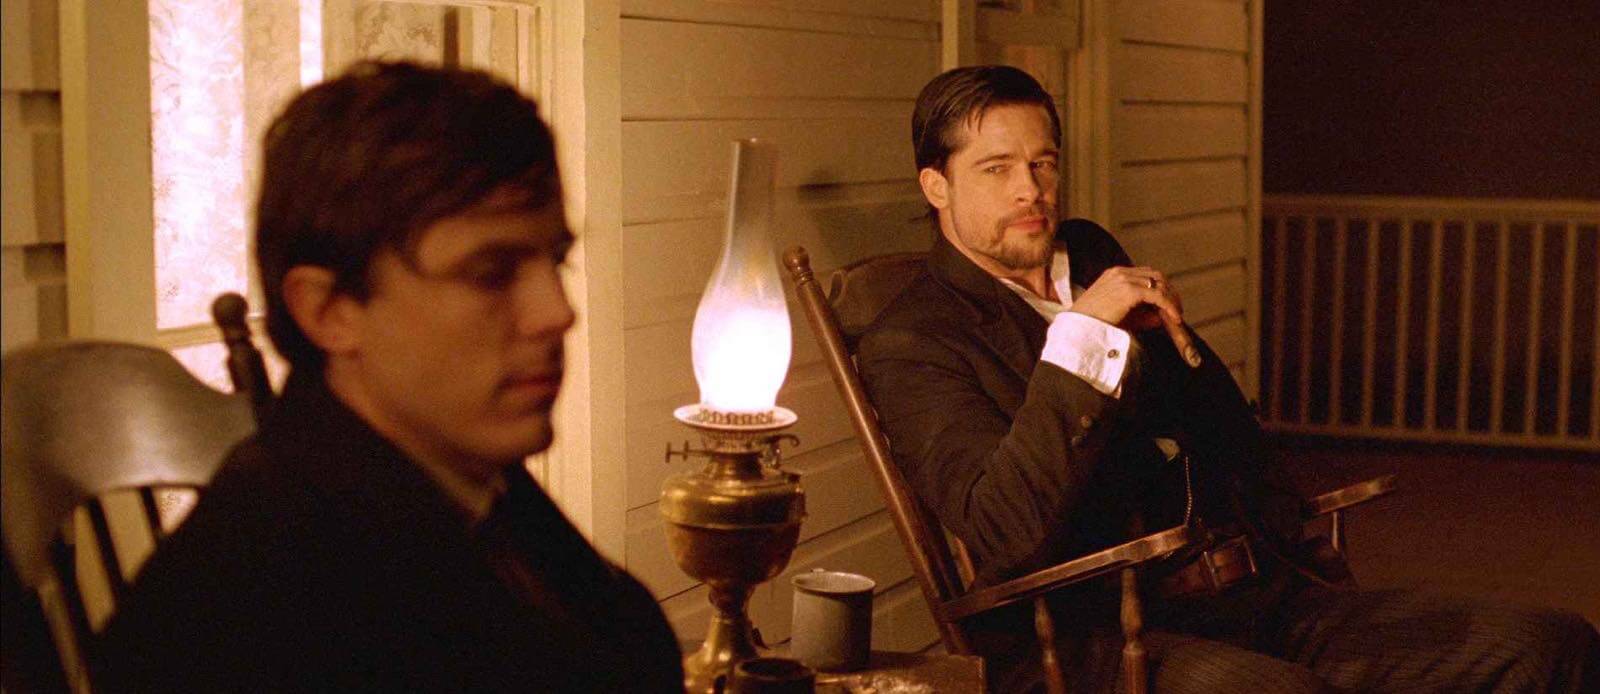
Scene from “The Assassination of Jesse James”
Hear cinematographer James Laxton talk about his motivated lighting techniques in “Moonlight.”
Try these motivated lighting tips.
Natural Lighting
Shooting with a natural light source makes a scene look just like real life. To use this technique, shoot outdoors at the right time of day or set up bounce boards to reflect the existing light.

Scene from “The Notebook”
“The Revenant” leverages natural lighting to showcase the raw wilderness around the character.
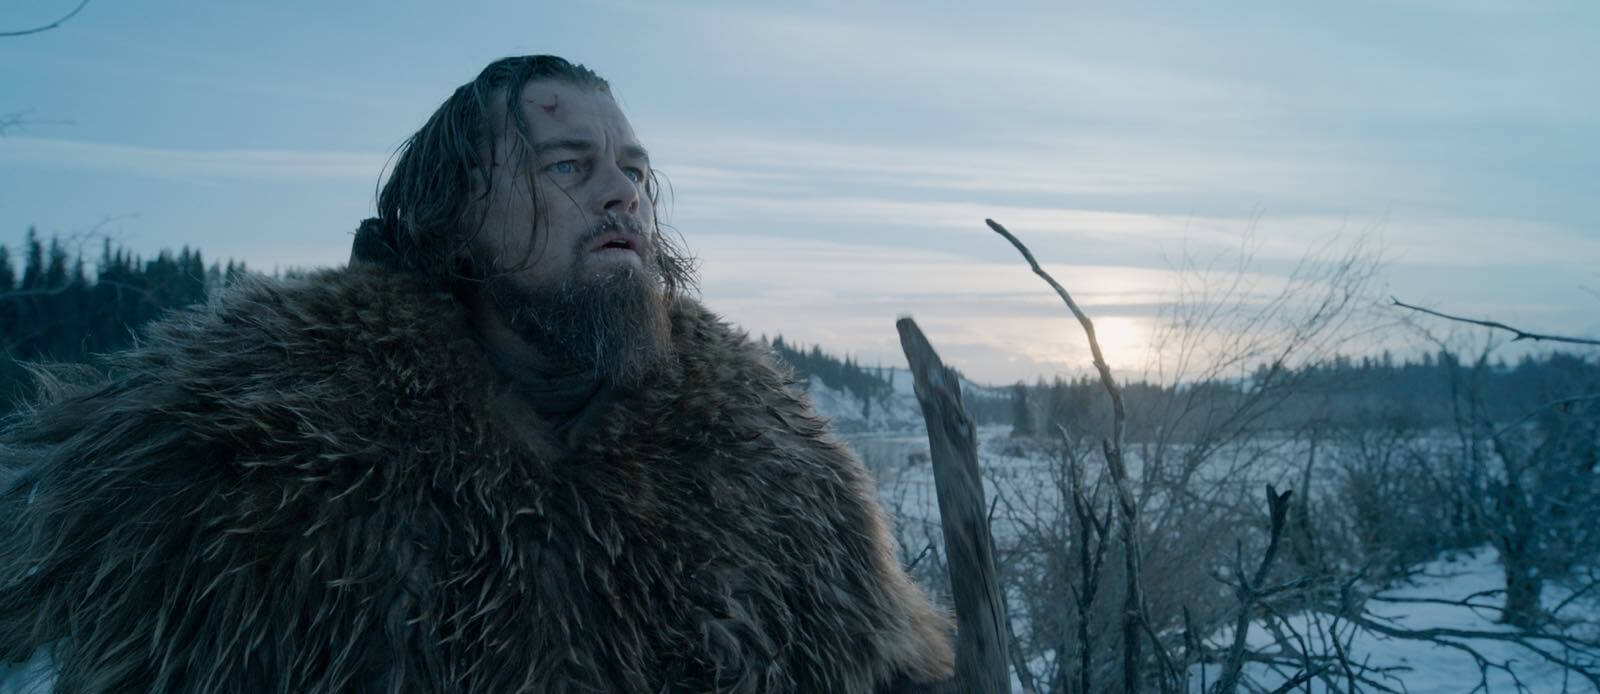
Scene from “The Revenant”
Here’s cinematographer Emmanuel Lubezki talking about his techniques for the film.
Practical Lighting
Practical lighting refers to the sources at the location. Positioning existing lamps, candles, and other sources can help you create practical lighting.

Scene from “Eyes Wide Shut”
Stanley Kubrick’s “Barry Lyndon” also features practical lighting in a period setting.

Scene from “Barry Lyndon”
An overhead bulb offers practical lighting in “The Quiet.”
Scene from “The Quiet”
Interior lamps offer practical lighting in “Moonlight.”
Scene from “Moonlight”
Get tips for using practical lighting.
Soft Lighting
Soft lighting is one of the many cinematography techniques that can enhance a scene. Soft lighting is an aesthetic that removes shadows and gives the illusion of subtle light from outdoor sources.

Scene from “Her”
“Restless” also embraces outdoor sources for soft lighting.
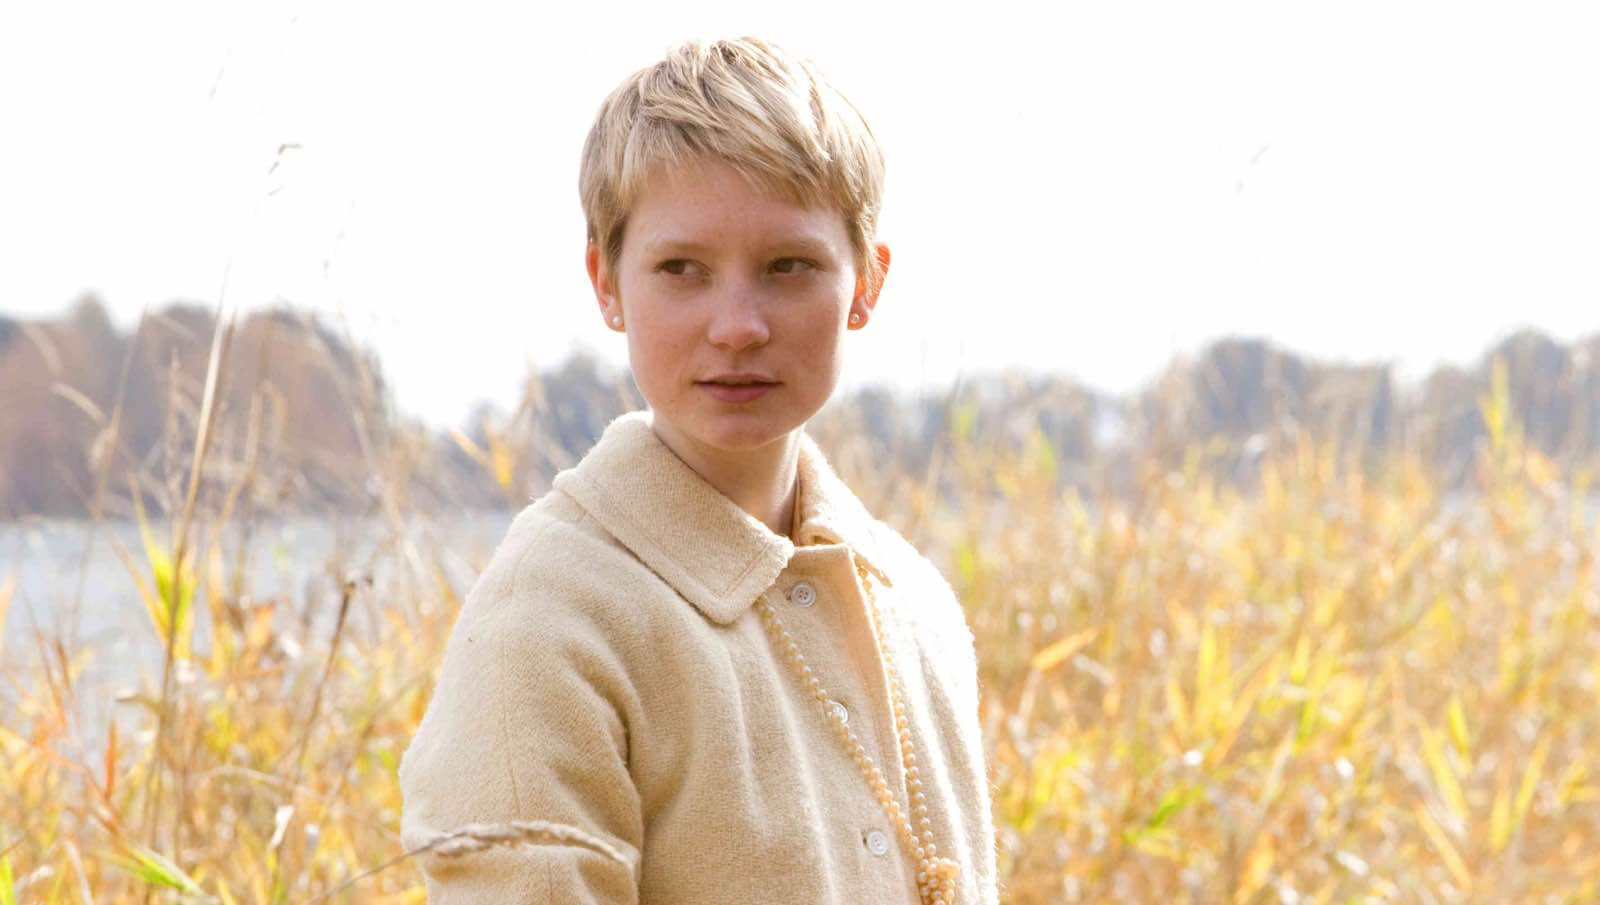
Scene from “Restless”
“The Quiet” features diffused overhead lighting to create a softer effect.
Scene from “The Quiet”
Watch how to set up soft lighting.
6 Photography Lighting Techniques
If you’re planning to use your video camera to capture still images, you also ne ed to learn photography lighting techniques.
Broad Lighting
Broad lighting casts a slight shadow on the side of the subject’s face that’s turned away from the camera.
Butterfly Lighting
Butterfly lighting places the light source above and behind the camera, creating a butterfly-shaped shadow under the subject’s nose.
Loop Lighting
Loop lighting places the light just above eye level, creating a loop-shaped shadow on the subject’s cheek, alongside their nose.
Rembrandt Lighting
Rembrandt lighting leaves half of the subject’s face almost completely dark, aside from a small triangle of light under the eye.
Short Lighting
Short lighting adds a slight shadow to the side of the subject’s face that’s turned toward the camera. It’s common for portrait lighting because it tends to be flattering for everyone.
Split Lighting
Split lighting illuminates half of the subject’s face and leaves the other half dark.
Light Sources: HMI vs. Tungsten vs. LED
Once you’ve decided which technique and light placement to use, you also have to choose a type of light. Filmmakers usually use Hydrargyrum Medium-Arc Iodide (HMI), light-emitting diode (LED), or tungsten lights.
HMI Lights
HMIs are the most powerful lighting options for filmmakers and some of the most common lights to appear on movie sets. Because they’re so bright, they can easily illuminate nighttime scenes. Their typical color temperature is 5600K, which is equal to daylight.
LED Lights
LEDs are some of the newest lighting options for filmmakers, and their flexibility has made them quickly grow in popularity. These lights are highly portable and can easily dim without changing color. You can also adjust them to a color temperature between 3150K and 6300K so they work with a wide range of scenes.
Tungsten Lights
Tungsten bulbs are less common on movie sets because they tend to generate high heat levels. Because they naturally have a color temperature of 3200K, they can work well when you need a warm light for a scene.
You can use cinematic lighting techniques even if you’r e shooting on a budget or if you haven’t yet invested in professional equipment. It’s easy to set up work lights or inexpensive LED lights and use color filters to change the temperature. Then, cover the edges of the light with black cinefoil to direct the light onto the subject.
Becoming a well-rounded filmmaker starts with knowing the best techniques used in the industry today. Apply for the Cinema Production Diploma at Nashville Film Institute to begin your career.