Night photography can be fascinating, and taking pictures at night might seem like magic if you are just getting started. The key is to get proper exposure and focus in the dark. Night photography has some challenges, but it is easier than shooting in the daytime.
Equipment Needed for Night Photography
Tripod
While using a long shutter speed for proper exposure, you will need to hold your camera steady. A tripod is the best option for that. You can also use a remote shutter release. An intervalometer may be costly, but corded ones are cheap.
Remote Trigger and Camera Release
When clicking images during the night, you cannot touch the camera as you may encounter a camera shake. Hence, you will need a remote trigger or a cable release to enable camera clicks without direct contact with the camera. As the name suggests, a remote shutter release is nothing but a remote trigger attached to your camera wirelessly or through a cable to accomplish its primary function. The remote trigger the shutter without physically touching the built-in shutter release button on the camera.
Flashlight
A flashlight will be helpful to find camera controls in the dark. It will help you in various ways, such as setting up the tripod, dealing with straps, other attachments, and locating things in the camera bag.
Lens hood
Bright lights from different directions, such as street lights and neon lights, will be present at night. A lens hood will reduce flares.
Extra batteries
The long exposures you use at night might drain the camera battery. If you are using Live View, batteries will drain even faster. So, for night photography, always pack a few spare batteries.
Apps
Weather conditions are crucial for night photography. Apart from the standard weather apps, use PhotoPills and Star Walk 2 to know where the moon, constellations, and Milky Way will be.
Exposures for Night Photography
The primary difference between daytime photography and night photography is the usage of exposure values. Exposure is a result of shutter speed, aperture, and ISO. Due to the darkness, more light should enter the camera, which you can achieve by changing the three controls.
Some Exposure Settings
- Begin with the aperture set to f/5.6, a reasonably moderate choice that allows a healthy quantity of light. Though the depth of field may be shallow, you don’t need a deep depth of field due to the black background.
- Start with an ISO value of 400, which is high enough to avoid using a long shutter speed and shoot without digital noise.
- Line up your shot and use a tripod as the shutter speed will be longer.
- If you are not using a tripod, the only option is to use a larger aperture, reduce the ISO value to at least 1600 and use the shutter speed set by the camera.
- Even if you use a large aperture and high ISO value, the shutter speed increases, and the camera shake might be an issue.
Night Photography For Beginners
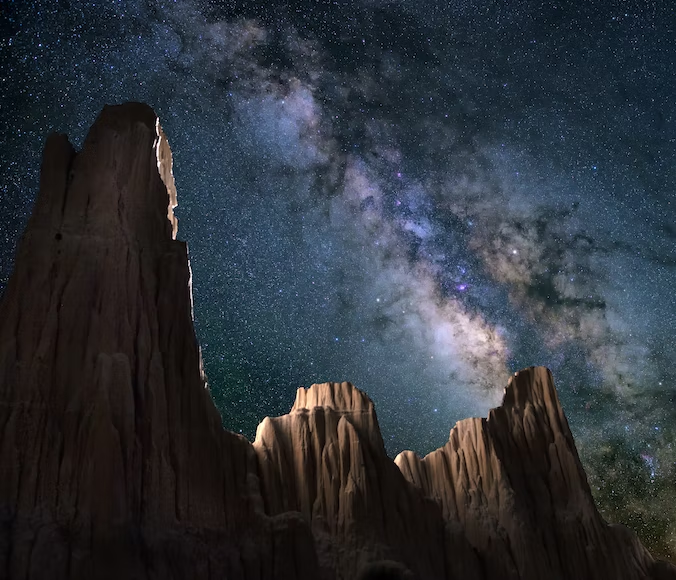
Exposure Settings for Night Sky
To photograph the night sky, the exposure settings can be:
- 15 seconds – Shutter speed
- f/2.8 of Aperture Size
- ISO value of 6400
If you can’t set the aperture up to f/2.8, you must increase the ISO value or the shutter speed. Even if you are using a tripod, do not lengthen the shutter speed. The stars moving in the sky appear to move across the sky. So, when you increase the shutter speed so much, the little trails of the star will appear as a blur. This could be missed until you look at the pictures on your computer screen.
Shutter Speed
For night photography, shutter speeds longer than one second are used. This is because the camera takes a long time to collect light for proper exposure in the darkness.
So, the shutter will be open for a long time; you need to hold the camera steady to avoid blurry photographs. You can use a tripod to achieve this.
Aperture
The aperture is the opening of a photographic lens’ diaphragm, through which light passes to enter the camera. The aperture size determines the quantity of light entering the camera at a particular shutter speed.
There is no vast difference in the usage of the aperture at night and during the day. However, during the nighttime, a small aperture will require long shutter speeds. On the other hand, as the background is black, you don’t need to worry about obtaining a wide depth of field. Therefore, you can use larger apertures at night.
ISO
ISO is a measurement of the digital sensor’s sensitivity to light. A higher ISO means the digital sensor is more sensitive to light and allows a short shutter speed or a small aperture.
High ISO values will lead to more digital noise as dark areas show more digital noise than lighter areas. So, try to use low ISOs for night photography.
Using a tripod, you can use a long shutter speed and avoid using a high ISO. However, when you are not using a tripod or the subject is moving, you can use high ISO. Currently, cameras are becoming better at handling higher ISO values without much digital noise. You can also use post-processing software to reduce noise reduction.
Subjects for Night Photography
In night photography, subjects may not appear the same to the camera as they appear to your eyes. So, it is better to try out some test shots. During test shots, you can reduce the shutter speed by increasing the ISO value.
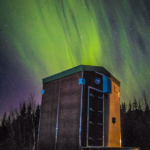
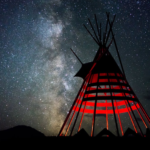
Night Sky
A clear night sky is great for photos. Moonless, clear nights can make the best night photographs. All the better if you can catch the Milky Way, which is usually possible from March through October. You can also try to add a foreground to the shot also. You can use apps including Star Walk 2 to help you handle the timing for photographing these.
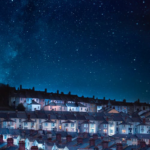
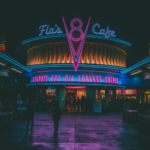
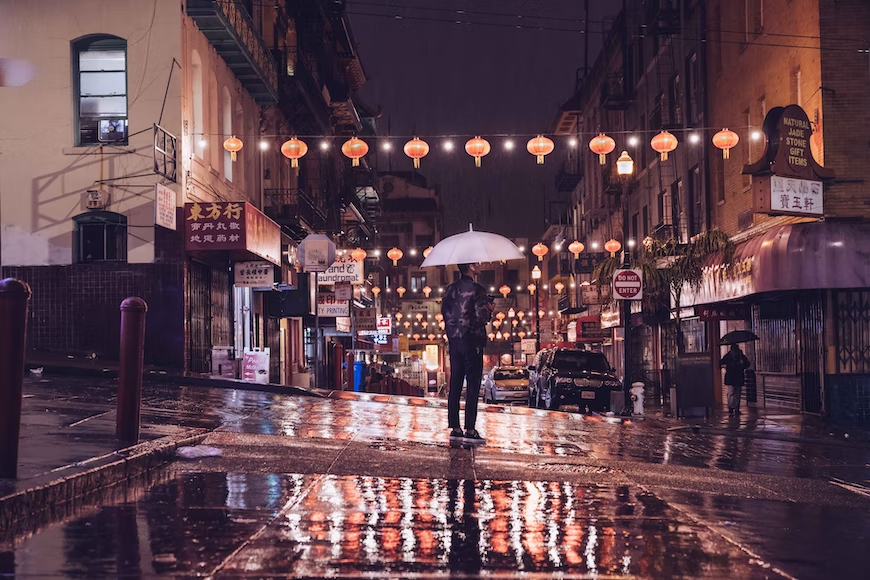
Buildings
Buildings with beautiful lighting are an excellent choice for night photography subjects. In addition, building subjects are helpful for beginners of night photography.
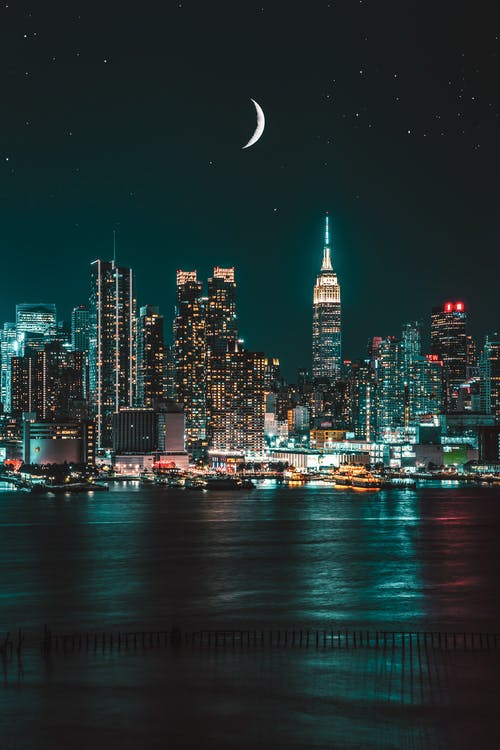
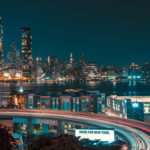
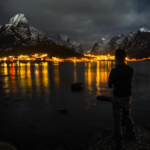
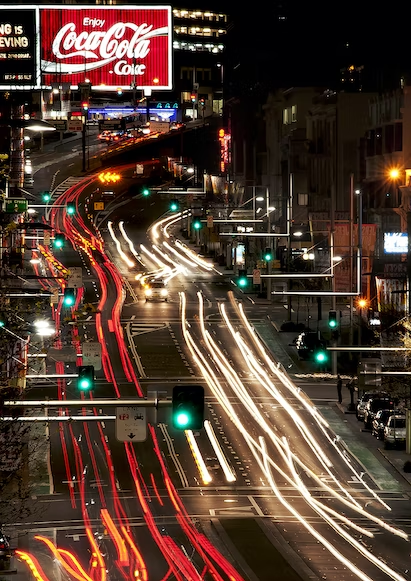
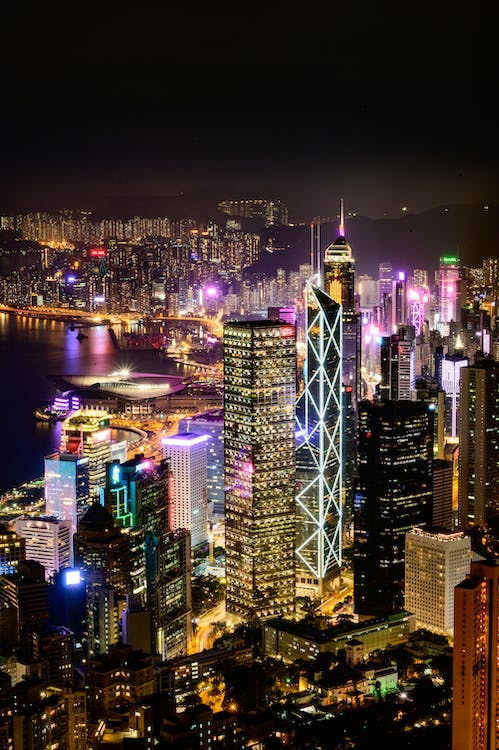
Cities
You can get beautiful skyline shots from the nighttime view of cities. However, include a foreground or subject of interest for a good photograph.
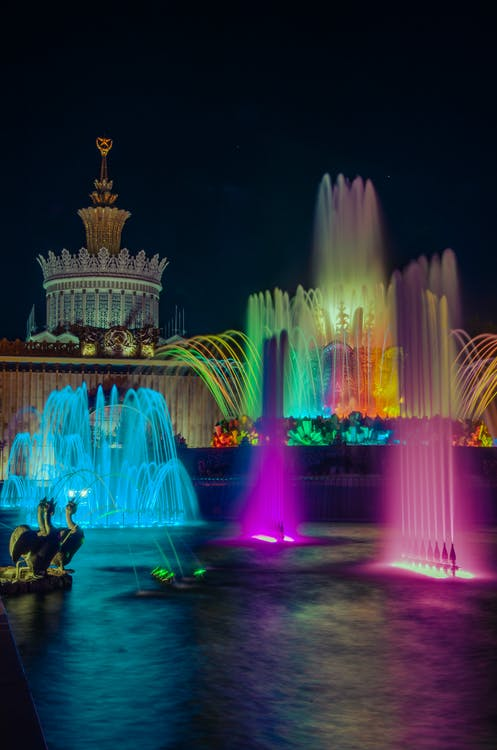
Fountains
Fountains are often lit with different colors, and the long shutter speeds can make the fountain appear to be flowing.
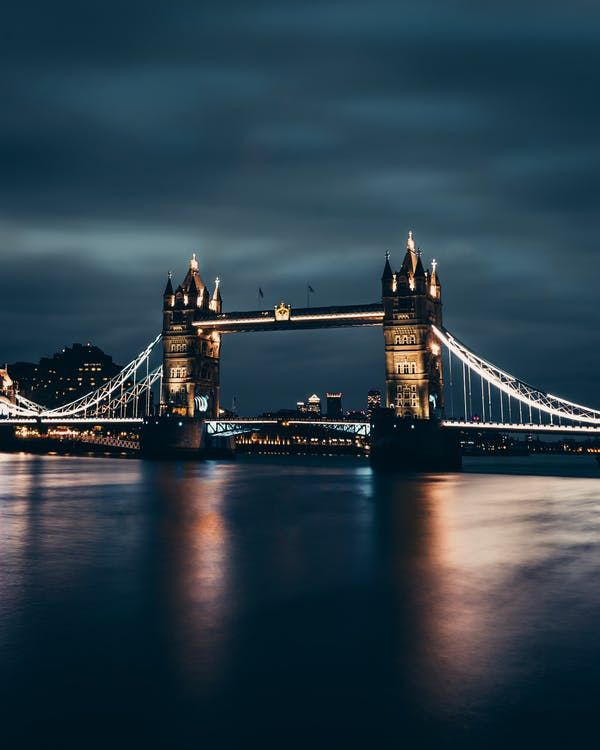
Bridges
Every town or city has a bridge that is well-lit at night, making it an exciting image for night photography. Additionally, the long exposure time will cause the water under the bridge to blur, and the traffic will appear as streaking lights.
Streetlights
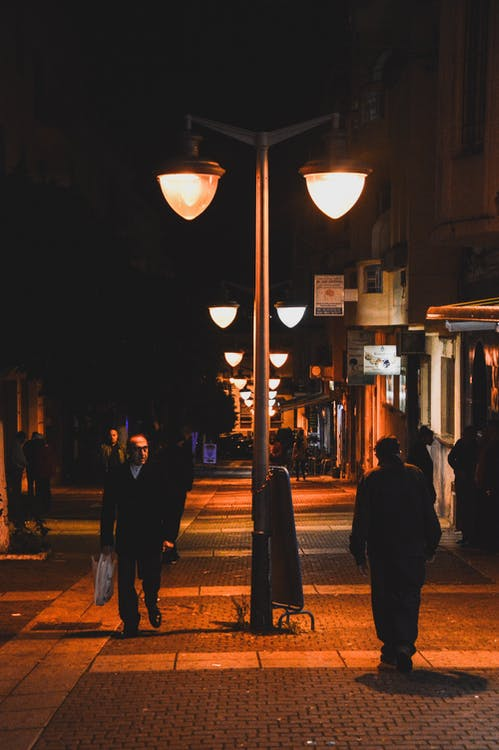
Streetlights can be helpful in different contexts in night photography. They will include a point of interest in a blank area in the picture. Multiple lights can create a better leading line to the photograph.
Reflections
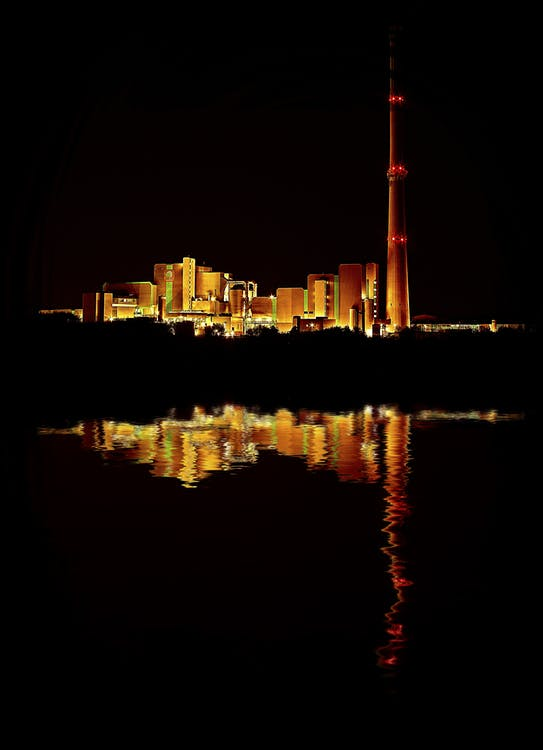
One of the benefits of long shutter speeds is that the reflections on the water surface show up better. You can capture these reflections on lakes, ponds, and even puddles.
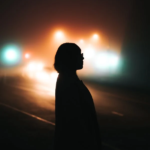
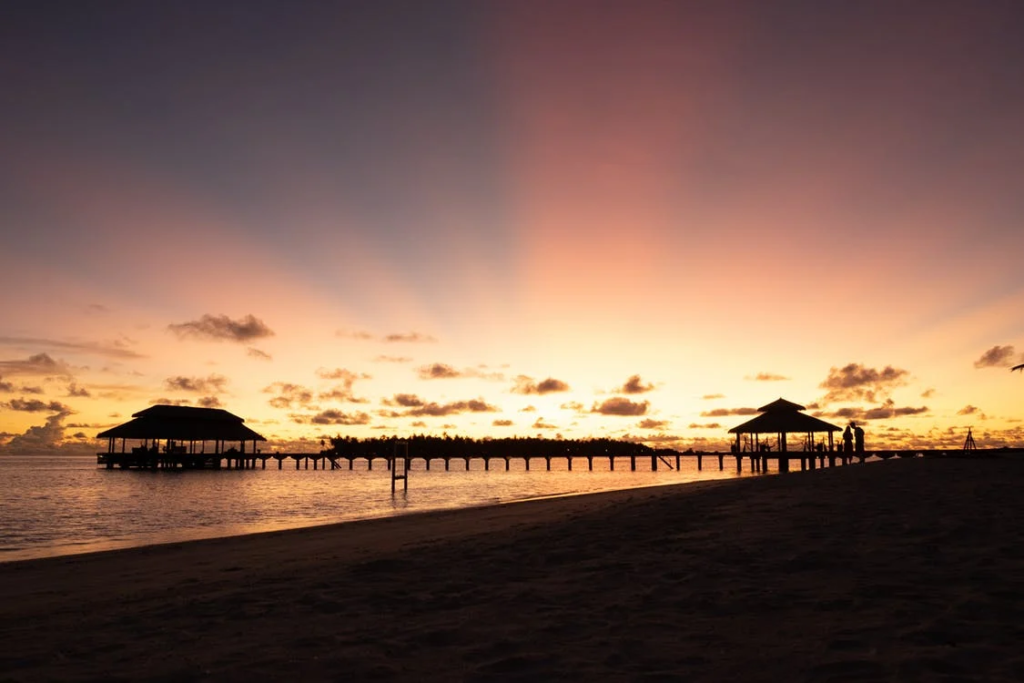
Silhouettes
You can highlight a beautiful sunset or sky by blacking out the subject. Silhouettes provide information only to recognize the form and shape of the subjects by removing extra details and distractions. Some light has to be there in the sky to get a good silhouette. The subject should be between you and the light; a meter for the light should be present to capture great silhouettes.
Night Photography – Focusing
It isn’t easy to focus the camera in night photography as most cameras focus by detecting contrast. When the scene is very dark, the camera may not pick up anything as there will be no contrast. To get the camera to focus correctly,
- Focus on a bright light, a streetlight, for instance, in the picture.
- Focus on the light’s edge between the bright and black backgrounds to get the necessary contrast.
- Ensure to focus the same distance away from where you want the final photograph to be focused.
- Once you set the focus, recompose and press the shutter button to capture the image.
You can use autofocus to break out and shine the flashlight on the subject you are focusing on. If the subject is close enough, the flashlight will offer sufficient light for the camera to focus.
If none of this works, you can manually focus the lens. You can use Live View and view the LCD while composing the picture to see if the focus is accurate.
Night Photography – Post Processing
Highlights
In night photography, you could be dealing with either dark areas or bright areas. Most of the time, highlights can be blown out slightly. If you have shot in RAW format, many RAW editors can bring back the highlights. You can also use Lightroom or Photoshop to decrease the highlights and make them appear more colorful.
Shadows
There might be parts to brighten while dealing with dark areas, but you should let the darkest parts be pure black.
To achieve these,
- Pull up on the Shadows slider.
- Then pull down on the Blacks slider.
The areas you want to brighten will benefit from the Shadows increase. But, at the same time, the contrast is maintained by reducing the Blacks.
Sharpening
While sharpening night photos, you might have to deal with digital noise. If the whole image is noisy, you need to use a global noise reduction. To do this, you can pull up the Luminance slider to the right in Lightroom and ACR. If you want to reduce noise in specific areas, use an adjustment brush to paint the areas you want to decrease noise and pull up the noise slider.
If you are applying too much noise reduction, it will reduce your photo’s detail. So, it is better to avoid using a global adjustment when it is not needed. If you want to reduce noise and preserve details, use Noise Ninja and Dfine by Nik products.
Tips for Night Photography
- Try out manual focus and manual mode once you set the composition.
- Experiment with different settings and note them down for future use.
- Locating the buttons, dialing to change camera settings, or pulling up a menu can be challenging at night. Therefore, memorizing gear functions to find access points for essential dials and menu options from your camera manual is necessary. You can use a direct magnifying light to flashlight wherever needed and magnify the text of tiny dials or digital readouts.
- Try to familiarize yourself with the location by scouting in advance. Reach the location before sunset and set up your equipment relaxed to avoid any surprises.
- You can also perform a remote scouting session using websites such as Flickr or specific GPS coordinates. Scrolling through the results from other photographers can provide innumerable tips about site conditions, camera angles, and more.
- Use a digital compass to log GPS data and determine your orientation. These data will be helpful to shoot star trail images, especially when you want the star trails encircling the North Star.
- Lens fog can appear by moving the camera from dry cold to warm, humid conditions. This blocks the light from passing through the lens, resulting in soft, blurry images or frames without exposure. During such situations, a clear lens filter can protect the glass from exposure to moisture. Still, it can cause ghosting or flare if lights are present. A lens hood can help in reducing moisture accumulation.
- You can use heating devices to warm up the lens. For example, like astronomic enthusiasts, you can use portable, electric heating devices to prevent telescope optics from moisture build-up.
- You can also attach portable hand warmers to the lens barrel. However, you need to connect the heating device before the lens fogs up.
- Dress suitably to match all weather conditions. Pack gloves, lightweight glove liners, and hand warmers according to the season.
- Bulb mode lets you shoot with a slow shutter speed which will be helpful for creative photography.
Night Photography Settings and Tips
Conclusion
Night photography is fun to experiment with once you are thorough with the basics. Once you understand the exposure settings, try out different shutter speeds, aperture, and ISO combinations to create interesting shots. Experiment with other subjects using various light sources and compositions.