Everything You Need to Know
Everything You Need to Know
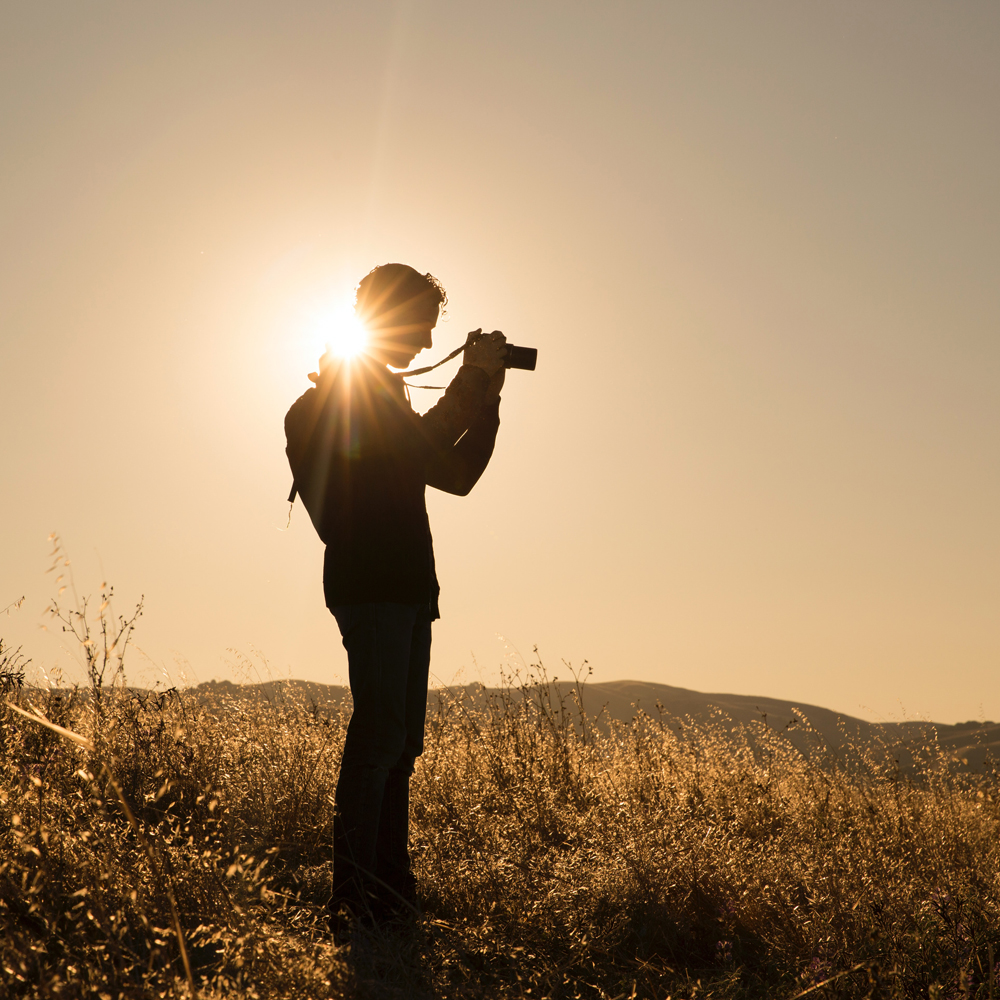
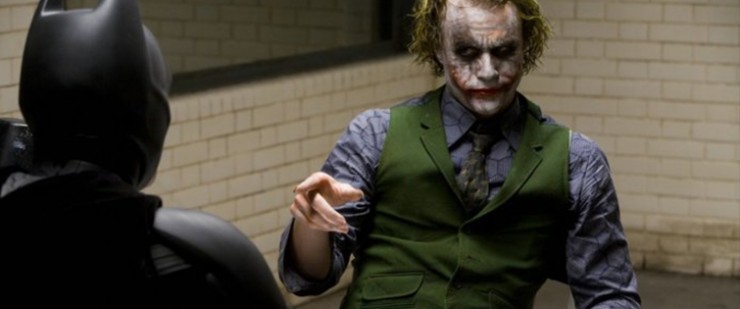
An over the shoulder shot, often referred to as a third-person shot or an OTS, is a shot where the camera is facing one character from a position that is just behind another character. In other words, an off-screen actor’s shoulder is in the foreground while there is complete coverage of the on-screen actor. Because of the orientation of the camera, the off-screen actor’s shoulder and sometimes the back of their head is in the frame. This is a foundational camera move taught to all novice filmmakers.
Types of OTS Shots
In most cases, filmmakers use a dirty single, which is when there is just a blurred glimpse of the shoulder in the frame, with most of the focus placed on the other character. There are filmmakers that have switched this focus though. For example, in “Pulp Fiction,” Quentin Tarantino diverts the focus to the back of Marsellus Wallace’s head, with Butch out of focus in the background. You can also use what is known as a clean over, which is where the shot is over the shoulder, but the foreground character isn’t in the frame.
Uses for the Over the Shoulder Shot
Here’s a closer look at how over the shoulder shots can have a dramatic impact on a scene:
Over the shoulder shots can really influence how the audience interprets a scene. Some of its specific uses are to:
- Orient the viewer and provide a new point of view: OTS shots use perspective to show where characters are in relation to one another and are great for offering the viewer a new point of view to make the scene more dynamic or provide another character’s perspective on a scene.
- Create intimacy between two characters in a conversation: On an emotional level, this camera angle often indicates a connection or a level of intimacy to the viewer, specifically when two or more characters are having a conversation. Conversely, when you break from this, it can signify a disconnect. When used during a conversation, the camera typically alternates from focusing on one character in the shot to the other, allowing you to empathize with each character.
- Track the reactions of participants in a conversation: There are times when its uses are more practical than emotional. For example, when filming a group conversation, it can be hard to track who is addressing whom. An over the shoulder setup can help clarify where each character is directing their gaze and whom they are talking to.
Over the Shoulder Shots vs. Single or Two Shots
Filmmakers generally use over the shoulder shots in conjunction with other shot angles, specifically single shots and two-shots. Single shots, commonly referred to as single framing, isolate a character, focusing exclusively on their emotions and actions. Many filmmakers switch into medium-shot single framing from an over the shoulder shot. This is often a much more organic way to focus on a character, especially an intense emotion, than switching to a more drastic change, like a close-up.
A two-shot, on the other hand, reveals both characters in the same frame. Filmmakers sometimes use this technique along with single shots and over the shoulder shots to show the audience the setting and surroundings outside of the characters’ intimate, and often intense, bubble. By revealing the body language and facial expressions of both characters simultaneously, a two-shot can convey the evolving relationship between two characters.
How to Film an Over the Shoulder Shot
Follow these steps to create a simple yet effective over the shoulder shot involving two characters:
- Start with a two-shot. Though not always necessary, it can be beneficial to start the scene with a two-shot to create context and clarify the parties involved in the exchange or conversation. This creates a much-needed connection for the audience.
- Determine the best camera placement. Traditionally, over the shoulder shots mean just that — it is a shot that takes place over the off-screen character’s shoulder. You can get creative with this depending on the scene and what you’re hoping to communicate. For example, if the foreground character is carrying a gun, you may want to change the placement to more of an over the hip shot, meaning the character’s hip is in the foreground as opposed to their shoulder or head.
- Decide the ideal character positioning. How much of the foreground character you want in the frame is completely up to you. Experiment with different positions to see how much or how little you want them in the frame. Remember to pay attention to the camera angling during this stage, keeping the background character’s eye line level with the camera and the foreground character’s features obscured.
- Get the shot and then the reverse shot. When filmmakers use over the shoulder shots, they typically alternate between the point of view of both characters. Because of that, you generally need the reverse shot to match. For example, make sure that both shots are dirty or clean and that the distance between the camera and your subjects is consistent.
Over the Shoulder Shot Best Practices
As with most art forms, there are no concrete rules for filmmaking, especially specific types of shots. But there are some basic guidelines to help you get the best shot you possibly can. Some tips for capturing an over the shoulder shot include:
- Keep things in proportion: The character facing the camera should generally occupy at least 1/3 of the frame.
- Mind the eye line: The on-screen character’s eye line should be about level with the camera. Because the audience is viewing the conversation over someone’s shoulder, having an angle that is too high or low could disrupt the visual. If you’re hoping to communicate intimidation, taking a slightly higher angle can be helpful. Additionally, a lower angle can be an effective way to show power. You see this strategic angling used in exchanges between Marty McFly and Biff Tannen in “Back to the Future.”
- Pay attention to the angle: Avoid camera angles that show too much of the off-screen character, specifically their nose. When their features are in the frame, it can draw the scene’s focus away from the on-screen character or impact continuity when shifting back to the reflecting OTS. If your shot captures the facial features of the off-screen character, it’s often a signal that you need to move the camera in closer.
- Ensure that the actors’ movements are natural: Instead of instructing the foreground actor to limit their movement, tell them to hold their position without standing perfectly still. When the actor in the foreground limits their movements too much, it can come off rigid and unnatural or even show discontinuity when they’re moving freely in the reverse shot. Even if your frame gets temporarily obstructed a few times, it is worth it to have natural movements and behavior from your actors.
When creating a film or even shooting a scene, you should diversify the shots you use to keep things interesting, give the scene(s) context, and communicate important concepts. When paired with other, more isolating angles, over the shoulder shots can have an incredible impact. By learning how to effectively use and shoot over the shoulder shots, you can really improve your filmmaking.
That’s why it is one of the first shots that every filmmaker is introduced to. At Nashville Film School, we have a staff of active participants in the film industry, meaning they can teach shots, like the over the shoulder, using their real-life experience and expertise.