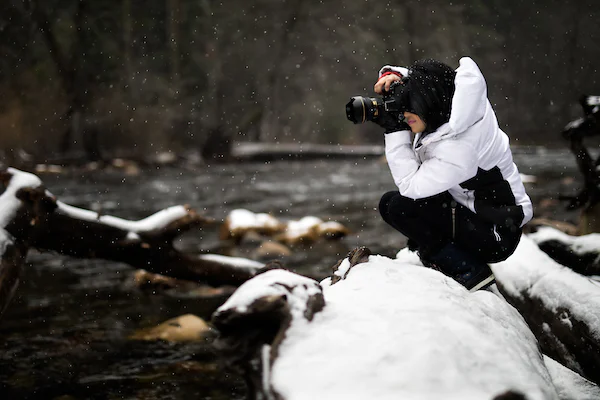
Here is the complete guide for you if you have ever wondered how to photograph snow or how to capture snow falling.
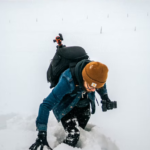
When snowflakes fall, there is a natural desire to go outside and enjoy the magnificent sceneries they create, whether you are young or elderly. If you’ve ever taken your camera out in the snow, you know how difficult it can be to get good photographs.
Be on guard with appropriate camera settings and your winter outfits to capture the images pitch-perfect. Cold weather can cause problems with your incorrect camera settings and result in gray snow photography. So, in this guide, we will cover all you need to know about taking amazing snow photos.
Equipment Needed
Camera
Use a weather-sealed camera like Pentax Weather-Sealed Camera. You can also buy a backup camera.

Lenses
It’s essential to keep moisture out of your camera and lenses. So it’s not a good idea to switch lenses frequently. With this in mind, we recommend utilizing a zoom lens rather than a prime because you won’t be limited to a single focal length like you would with a prime. However, if you have the option, choose weather-sealed lenses like the one below:
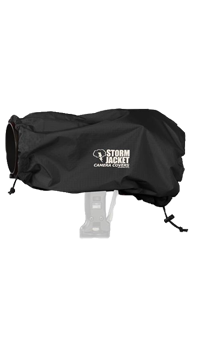
Camera and Lens Cover
We recommend using a rain cover with a drawstring to protect not only your camera but also your lens. If you do not have one, a rubber band and a plastic bag will suffice. However, this is ineffective, and a competent rain cover, such as the Vortex Storm Jacket, may be purchased for a reasonable price. They are great for shooting in all kinds of bad weather.
Cleaning Cloth
If your lenses fog up frequently, keep a supply of microfibre towels on hand.

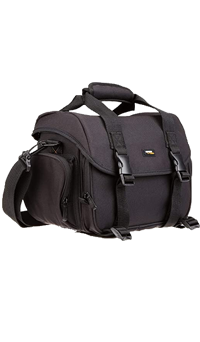
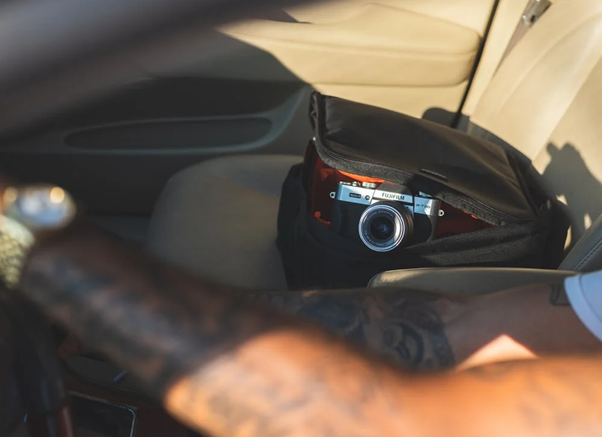
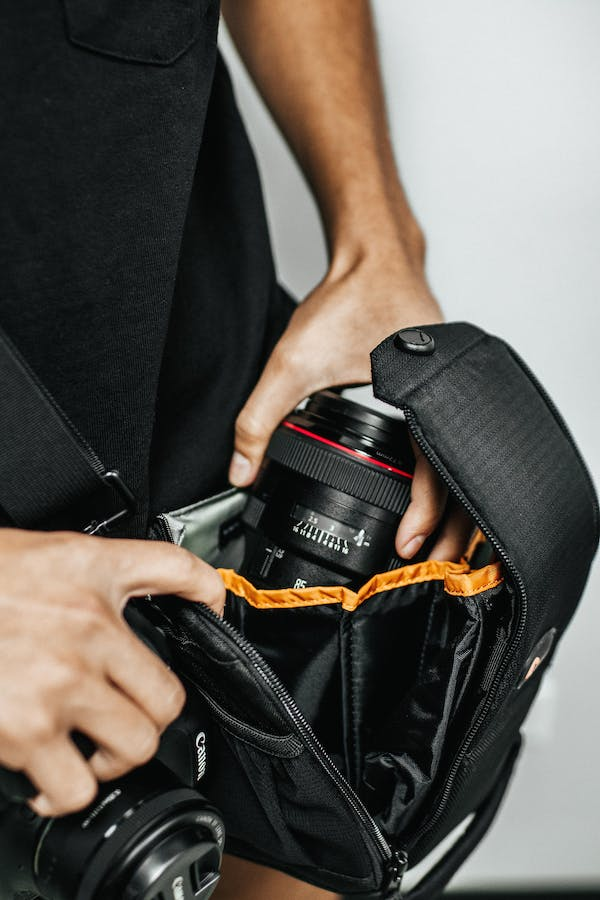
Camera Bag
Many camera bags now include a rain cover that can be fastened as needed, which is great for keeping things as dry as possible.
Snow Photography Tips
Contrast is Important
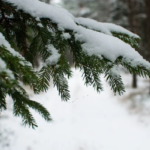
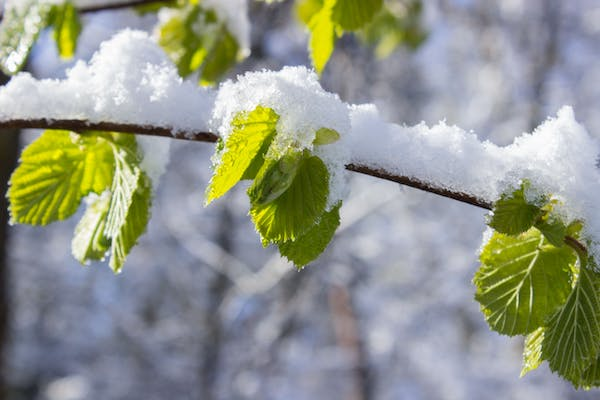
When everything is white, autofocus can struggle. As a result, you will need to be extra cautious and concentrate on a contrast-rich part of your snow scene. It helps focus on something dark, such as the bark beneath a lump of snow on a tree branch.
How to Take Pictures in the Snow
As your camera’s autofocus system relies on contrast to focus, a plain white mound of snow could be problematic. Half-press the shutter. If the focus does not lock on, try shifting your focus point to a darker part of the subject. This is typically effective.
Suitable Camera Settings
Set your camera to RAW mode. You’ll have more data to work with post-production when you shoot in RAW, but JPEG files are compressed. As a result, they don’t allow for much post-processing flexibility.
Evaluative metering is the best option (which is called Matrix metering on Nikon cameras). Evaluative metering is an excellent way to acquire nice exposure. If the weather is bright, you might want to experiment using Spot or Partial metering to see if it can better handle the light—exposure compensation. Change your exposure compensation to +1 or +2 to avoid your camera trying to make snow look grey. This will ensure that the snow remains white. You can change the exposure during editing.
Click Photos in Aperture Priority Mode
You can instantly modify your depth of field in Aperture Priority mode. In addition, the camera will pick the ISO and shutter speed when shooting in Aperture Priority, so all you have to do is go back and forth between the aperture settings. This is particularly useful in chilly weather and allows for a great deal of creativity.
Click Photos of Fresh Snow
If you want to avoid leaving footprints in the snow, decide ahead of time what shots you’ll shoot and in what order you will take them. Photographing fresh snow may also necessitate getting up early in the morning.
Keep the Batteries Warm
Your batteries will not last long in the cold. So charge two and keep one in a pocket on the inside. Replace your camera’s battery with the warm one when it runs out. Then put the exhausted battery in your pocket; once it warms up, you might be able to use it again.
Shield and Protect your Camera
When you bring your camera in from the cold, condensation can collect on the outside and inside. That isn’t very comforting, but it is simple to prevent. Bring a large zip-lock bag with you when venturing out into the cold. The camera should be kept in a camera bag or a jacket pocket. When ready to walk inside, put your camera in the bag and double-check that the lock is securely fastened. Once you are inside, place your camera somewhere where it can slowly warm up. You can take the camera out of the bag and use it usually once it has reached room temperature.
When your camera is out, keep the lens cap on to avoid snowflakes from dropping on the front element of your lens and melting. If your lens becomes fogged or smudged, avoid blowing warm air across it to prevent a tiny layer of ice from forming on it. Count on your microfiber lens clothes, and don’t be afraid to bring a few more with you. While bringing up your camera to your face to take a picture, hold your breath to avoid fogging the LCD screen and viewfinder. Consider rain clothing if the temperatures aren’t quite chilly enough and the snow is wetter than dry. While some cameras are weather-resistant, in the event of sudden and severe inclement weather, a plastic bag and a rubber band with the bag’s opening positioned around the front of the lens barrel can be a quick alternative. Rain covers for DSLRs with connected lenses have drawstring closures and a complete see-through method to operate your camera in the rain or snow.
Do not get Discouraged by the Weather
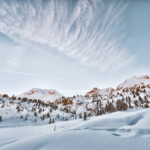
Snowy vistas are appealing in both sunny and overcast conditions. Include things that will break up the monotony and interest your photo on cloudy days when everything is white. Also, if it is snowing, protect your camera with an umbrella. If it is too cold to go outside, roll down your car window, get your shot, and then roll it up again.
Be Quick
Snow may change in an instant. It can start falling or cease falling at any time. When the sun comes out, the snow can melt exceptionally quickly. Those lovely trees may swing from brilliant to dreary in a flash.
It Pays to be Patient and Composed
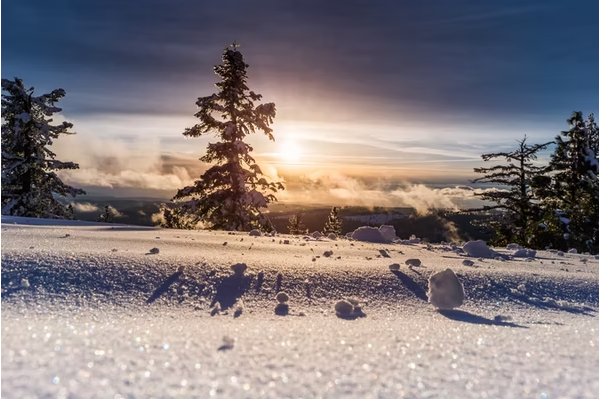
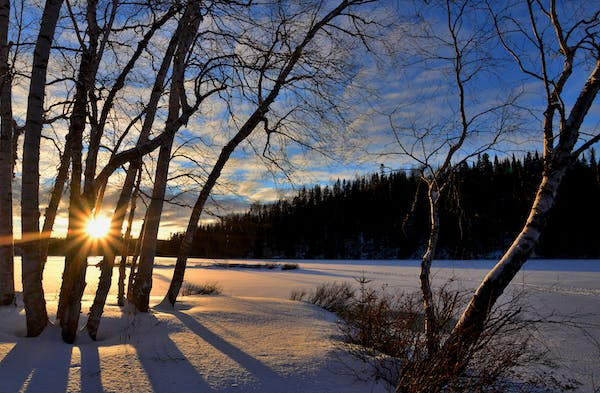
The speed with which light changes is remarkable. The sun can disappear behind a big cloud, completely altering the appearance of the snow. You might have to wait for the sun to shine again. When it’s chilly outside, this cannot be easy, but it’s well worth it!
Sunlight and shadows, after all, give beauty and drama to a snowy scene.
Hold on to your Images
Do not get rid of any of your images from your camera. Instead, wait until you are warm and comfortable and seated in front of the computer. Then, you will see your photos more clearly, and your fingers will not become icily cold.
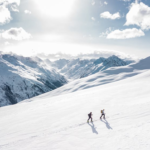
Try Different Perspectives
Shoot from a variety of angles. Try to depict how snow blankets the ground, weighs down everything and clings to everything.
However, keep an eye out for falling snow. Having a clump land on your camera is not ideal.
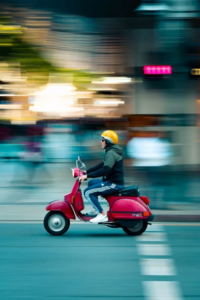
Experiment with Shutter Speed
Using Auto ISO, Shutter Priority mode allows you to set your shutter speed while the camera handles the rest.
You may also generate a variety of incredible effects by tinkering with your shutter speed. You can, for example, freeze falling snow in mid-air using a fast shutter speed. Conversely, you may convert the flakes into long white streaks by using a slow shutter speed.
Click Some Bokeh
A bright winter day is ideal for creating a bokeh. With all that gleaming snow and ice, it shouldn’t be too difficult.

Look for a subject with something bright or sparkling in the backdrop to produce bokeh in your shots. This could be light refracting off the ice or snow melting. Ensure enough distance between your subject and the shiny background by using a wide-open aperture (e.g., f/2.8 or f/4) and a wide-open aperture (e.g., f/2.8 or f/4). As a result, your subject will be in focus, but the sparkling background objects will be out of focus, thanks to the shallow depth of field (due to the wide aperture).
Avoid Grey Snow Photography
Your camera’s meter is set to expose a middle grey image, which is fine in most circumstances but not in the ones we’re dealing with here. Even if your meter says your exposure is perfect, your photographs may tell a different story.
Try overexposing by 0.7 or +1 to achieve that dazzling blinding white effect of snow. Overexposure is a simple technique that can result in stunningly white, natural-looking winter images.
Please keep in mind that even when overexposed, your photographs will have a slight blue cast. Shooting in RAW may entice you to eliminate all the blue in your images – but be careful. This might result in highly unnatural appearing snow photography.
The snow reflects the blue sky, which is why your image looks blue or very blue. If there is direct sunshine on the snow, it will be less blue, making it simpler to achieve that ‘bright white’ appearance in your photographs.
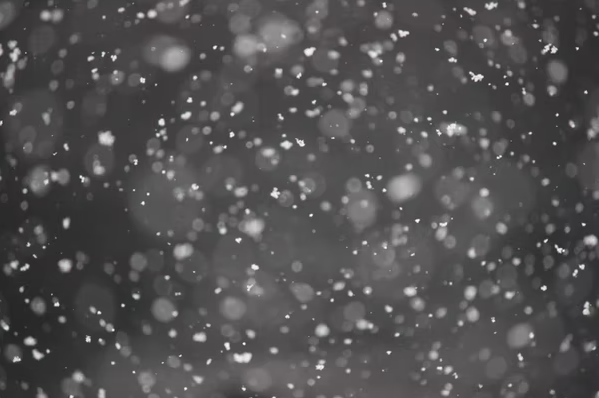
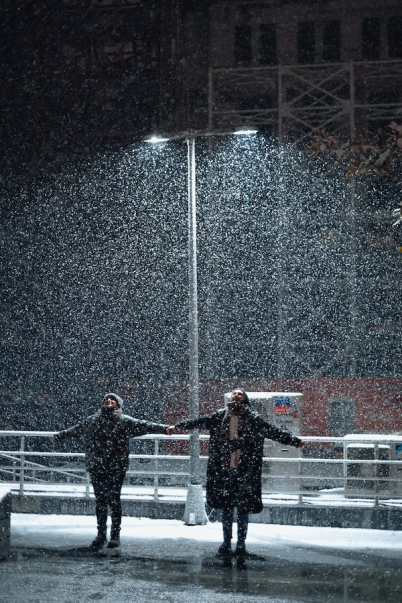
Photographing Falling Snow
Snow in the air is a fantastic photographic opportunity because it’s difficult to fake and thus relatively uncommon. If you happen to be photographing outside while it’s snowing, you’ve been given a gift you’ll want to put to good use.
To get sharp, well-focused flakes while allowing the background to go out of focus, consider using a quick shutter speed and concentrating near the camera (with manual focus, of course). Alternatively, you might use a slow shutter speed to experiment with the motion blur created by snowflakes moving through the image. Big fluffy snowflakes are an excellent way to offer a unique compositional element.

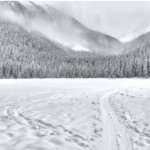
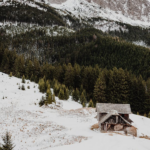
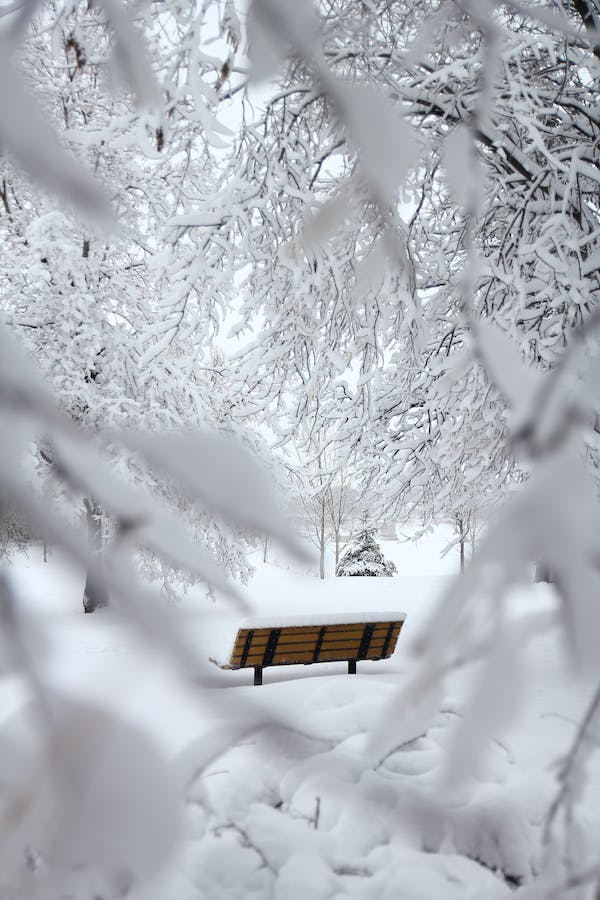
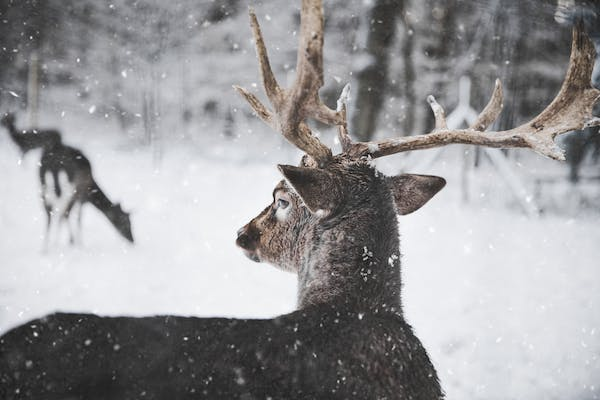
Shoot something other than Snow
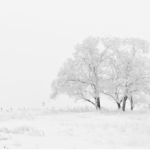
Photographing the limitless expanse of pure white snow may be appealing. Consider including some elements or points of interest to help break up your compositions and make them more fascinating. To act as a focal point in your photographs, look for animals, fences, fallen logs, or anything else of interest.
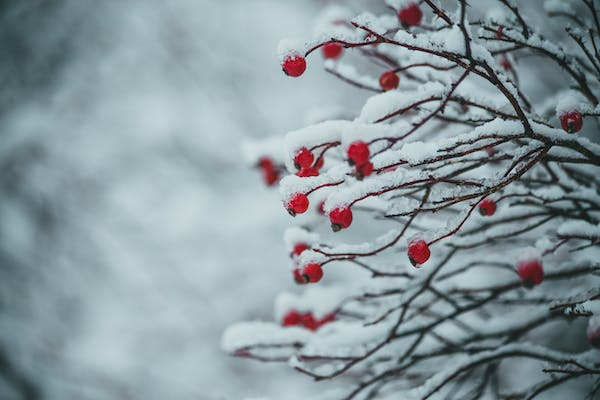
Make it Colorful
The snow provides a great backdrop, especially if you add some color. If you’re taking portraits, bold hues like red may make your subjects stand out. Look for a color that contrasts against the snow in scenic photographs, wildlife images, or macros – red berries, birds, a rusted mailbox, or a barn. All these make great, bright subjects that will stand out against the clean white backdrop.

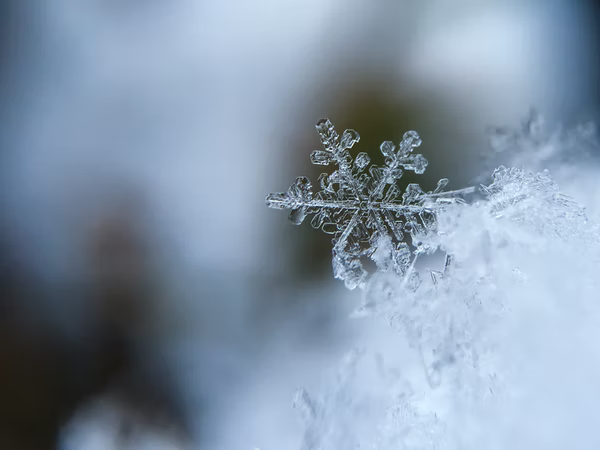
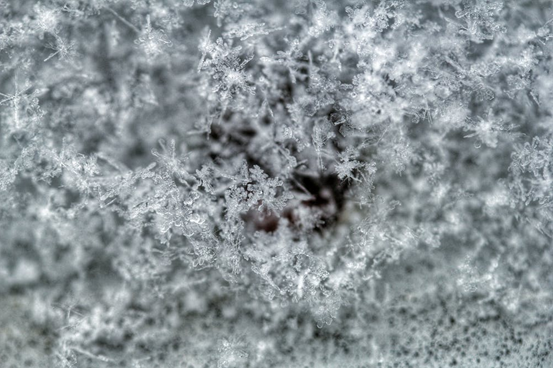
Experiment with Macro Photography
Winter is an excellent time to begin using macros, particularly snowflake macros. These photographs are breathtaking and can be unique pieces of art. You will need a lens that can get closer than a regular macro lens for snowflake macros. Adding extension tubes to your macro lens is one way to achieve this level of magnification. So get up, give it a personal touch, and begin shooting.
Post- Processing
Some images do not require much post-processing. However, snow photography necessitates a little extra effort after you get home. For example, lighting may need to be adjusted frequently. And snow images often include a haze, which may be readily removed by increasing the image’s dark intensity or using Lightroom’s “dehaze” slider. Consider adding a white vignette to your shots; white edging around a mostly white image can improve the appearance of your snow photos. You can also capture snowy vistas in black and white.
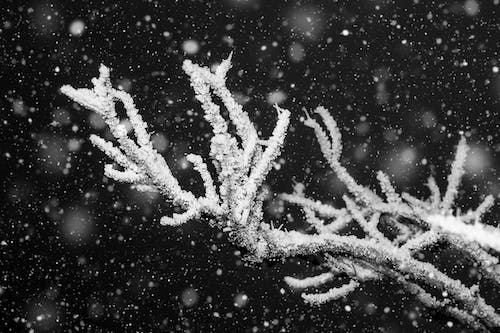
Black and White Snow Photography
It would help if you did not ignore the black-and-white effects in snow photography. Conversions create a marked impact in the captured images as they pristinely portray the texture and pattern of the snow, isolate the snowfall from the background, and produce a contrasting outcome. So what are you waiting for? Grab a click!
Make Use of the Histogram
For an accurate reading of the situation, rely on your histogram readout rather than your LCD screen. It can be difficult for you to interpret an image on a small LCD screen under a bright sun or in the center of a highly reflecting, snow-covered terrain. Also, it is difficult for the camera to read and measure the scene appropriately.
Protect your Memories
Take your memory card out of your camera and zip it in a zip-top bag. For further protection, use an overboard waterproof dry tube bag before heading indoors after you’re finished with your photographs or the cold has gotten the best of you. Any condensation resulting from entering a heated interior will collect on the exterior of your zip-top or dry bag rather than on your camera body and lens.
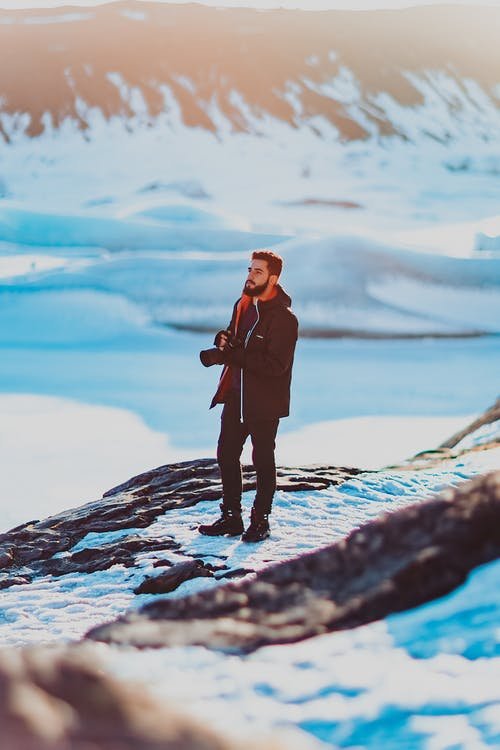
Right Clothing
The right camera with the apt settings is required for good photography in snow.
However, it is also essential to take care of yourself by wearing the appropriate clothing in the winter. A wind/waterproof jacket with a thermal base is suitable, especially if venturing into deep snow. Remember to protect yourself. Being comfortable is also essential for clicking the perfect picture in the snow.
Conclusion
Snow is a complex subject to photograph. It necessitates some technical preparations, but we believe that our snow photography advice will assist you in mastering the technique. Of course, make sure that you and your camera are weather-ready. And do not forget to bring your camera bag with you on even short outings because you never know where you’ll find beauty.
Snow Photography Videos
Creative Snow Photography Ideas
Landscape Photography in Snow Storm