Water photography is a broad area of photography with various creative possibilities. Photograph the elements of water during the golden hour or blue hour for the best results.
Water Photography Ideas
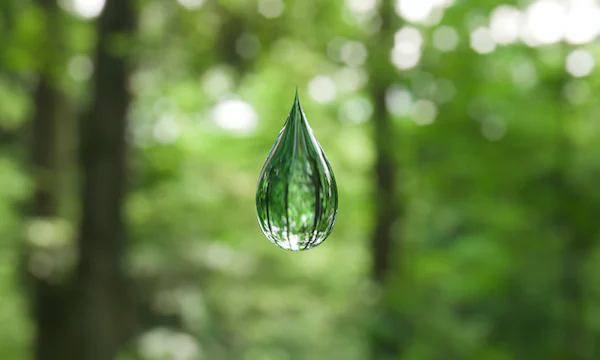
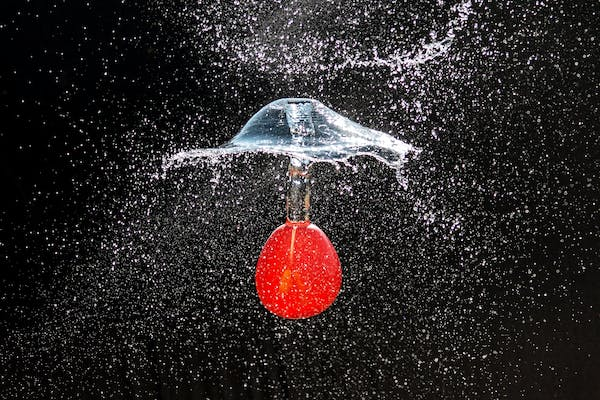
1. Water Drop Photography
Water Drop photography is a form of macro photography photographing the water drops falling into a tub of water. You can get the best results by combining them with an off-camera flash. It is a popular form that you can experiment with at home. An interesting background can be a form of refraction photography, with the background refracted inside the water droplet.
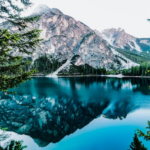
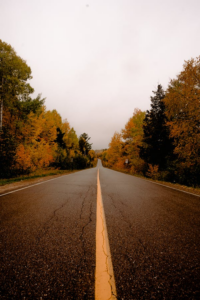
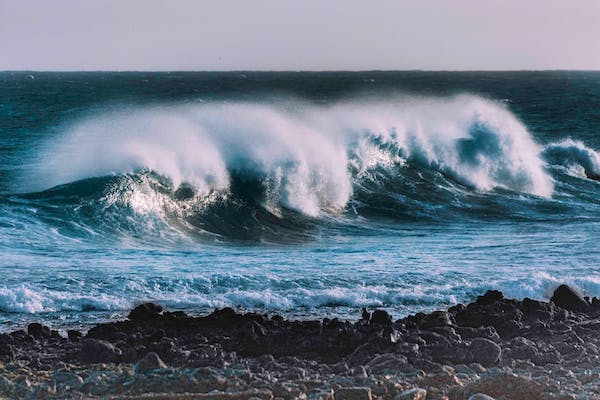
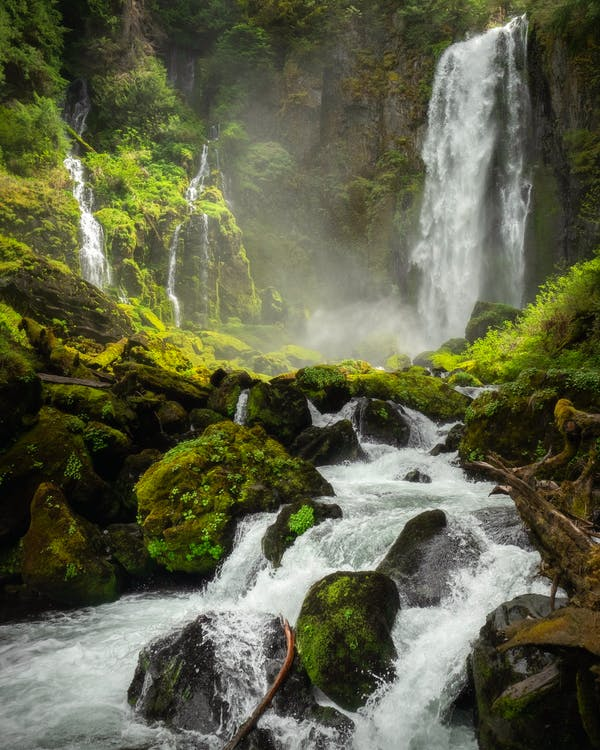
2. Long-exposure landscapes
Long-exposure photography is among the most popular forms of photography in landscape photography. A tripod and a good ND filter are necessary for long exposures.
Water Movement – You can capture the movement of water using an exposure of around 1/2 to one second in length. For instance, the movement of waves along the coast.
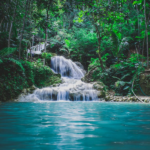
Silk water – Water cascading down a waterfall can look like silk using an exposure of between one and two seconds.

Flat seascapes – If you want to make the ocean flat, you can use an exposure of 10 seconds or longer.

When working along the coast, find out the tide times to avoid getting caught by the rising water. Also, watch the waves cycle before starting.
Tips for photographing moving water
3. Freezing objects
Capturing still-life photos and presenting an inanimate object creatively is possible with freezing objects. Ice will be transparent so you can see the object inside the ice. Good lighting is necessary to photograph freezing objects.
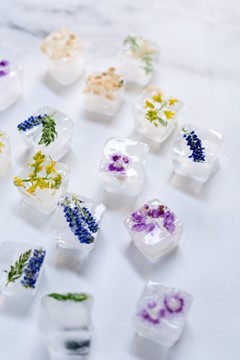
You can use any light source, including a spotlight or a strobe, to backlight the subject of your photo. Ice in nature, such as icicles and ice waterfalls, are good photography subjects in the winter.
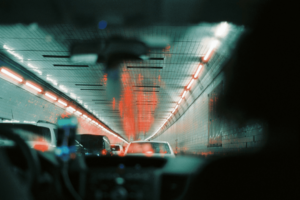
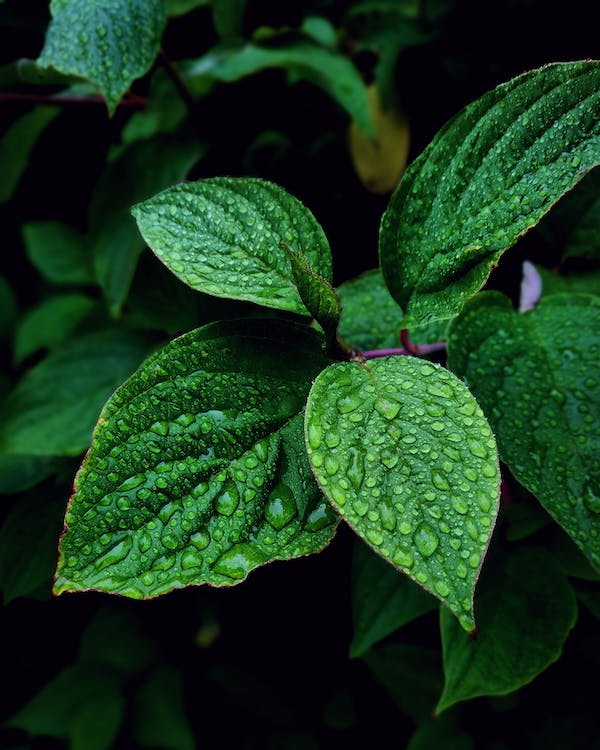
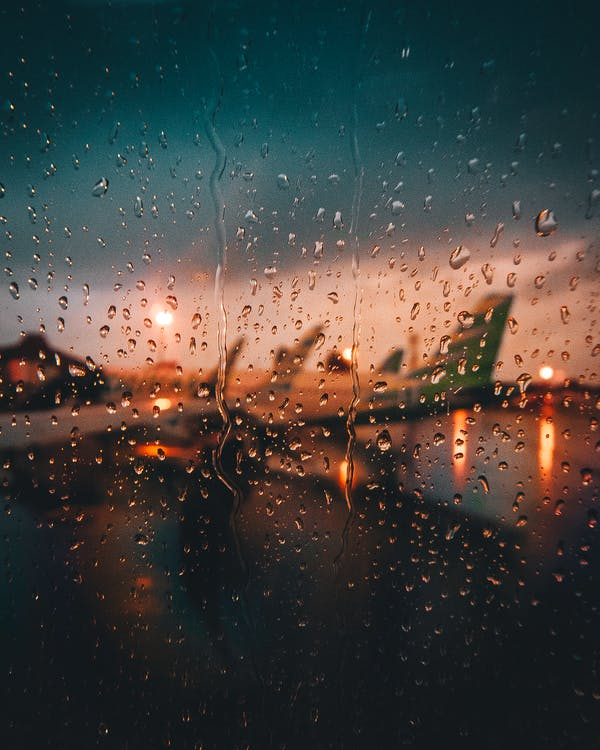
4. Rain
Many photographers avoid photographing in the rain, as it can damage the camera. However, there are various ways to protect the camera from the rain, such as market-available products or using a plastic bag and a rubber band.
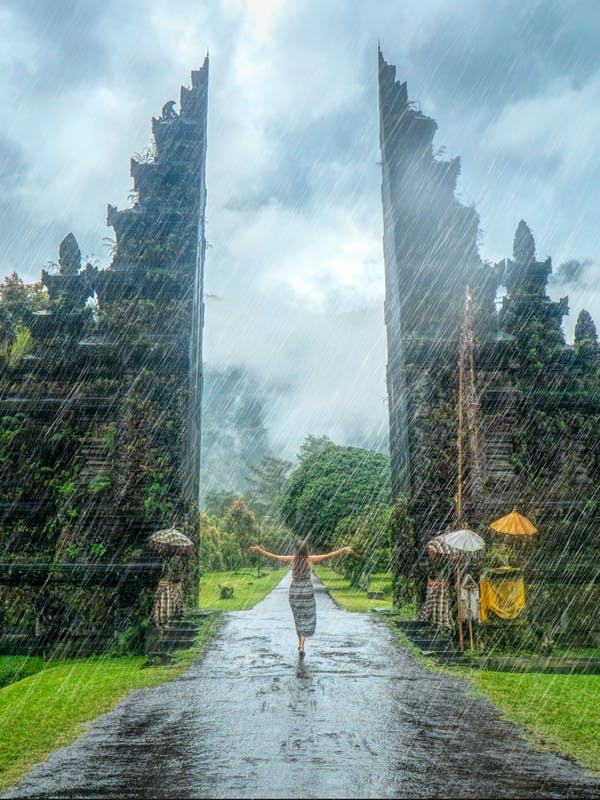
Rain can add mood to any scene, and photographs of people with umbrellas remain classic. However, to capture the rain itself, you can try photographing against the light.
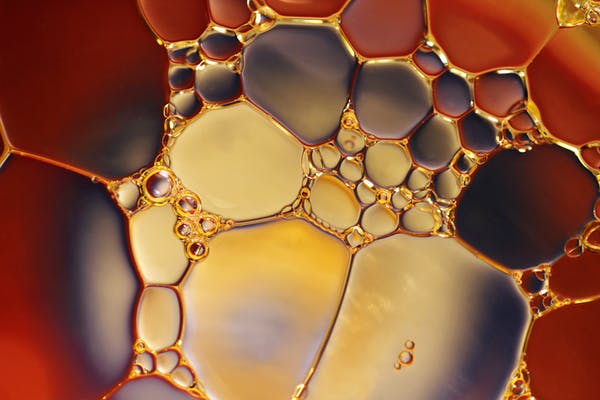
5. Oil and Water
Oil added to water can produce interesting texture photos.
To capture pictures of water and oil, follow these steps.
- In a glass container with a transparent base, add oil and water.
- Bridge the glass container on a surface, using two piles of books for support.
- The oil and water do not mix, creating giant bubbles. If you want to make smaller oil bubbles, you can use liquid soap in the solution.
- Add a background image under the container to add color to the photo.
- Using a macro lens, focus on an area of oil and aim for circular shapes.
- You can use a spotlight or a strobe linked by a radio trigger to the camera for lighting.
Oil in a water photography tutorial
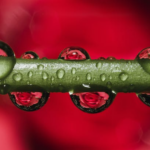
6. Water Droplets on Glass
Refraction is used to create the desired effect in this form of water photography.
To capture water droplets on glass, follow these steps,
- Take a clear glass piece from a picture frame, for instance.
- Bridge the glass over two book piles with a gap in the middle to photograph.
- You can smear windscreen rain repellent onto the glass to get more circular drops. Allow the repellent to dry for a few minutes.
- Now add water to the glass surface using a water dropper or a spray bottle.
- Choose a suitable background image and add it behind the glass.
- Using a macro lens, focus on the water drops.
- Expose your photograph using a strobe to light up the image behind the glass.
7. Reflections
You can use the best reflections for water photography.
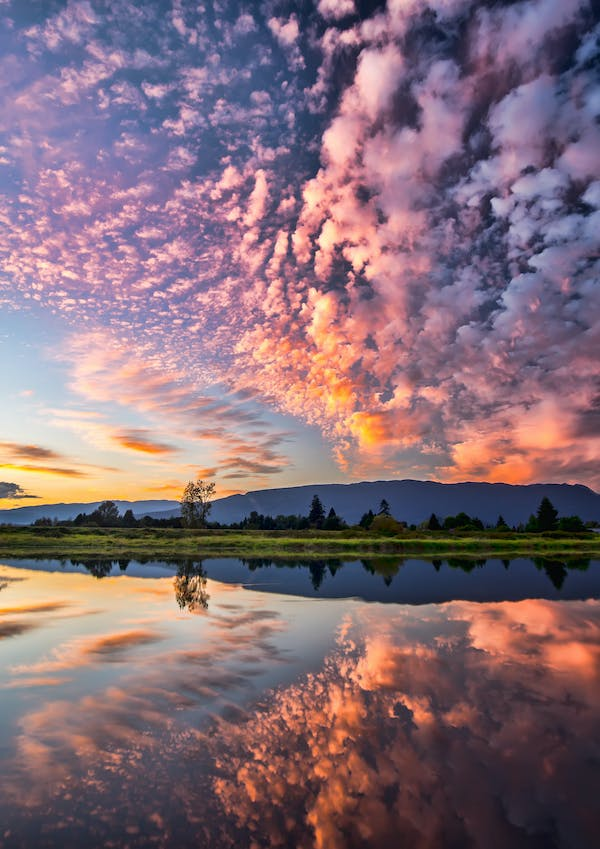
Some of the tips for this form of photography are,
- After the rain – Immediately after the rain, puddles are one of the options for reflection photographs.
- Still Water Bodies – Water bodies such as ponds or lakes perfectly reflect when there is no wind.
- Proper Angle – You move close to the water body to improve the reflection. Since the angle of incident light is equal to the angle of the reflected light, get close to the water’s surface.
- Polarization – A circular polarizing filter makes the reflection stronger when turned in the right direction.
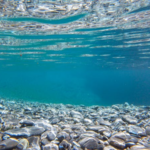
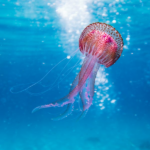
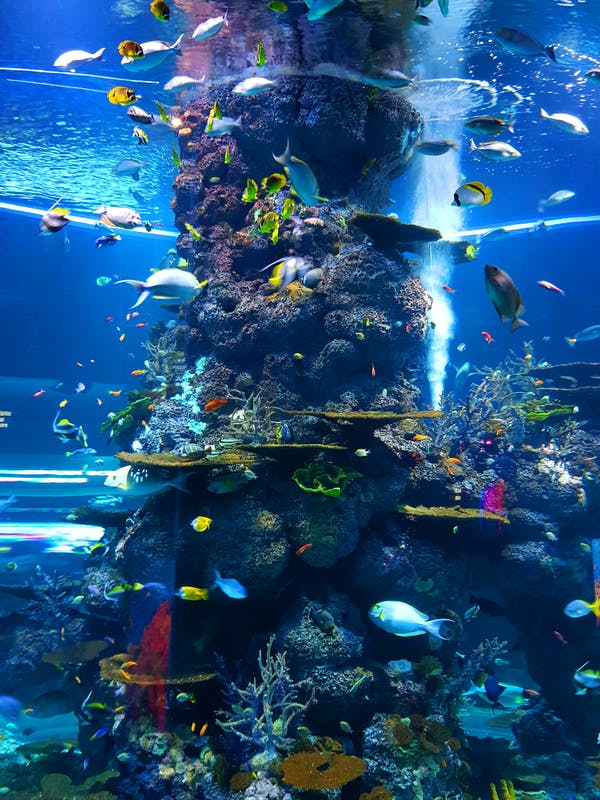
8. Underwater Shoot
Underwater photography is costly and requires complete immersion inside the water and expensive housing for your DSLR. With the necessary equipment, you can get professional photographs with a model.
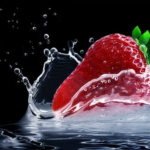
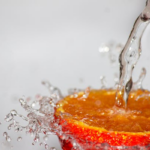
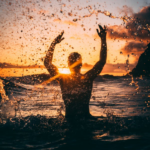
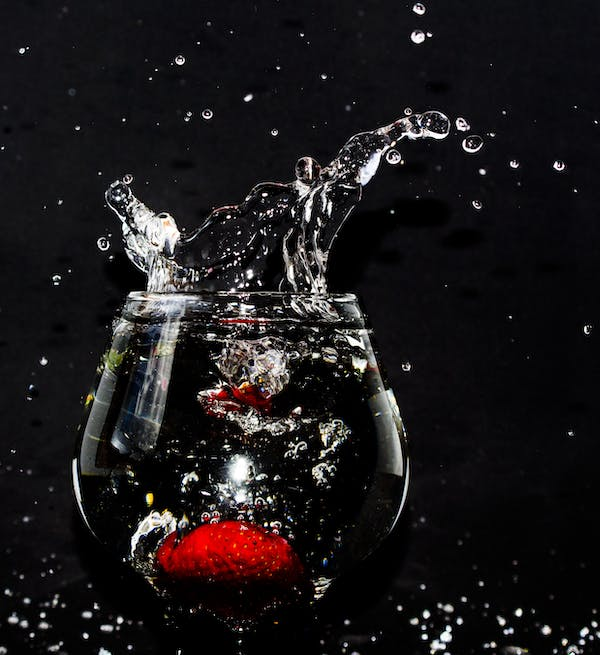
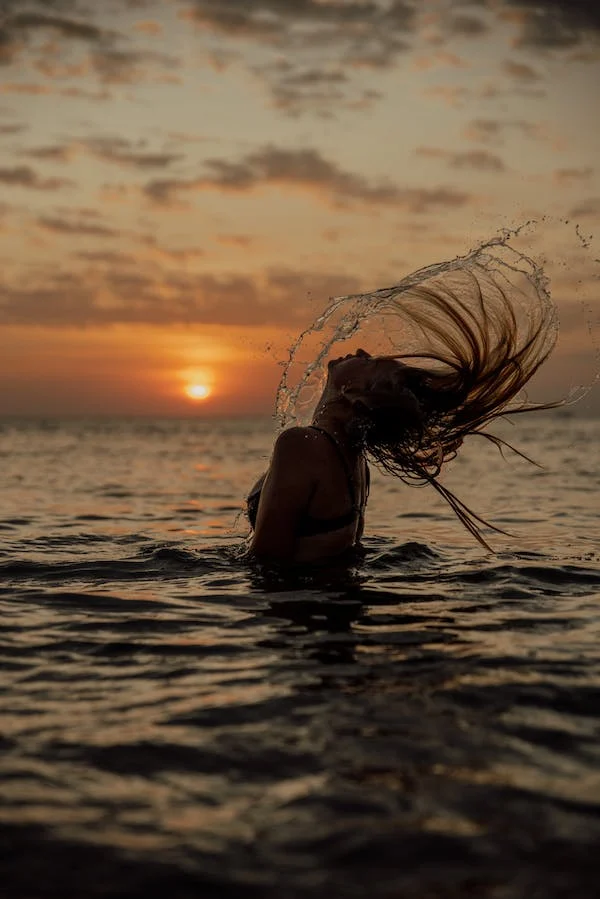
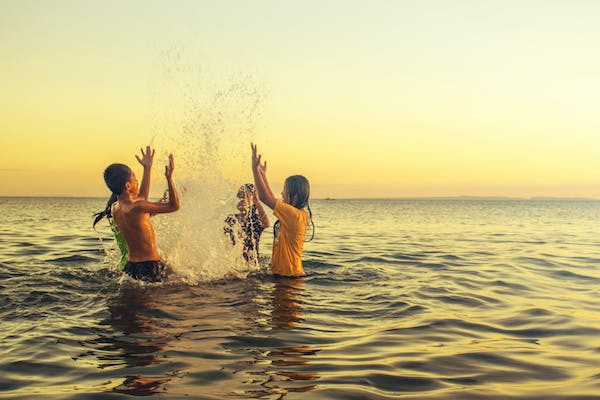
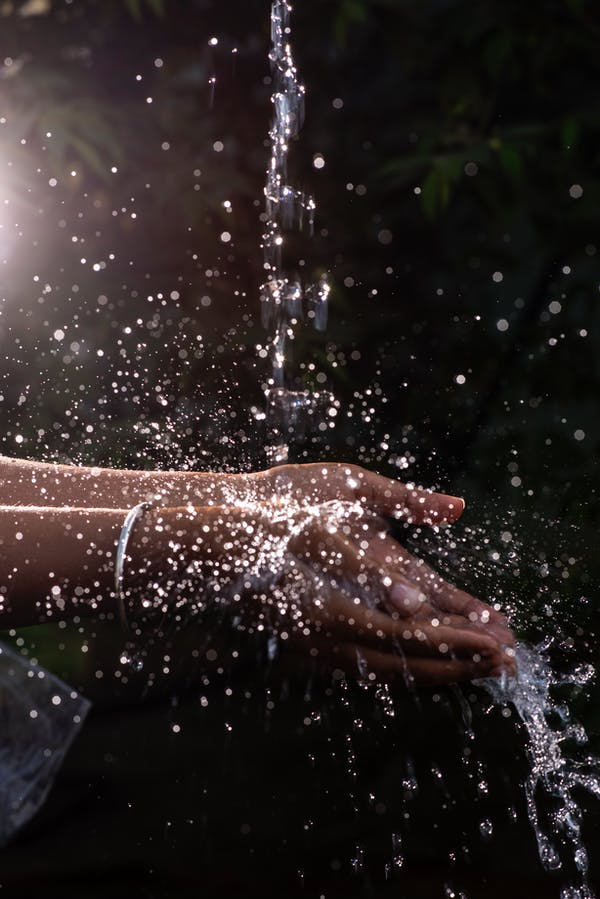
9. Splash Photography
To capture a water splash, use a fast shutter speed and freeze it in motion. Capturing the water splash is pretty simple and exciting. You can either catch a naturally occurring scene or create a setup on your own.
Methods of Splash Photography
A few popular methods to try with splash water photography are,
Dropping an object – You can drop an object into the water and capture it using a strobe.
Hair Flip – You can achieve this by getting into the water and flipping your hair back. Use backlighting to capture the water droplets created by the hair flip.
Throwing Water at an object – Splash water on a person or a thing and capture the moment of impact. For best results, use strobes for lighting up the water.
Equipment Needed for Splash Photography
- A dark location
- A thing to drop in the water
- Black backdrop/surface
- Camera timer
- External flash
- Glass or bowl of water
- High-quality camera
- Light reflectors such as aluminum foil
- Photoshop, Lightroom, or other editing software
- Remote shutter release and tripod
- Towels, solid-colored cloth, plain-colored walls
Splash Photography Tips
- You can set the desired shutter speed using the Shutter Priority mode and let the camera select the aperture setting.
- You can use the ISO setting of 1/250 shutter speed to capture bigger water splashes and a higher shutter speed of 1/1000, for instance, for a small water drop.

- Manual mode is recommended if you plan to capture water splashes with an external light source. You can set the aperture from f/4 to f/8, and the shutter speed can be around 1/125s and more, depending on the available light for the required effect.
- Maintain a low ISO below 800. You can go as low as 100.
- Always shoot in a RAW format to avoid blurry images and work on it later.
- Keep a timer on your camera to work very efficiently.
- The natural light is more than enough to capture realistic splash water photos with water reflections.
- You can use an external flash to form a combination of light and water with directed light.
- To create a 3D effect, add one more flashlight or a reflector from another side of the subject facing the first light source.
- Use high-speed flash sync to freeze the motion of water using faster shutter speeds and a suitable wide aperture.
- While using auto-focus, focus on the water or the container’s surface for better results.
- Verify the accuracy of focus by zooming in. If the focus is incorrect, switch to manual mode and adjust the focus by changing the focus ring.
- Remove unnecessary objects from the background and keep them simple, plain, and uncluttered to avoid viewers from getting distracted.
- You can use solid-colored cloths, towels, or walls to maintain a simple background. A simple background will help you focus on the subject.
- A few objects and elements are involved, so composing a photo that focuses on a water droplet or splash is easy.
- While composing a shot, consider the amount of upward splash or outward rippling in the frame.
- While capturing the water surface, place the camera about the same level or slightly above the water surface.
- Use an assortment of lenses to shoot and experiment with different focal lengths.
Water Photography Frequently Asked Questions
How To Make Water Look Misty in Photographs?
To get a misty effect in photographs, mount the camera on a tripod and use a slow shutter speed. You can also try shooting from different locations and angles to make the water look misty.
How To Get the Silky Water Effect in Water Photography?
The silky water effect is a result of long exposure using a slow shutter speed. The slower the shutter speed is, the silkier the water will be in the photograph.
How To Capture Flowing Water?
While shooting flowing water, always use a tripod to avoid blur. To get a professional photo, use an ND filter at slow shutter speeds.
What Is the Perfect Shutter Speed for Photographing Waterfalls?
The shutter speed depends on how silky you want the picture to be. If you use a slow shutter speed, the waterfall will look abstract. Experiment using different shutter speeds and choose the one based on the results.
Conclusion
Water is a photogenic subject that is interesting to capture. All you need to make it look soft and dreamy is to use a slow shutter speed, a tripod, and patience. Experiment and learn from shooting at different angles to develop your photography style.
Water Photography Images