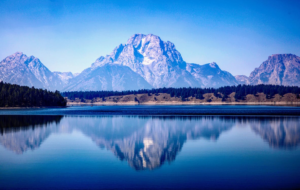
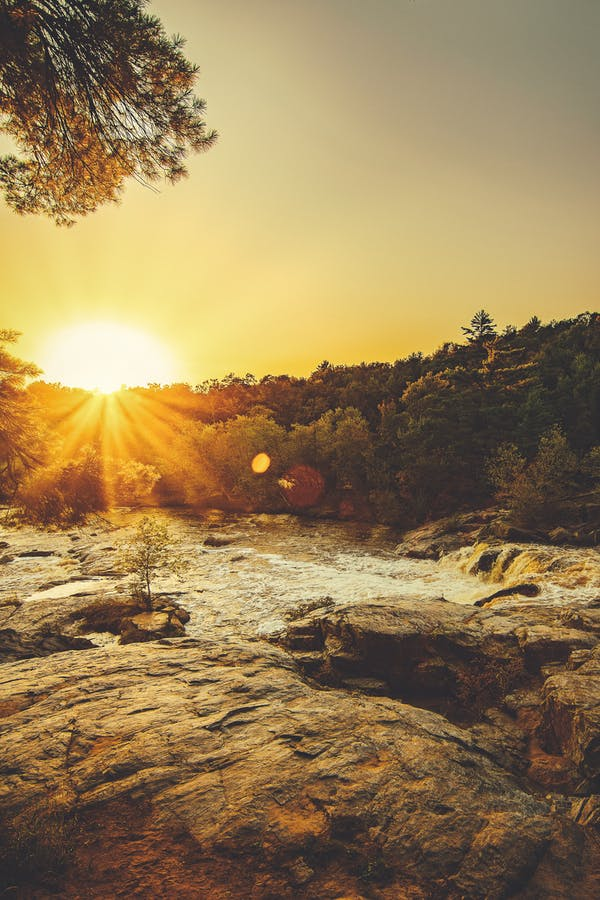
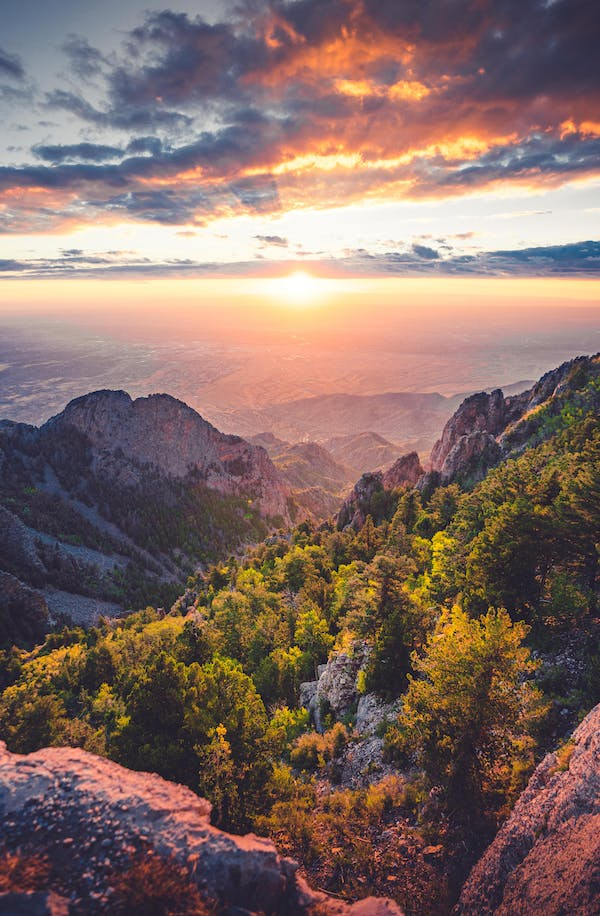
The golden hour occurs just after sunrise and before sunset, when the sun stays low on the horizon, creating a signature warm glow. Although professional photographers understand the golden hour more efficiently, it is the first hour after sunrise and the last hour before sunset.
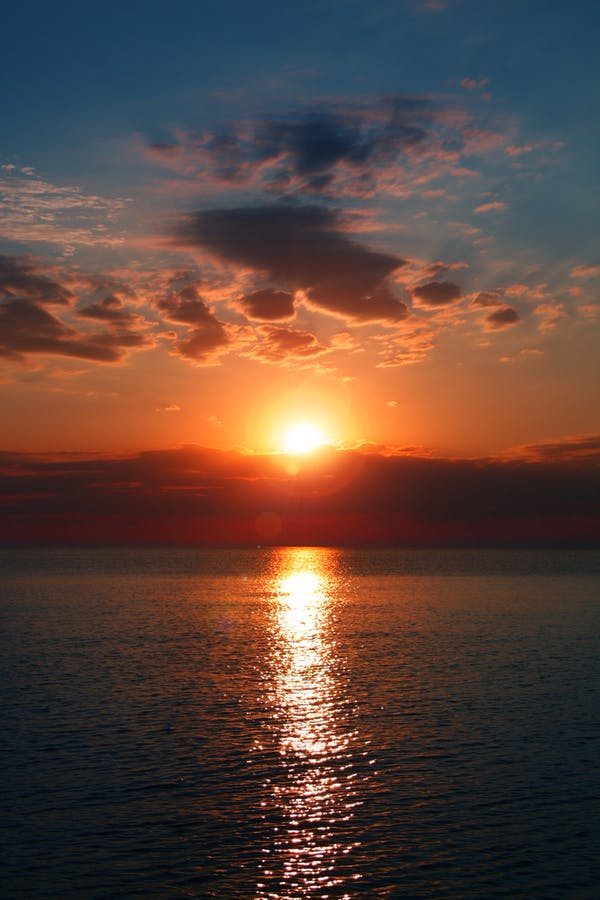
The golden hour is also known as the “magic hour” by cinematographers. This is because, during the golden hour, the sun is low in the sky, providing a soft, diffused light that is much more favorable than the harsh midday sun that so many of us are used to shooting in.
Photography 101: Let’s Talk About The Golden Hour
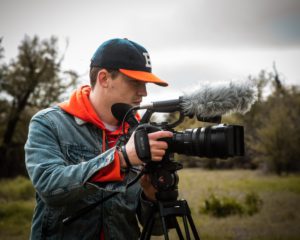
Equipment for Golden Hour Photography

Characteristics of Golden Hour
Compared to other times of day, the golden hour light is:
Soft
Gradually changes from light to dark, creating soft light that’s entirely flattering that is good for portraits.
Warm
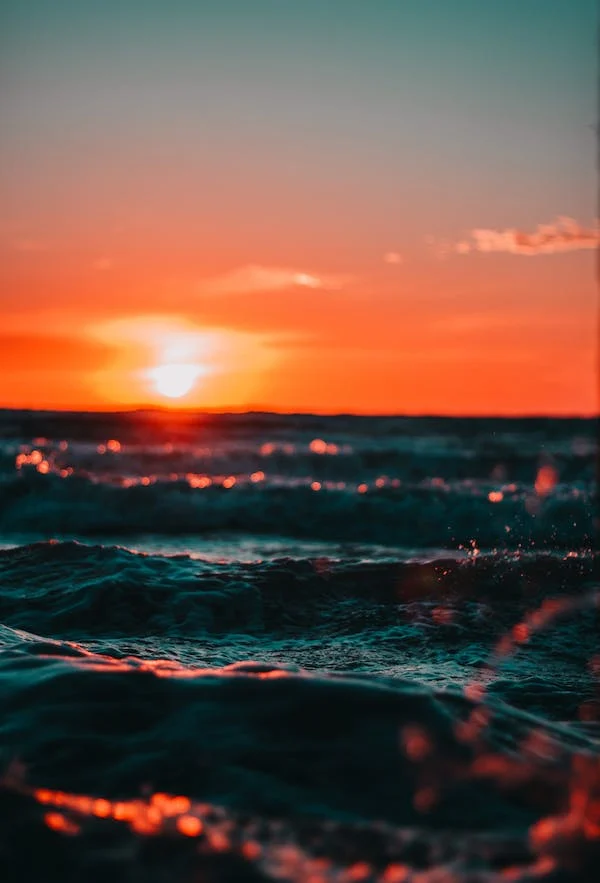
The sun’s low angle generates orange and yellow lights that look calm and pleasant.
Directional
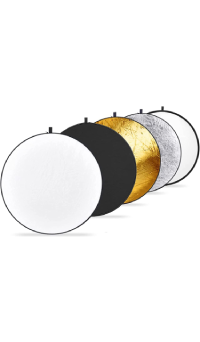
As the sun is low in the sky, it would be easy to create backlighting, side lighting, and front lighting with just the sun, and an inexpensive reflector or a modified fill flash.
Why Do Photographers Prefer the Golden Hour?
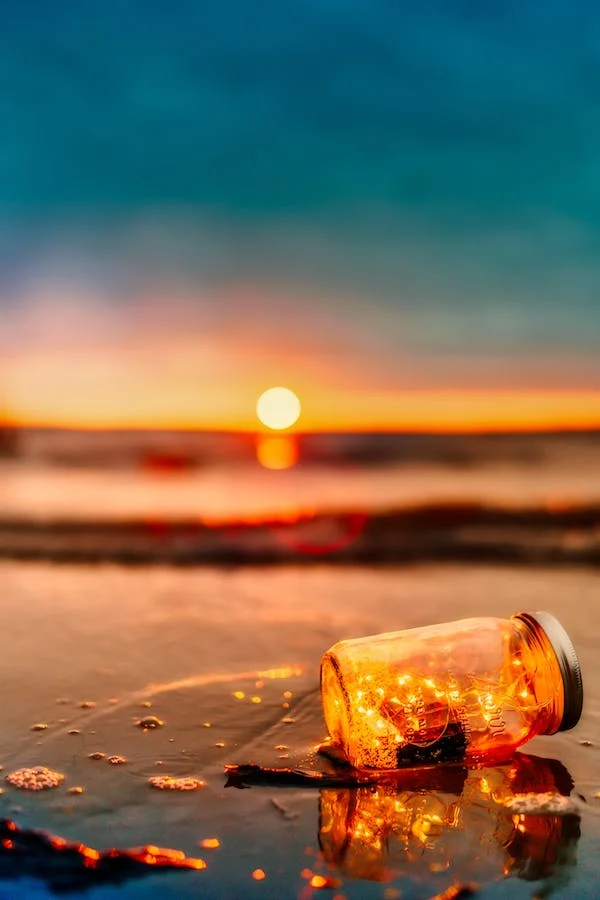
The golden hour beautifully gets past the flaws in an image by blurring and scattering the sunlight. Give an incredible glow to your images with effects such as bokeh, silhouette, tan, hazy, and thoughtful touches. Also, you can add an emotional touch to the photos clicked during the golden hour. Experiment with various techniques to showcase the symbolism of nostalgia, happiness, youth, love, and energy in the golden hour.
Diffused Light
During the golden hour, the sun is at a low angle, and the sunlight travels through most of the atmosphere, which softens and reduces the intensity of direct light. This makes the photographer’s job more accessible as they diffuse. On the other hand, golden light produces less contrast and evenly exposed photographs.
The Light is Warm and Glowing
Since the light travels longer through the atmosphere, the blue light gets filtered out, resulting in a reddish and warm color. The red and yellow light colors add a magical and inviting warmth to your photos.
Longer and Softer Shadows
The steep angle of the light makes excellent shadows and pleasing contrast adding depth and dimension to your images.

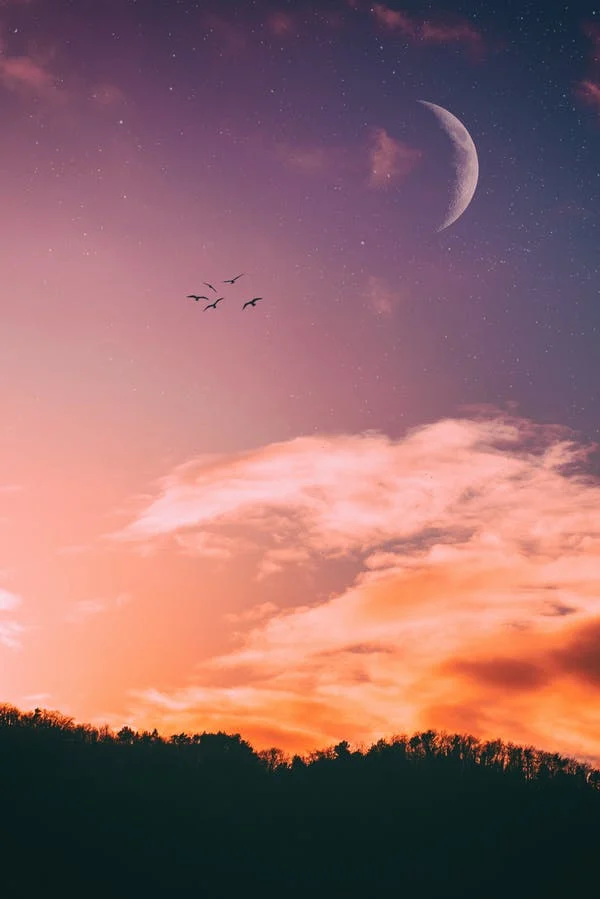
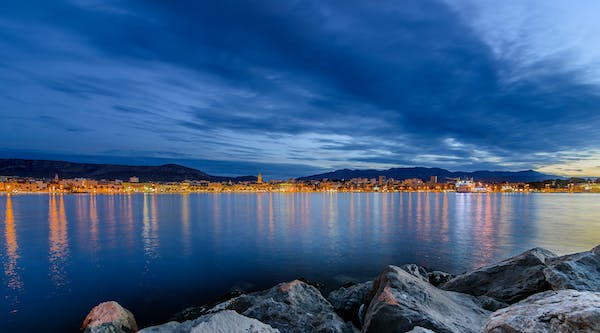
Blue Hour Photography
After the sun sets, you’ll witness the “blue hour,” the brief window of time following sunset when the world is filled with a deep blue color. So, if you’re already out, stick around for a few blue hour photos.
How to Make the Most Use of the Golden Hour?
Plan Ahead
As you’ll only have a short time to shoot, identify your location ahead of time, reach the place early, and set up before golden hour begins. This means setting up your camera in the dark, before the sunrise, or starting a shoot at noon before the sun is ideal. You will not have enough time to travel to a bunch of locations.
Set Your White Balance
If the camera is set to AWB (Auto White Balance), it will compensate for all the beautiful warm tones you’re there specifically for. However, if left on AWB, your images may be far bluer than you want them. So even when shooting in RAW, where it’s easy to adjust the white balance in post, it’s good to choose a manual setting for your white balance to understand better what the scene is expected to look like when reviewing. A good starting point for beginners is setting it to “shade” or “cloudy” to get those beautiful golden hues.
Enrich your golden hour photography further by adjusting the tint, temperature, and saturation.
Use a Wide Aperture for Portraits
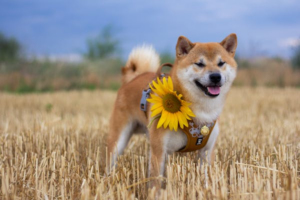
Most people believe that warm, golden hour light is the most favorable natural light for portrait photography. The diffused light at golden hour offers the skin a soft look, and your subject can face the sun without squinting, so you are filled with beautiful light. Shoot your subject with a small shallow depth of field by selecting a larger aperture opening, say f/5.6 or wider, to increase that soothing effect. You can create lovely bokeh while keeping the focus on your beautifully lit subject.
If you are new to photography, put your camera into Aperture Priority mode. This setting allows you to choose your aperture, and the camera will automatically fix the best shutter speed for you (and if your camera is in Auto ISO mode, set ISO too). If you’re unsatisfied with the results but don’t want to change too many things at a time, use the Exposure Adjustment dial.
Use Spot Metering
Each camera has a way of metering the amount of light around you to assist you in determining the settings required for a good exposure (unless the camera is older, hand-held meters were used). Modern-day digital cameras have different built-in metering modes, each in a slightly different way to read the light.

However, the exposure these modes think is exact might not be the exposure you desire, and some are better at certain scenes than others. So here they are in brief:
- Matrix or evaluative metering divides the frame into zones analyzed individually for light and dark tones. It reads the information in each zone, looks at the point you focus on, and marks it as more important than all the other zones.
- Center-weighted metering evaluates the light in the middle of the frame and its surroundings and ignores the corners. It also misses your focus point.
- Spot or partial metering evaluates only the light around your focus point and ignores everything else.
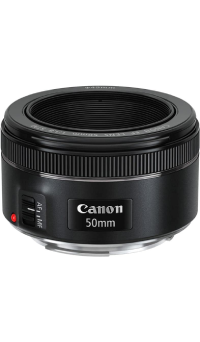
Select a Fast Lens
When you’re shooting in low light conditions, particularly for blue hour, your lens should have larger apertures, such as f/1.2, f/1.4, or f/1.8, to provide more flexibility and more time to shoot.
You can always increase your ISO or decrease your shutter speed if there’s not enough light, but these changes can produce noise or motion blur, so opening up that aperture is an excellent first step. Faster lenses with larger maximum apertures serve best.
Another advantage of shooting with a wide aperture is that you’ll get a shallow depth of field and bokeh in the background. If you choose a location with many colored highlights, your photo will have a lot of bokeh.
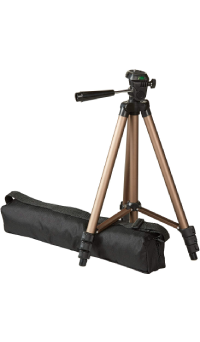
Use a Tripod
You can use a tripod to get sharp images when experimenting with various apertures and ISO settings.
Take as Many Shots as Possible
Running out of time is the biggest challenge in this kind of light as you do not have enough time to take shots peacefully and enjoy the beautiful scenes. So being mindful is an essential element in all aspects when photographing.
How to Shoot Golden Hour Portraits
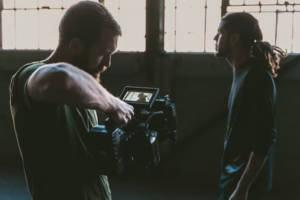
5 Tips for Filming At Golden Hour – Cinematography Tips
Different Lighting Types During the Golden Hour
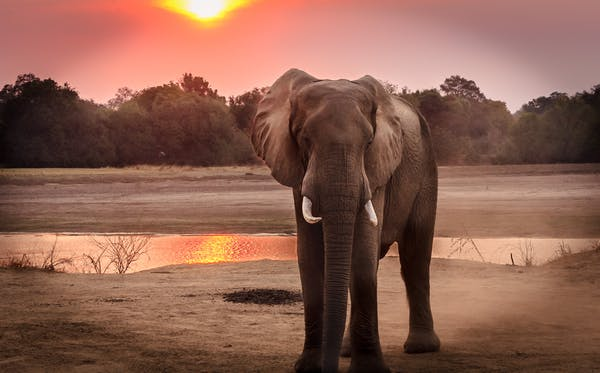
Front Lighting
Have your subjects face the sun in front lighting so that they’ll be front-lit with warm, flattering, and even light. You can’t do that at high noon as the sun lies right on top of your head. This smooth lighting is excellent for landscapes as well.

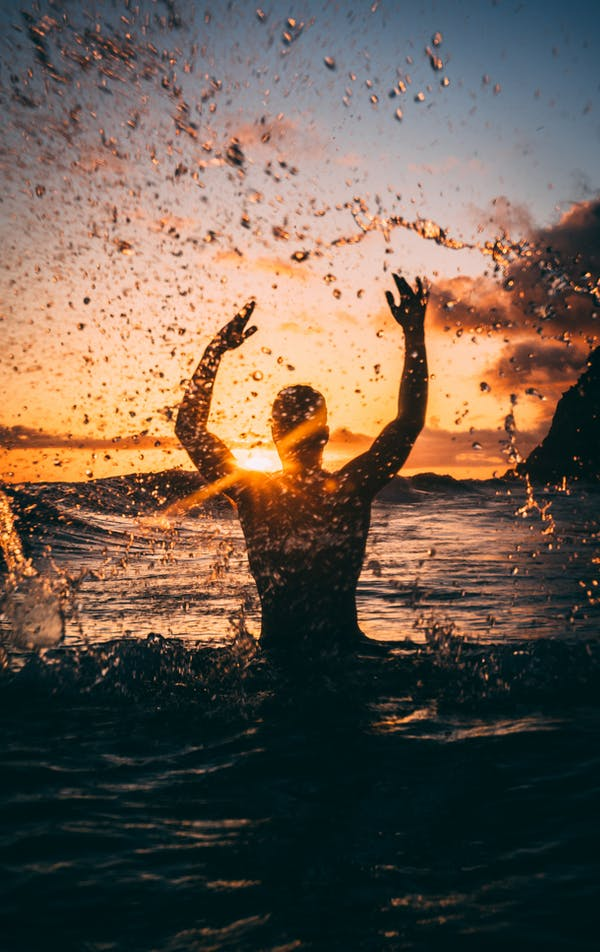
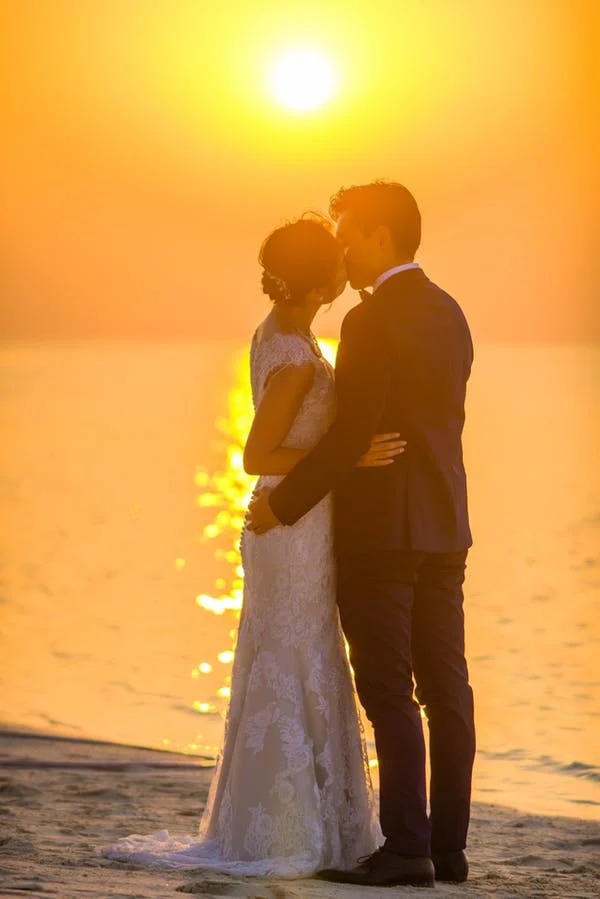
Back Lighting
Backlighting is the opposite of front lighting. Have your subject pose their back to the sun, and a warm glow surrounds them. You may need to bump up your exposure to keep your subject from turning too dark. Or you might need a Speedlight or reflector to fill your subject. Backlit images mostly have a dreamy, hazy appearance.
Rim Lighting
Rim or edge lighting is related to backlighting, but you’ll achieve a faint glow or bright outline around your subject when the background is dark. Use rim lighting to isolate your subject from the scene. For example, it may be a person’s hair or the edges of a flower gently lit by the sun.
Flare
A flare is obtained when sunlight hits the lens front. When captured during the golden hour, a solar flare can combine visual interest and depth to your photo. Play around with different angles to achieve other bursts. Flares get dramatic when partially obscured. Reposition yourself so that your subject is partially blocking the sun. Most of all, have fun with it.
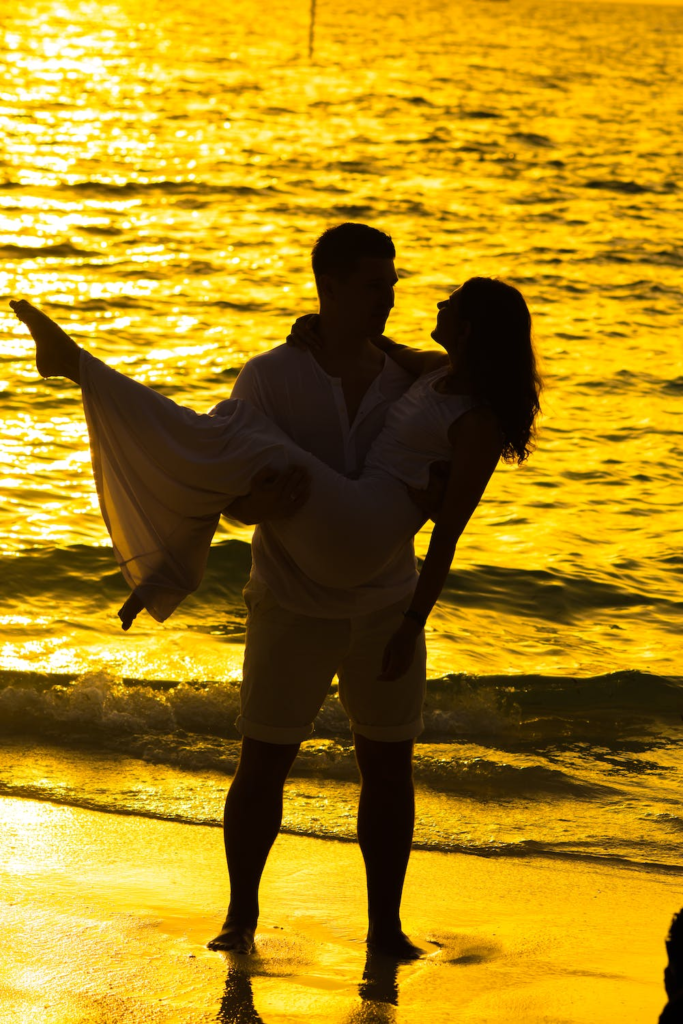
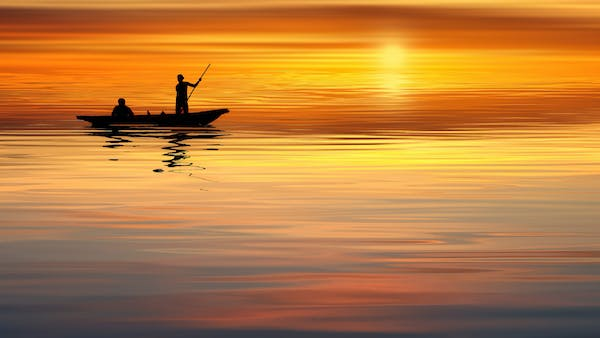
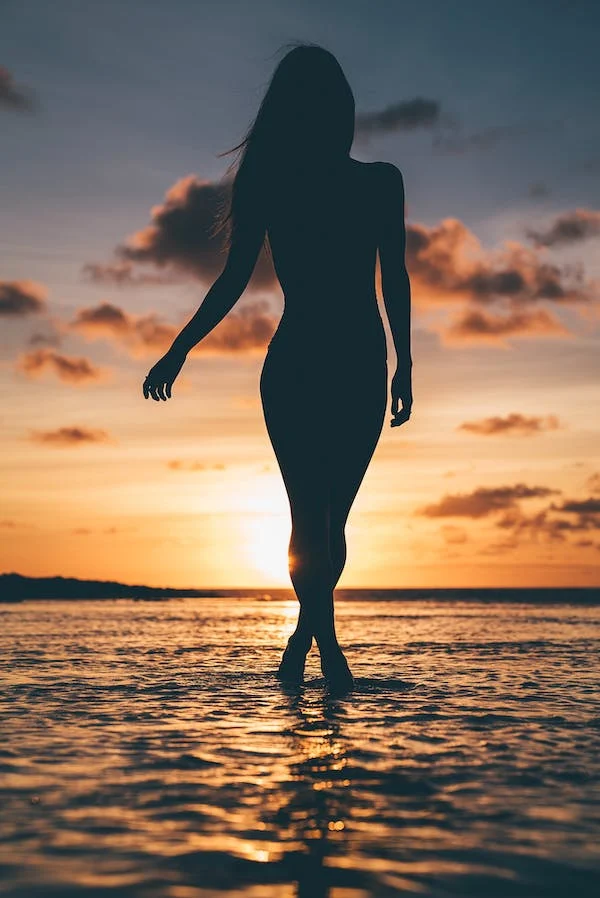
Silhouette
Golden hour is ideal for photographing a silhouette because the sun is so low in the sky. Try capturing an object or person in front of the sun’s bright light to create a silhouette. Gorgeous, warm golden hour light is perfect for all types of photography, from portrait to landscape. Mastering the creative techniques and applying them to your golden hour photography will help take your photos from good to great.
Frequently Asked Questions
What exactly is golden hour?
The golden hour is the first hour after sunrise and the last hour of sunlight before sunset. Geography and season determine the golden hour and ensure you get warm natural light. This occurs when the sun is between 6 degrees above the horizon and 6 degrees below the horizon.
Is the magic hour different from the golden hour?
Both terms are interchangeably used. However, magic hour denotes the time before sunrise and after sunset, while golden hour denotes the time after sunrise and before sunset.
How long after sunrise and before sunset is golden hour?
The first hour after sunrise and the last hour before sunset is the perfect time of the golden hour, much awaited by photographers to capture photos. Knowing and mastering the nuances of the golden hour is an essential trick that can aid photographers in getting stunning images.
What are the colors of the golden hour?
During golden hour, you find the sky painted with red, orange, and yellow in varying shades, giving a magnificent golden touch with a warm color temperature. Light is soft, diffused, and less contrasting as the sun is low in the sky, creating a warm, iridescent effect.
Final Words
Shooting during the golden hour has a bunch of benefits. You can highlight textures and get creative with long shadows. Work on some backlight photography, or have some fun by creating silhouettes. While shooting during golden hours, you can also enjoy some beautiful warm tones. So, take your camera and get ready to capture the golden lights of the sunrise and sunset.
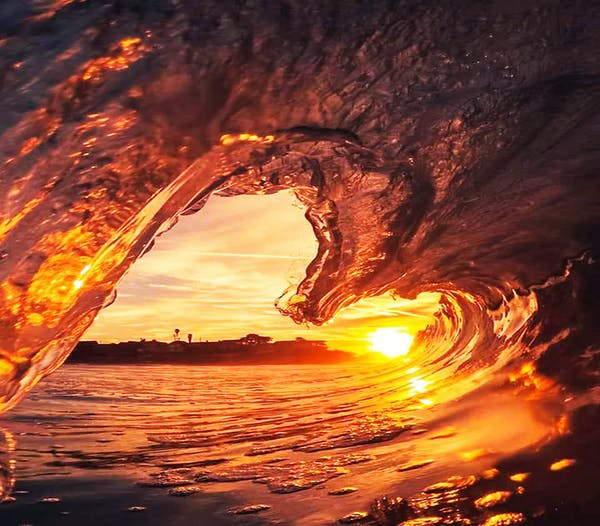
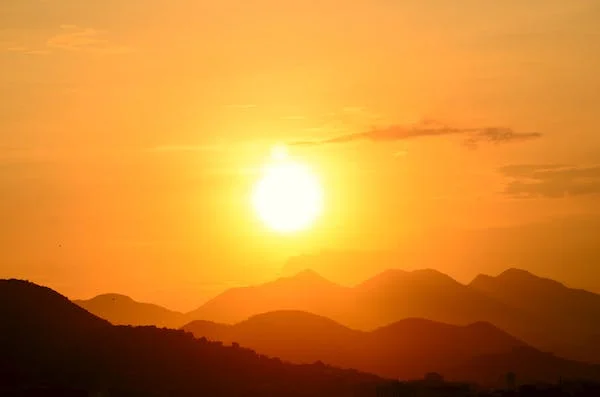
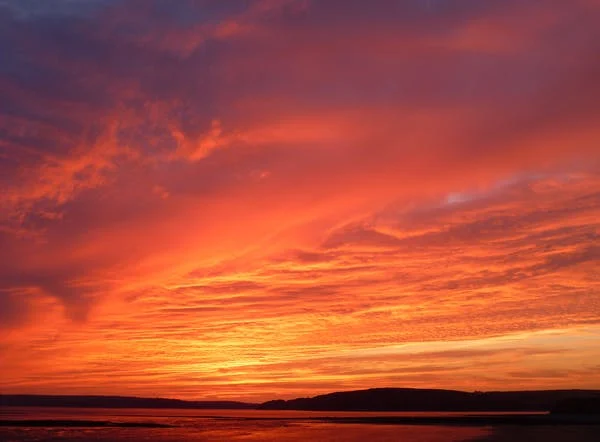
Gallery


Videos
Everything You Need to Know About GOLDEN HOUR
5 Golden Hour HACKS You Have NEVER Heard BEFORE!