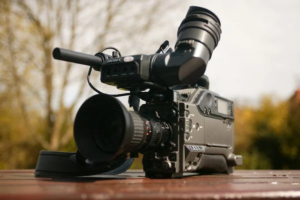
External flash is simply a flash not built into the camera body. Instead, they can be mounted on a camera via hot shoe or remotely triggered to fire off-camera. While many cameras have a built-in flash, attaching an external flash can achieve more power and versatility.
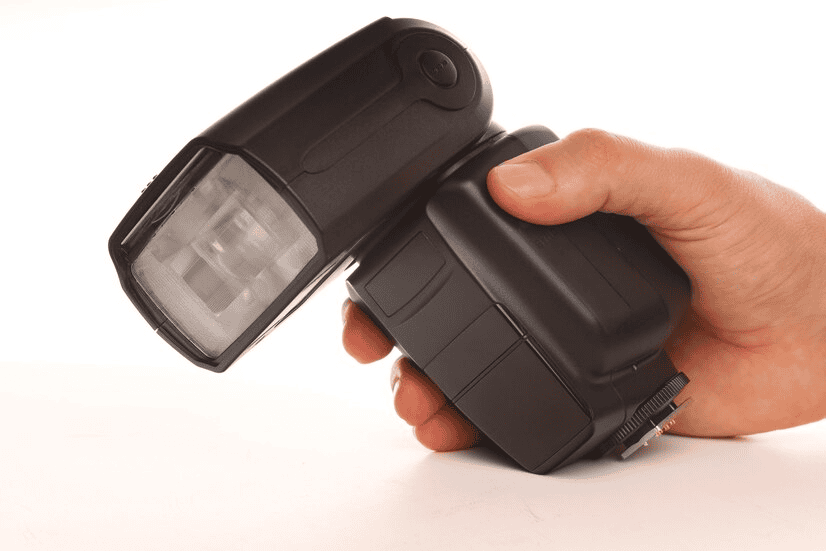
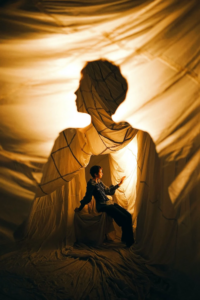
Image Source: Freepik
What are the Benefits of Using an External Flash?
Diffusers soften your lighting
Handheld diffusers can be used with your built-in flash, but with an external flash, you can buy diffusers that hook to the flash to make it easier and cleaner looking. Color diffusers can also be used to change the color of your lighting.
Reflectors change the angles and intensity of bounced light
Again, there are handheld ones, but the ones attached to your flash make it much more manageable.
Flexibility
Most external flashes rotate so the light can be moved from various angles.
Red-eye reduction in portraits
The light no longer comes from close to the camera’s center, so your chances for red-eye are much less.
Better illumination of subjects who are farther away
An external flash is more powerful than the built-in one to cover a larger distance.
More control of your lighting
There are settings on your external flash that allow you to change the brightness, and you have more overall control of your lighting.
Added creativity with your lighting
Your lighting options become endless as you try new positions, angles, and brightness. Explore our introductory flash photography page to find out more.
More options with positioning, tripods, and remotes
Your flash is no longer just connected to your camera; it can be moved and positioned to your wants and needs.
Lighting looks more natural
Lights aren’t usually straight in front of us, so you can make the lighting look like it is coming from above or from the side with an external flash.
Varied possibilities to bounce light off walls or ceilings
Bounced light is fun to play with as you bounce it off ceilings or walls, and depending on the colors of those or other things you bounce it off, your subject will look different.
How Does an External Flash Work?
The latest external flash units that mount on your hot shoe are ingenious devices. These devices are as automatic as one would ever think could be developed. Using one of these external flashes on your hot shoe is as simple as pushing the shutter release if you are habituated to point-and-shoot cameras. What happens is a remarkable technological achievement. When you turn on the unit to take a photograph and press the shutter release, the external flash puts out a pre-flash to the subject you are focused on and carries that information back to the camera. The camera prepares the pre-flash data and then fires again to take the picture. The subjects were unaware that two flashes were firing in their eyes, a pre-flash and a primary flash. All this happens is measured not in milliseconds but in microseconds!
In the pre-flash, the flash unit and the camera define the ambient light, measured by the sensor. Then, the sensor compares the ambient light values with the light reflected by the subject. Finally, the pre-flash determines how much flash duration is needed, sends that information to the camera, and you are the object of a perfectly exposed subject and background.
Things to Avoid While Using Flash
- Don’t use the flash if your subject is too far away.
- Don’t use the external flash if it makes your subject look pale.
- Do not ever place the unit near you or avoid anyone looking directly at the functional part of the unit and fire the flash because the light that an external flash produces is intense and will wreak havoc on the eyesight for a while.
- Point the external flash away from you when testing it at all times. Additionally, the voltage inside a charged speedlight is exceptionally high and dangerous.
- Do not open a unit with curiosity to see how it works.
Camera Settings Required for Different Kinds of Flash Photos
Let’s delve into the camera settings and their impact on flash photography. Modern DSLR cameras universally feature certain modes: “P,” “TV,” “AV,” and “M.” Additionally, there are complete auto modes indicated by icons representing portrait, close-up, landscape, sports, and night portrait. However, we focus here on understanding the P, TV, AV, and M modes. Mastering these typically lessens reliance on the auto modes.
The “P” mode, often considered semi-automatic, is the primary mode among programmed modes, and the camera largely handles auto exposure, known as Program AE by Canon. A green rectangle typically represents a noticeable distinction between the P mode and the fully automatic mode. In P mode, users can adjust shutter speeds; flexibility is absent in the fully automatic setting, where no adjustments are allowed.
When you switch your camera to P mode and point it at a well-illuminated subject, it may choose settings such as a shutter speed 1/125 paired with an aperture of F11. By utilizing the top wheel selector on your camera, you can modify the shutter speed to 1/250, 1/500, and so on. As you make adjustments for faster shutter speeds, the camera will automatically expand the aperture to ensure consistent exposure.
Additionally, suppose your camera initially chooses 1/125 shutter speed and F8 aperture, and you increase the shutter speed to 1/250 using the wheel selector. In that case, you’ll notice that the camera automatically adjusts the aperture to F4. This tells you that 1/125 @ F8 equals the same exposure as 1/250 @ F4. Keep in mind that F4 provides a shallower depth of field than F8, but a higher shutter speed like 1/250 can help prevent blurry shots, as lower shutter speeds are harder to hand-hold steadily.
Now, let us go back to the flash and how the “P” setting affects the photographs you take. Let us assume you are using your camera’s center focus point. Most DSLRs have many focus points. For now, set yours to use only the center focus point.
In the “P” mode, the flash and camera assume you ONLY want to expose the subject and nothing else nearby(including the background). This is crucial because, for example, in the wedding reception hall, the lights are turned down, you photograph the bride and groom dancing, and you are in “P” mode. As a result, you will get a fabulous picture of the bride and groom, keeping the background dark. Not that this is bad, but what if you wanted to light the background as well because some obstacles might not be seen about ten feet in the back?
At this point, you can “fix” this problem in two ways. One is to head back to the icons mentioned above. Go to the icon that says “night portrait.” Retake the photo, and suddenly, the background is exposed. But there is an issue with that. The camera drastically reduces the shutter speed in that position and may be prolonged, so the subjects may get blurred if they move. Hence, shutter speeds may go as low as 1/10 second or 1/20 second, much too slow, without your subject remaining still while you focus and take the shot. But you will light the background!
How to Use an External Flash When Shooting in Manual (M) Mode?
Switch your camera to “M” for manual mode, favored by many professional photographers. In manual mode, you have full control over setting the shutter speed and aperture to your desired values. Most professionals opt for settings like a shutter speed of 1/60 and an aperture of F5.6, although you can also experiment with settings like 1/60 and F8. This opens up a whole new realm of possibilities for flash photography.
Don’t worry too much if your subject moves; as you gain confidence, consider adding light to the background for more dynamic results. This is because, in any programmed modes such as AV, TV, or M, the camera selects a good direction from you and assumes you want the background lighted. The bright engineers built this at the factory we talked about.
But please do only try this in manual mode. Once a professional photographer enters the reception hall, he automatically sets up his camera to “M,” 1/60 @ F5.6, and fires away all night. If he wants a shot with the background dark, move the dial back to “P” mode and shoot away. Except for this, nothing else needs to be adjusted.
Which Type of External Flash Should You Buy?
Buying an external flash depends on the compatibility factors and power requirements. If you have a Canon EOS series DSLR, it is best to go for the 600EX-RT or 580EX if you can afford it. If not, the next best choice would be 430EX. If you have a Nikon DSLR, the best bet would be to get an SB600 (reasonably priced). Alternatives like Sigma and Metz flash units are available for Canon and Nikon DSLRs.
External Flash – Videos
Flash photography for beginners part 1
How to Use an External Camera Flash // Part 1: Settings
Beginner Flash Photography for Portraits Tutorial
Lighting Tutorial: How to Get Better Images by using an OFF CAMERA Flash, With Sample Photos
5 EASY STEPS You Need to IMPROVE your FLASH Photography skills. Flash photography for beginners
Nikon Learn & Explore – The Basics of Flash Photography
Final Thoughts
Before buying an external flash mindlessly, it is recommended to research how it’d help your camera and you deliver the best out of your photographic skills. Not all flashes are meant for all cameras. So, research which external flash would best suit your camera.